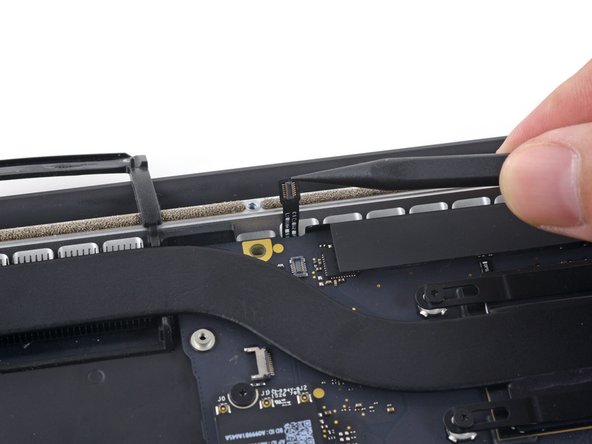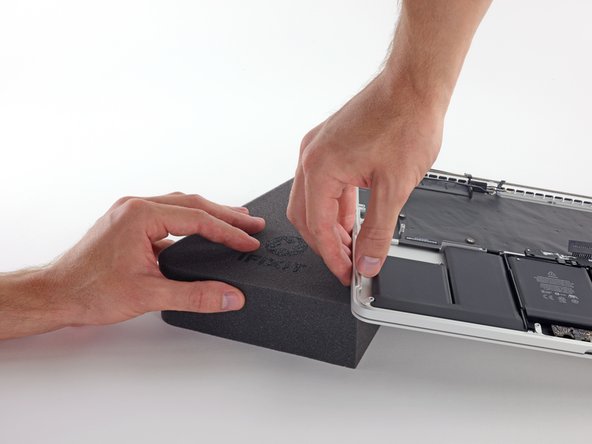
MacBook Pro 15" Retina Display Mid 2015 Battery Replacement
Introdução
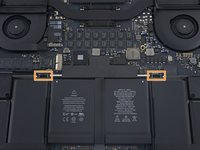
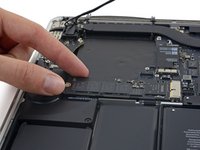
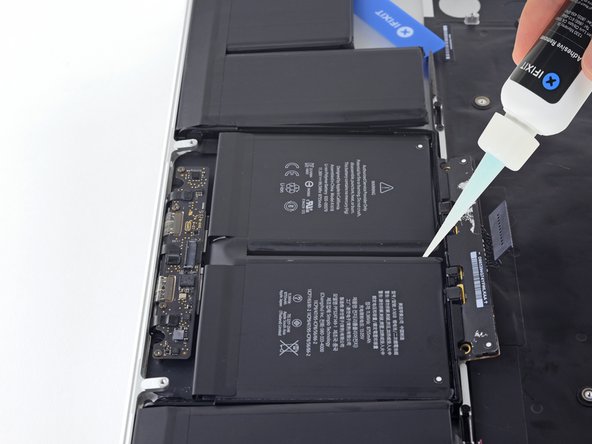
Ir para o passo 1Use this guide to safely remove the glued-in battery from your MacBook Pro with the help of an iFixit battery replacement kit. The adhesive remover in your kit will dissolve the adhesive securing the battery, allowing you to remove it with ease.
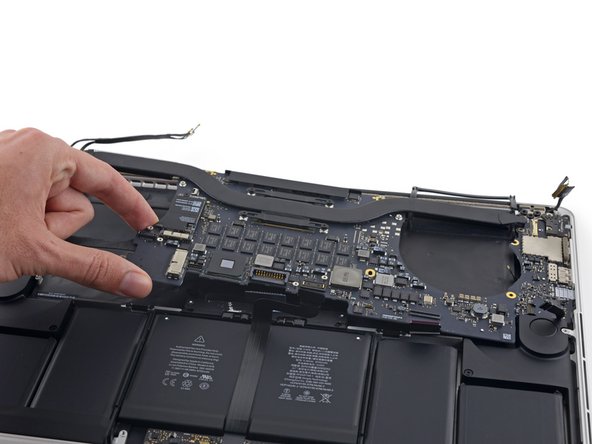
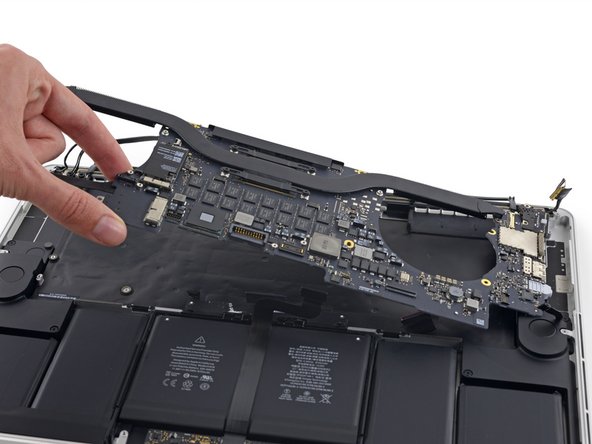
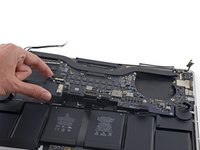
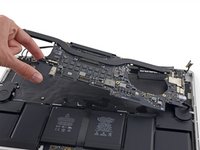
Note: This guide instructs you to remove the speakers, logic board, and several other components before proceeding to the battery. This protects the components from being potentially damaged by the adhesive remover. If you're only using a mild solvent such as isopropyl alcohol to loosen the battery, you can choose to leave these components in and skip steps 6-45.
Apple issued a battery recall for this model in June of 2019—so before replacing your battery, you can check to see if you are eligible to receive a replacement for free from Apple.
iFixit adhesive remover is highly flammable. Perform this procedure in a well-ventilated area. Do not smoke or work near an open flame during this procedure.
To minimize risk of damage, turn on your MacBook and allow the battery to fully discharge before starting this procedure. A charged lithium-ion battery can create a dangerous and uncontrollable fire if accidentally punctured. If your battery is swollen, take extra precautions.
O que você precisa
Fix Kit
Este kit contém todas as peças e ferramentas necessárias para executar este guia.
Peças
Ferramentas
Exibir mais…
-
-
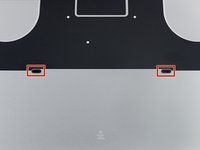
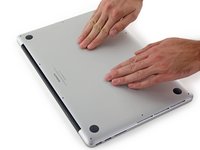
Remove the following P5 pentalobe screws securing the lower case to the MacBook Pro:
-
Eight 3.1 mm
-
Two 2.3 mm
-
-
Ferramenta utilizada neste passo:Tweezers$4.99
-
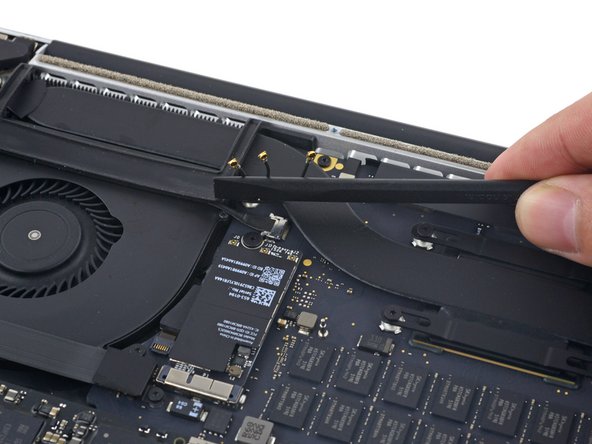
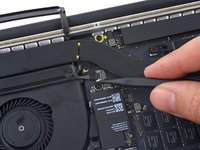
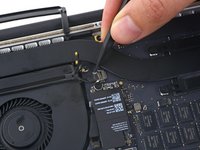
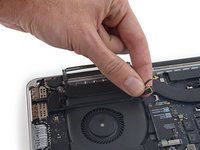
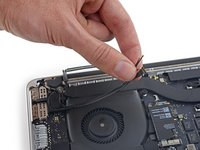
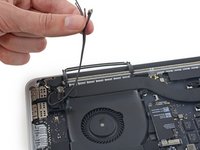
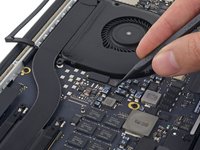
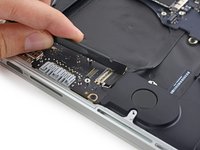
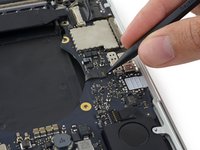
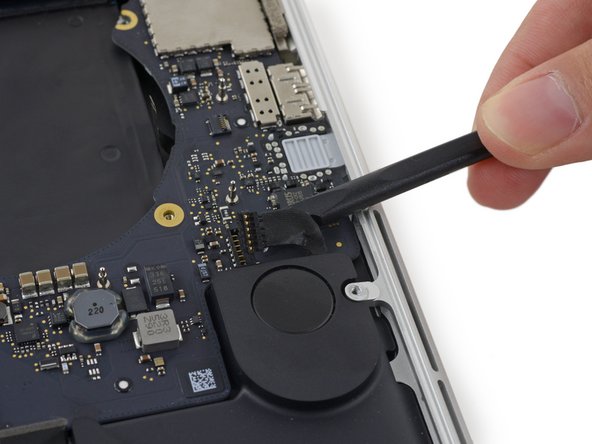
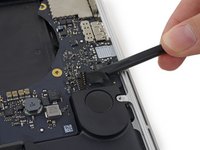
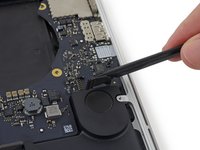
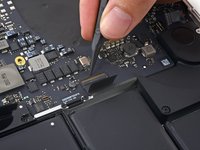
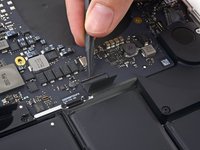
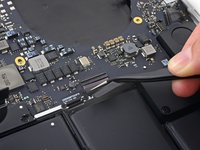
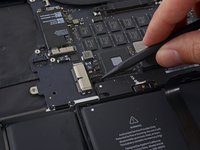
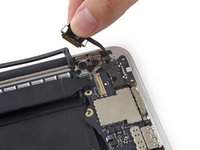
Use a spudger or tweezers to pry the three AirPort antenna cables straight up off of their sockets on the AirPort board, and bend them up and out of the way.
-
-
-
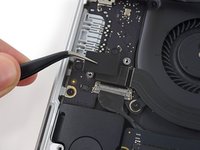
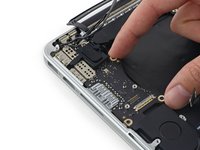
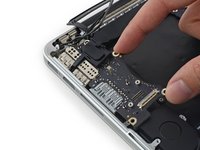
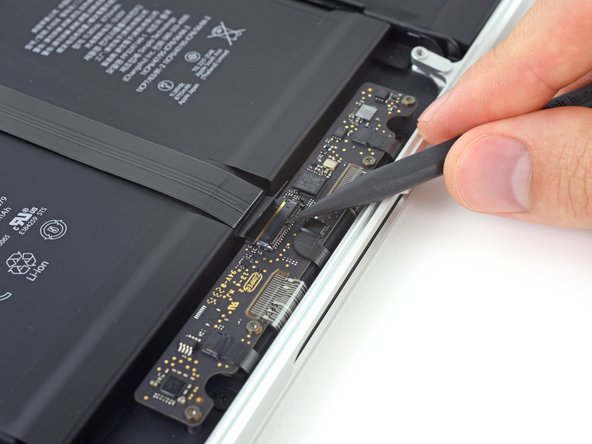
Remove the four 2.2 mm T5 Torx screws securing the I/O board cable connector covers.
-
-
-
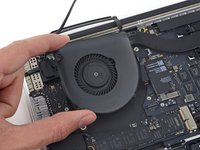
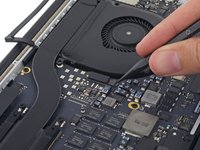
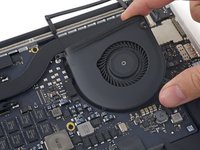
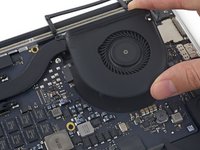
Use a T5 Torx driver to remove the following three screws securing the right fan to the logic board:
-
One 5.0 mm screw with a 2.0 mm long shoulder
-
One 4.0 mm screw with a wide head
-
One 4.4 mm screw
-
-
-
-
Remove the two 2.2 mm Torx T5 screws securing the touchpad cable connector cover to the logic board.
-
Remove the cover.
-
-
-
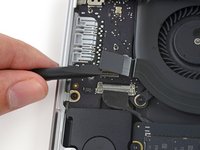
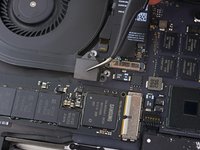
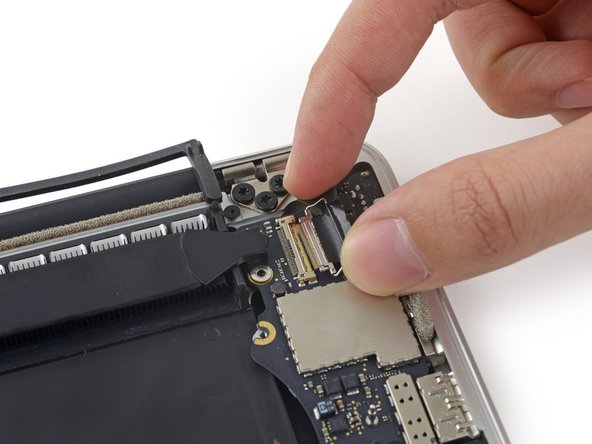
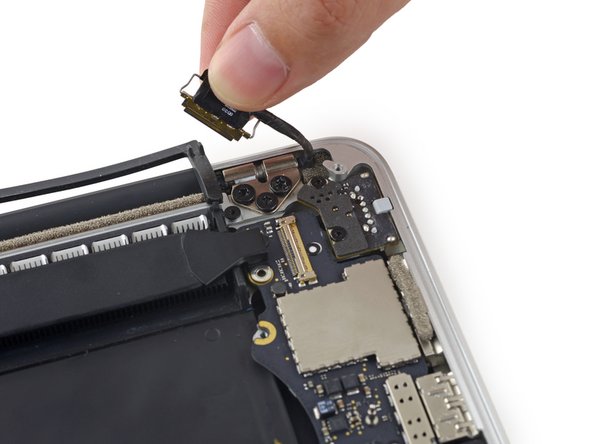
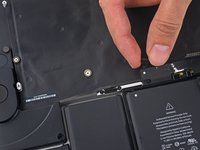
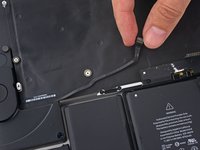
The following steps will detail disconnecting these six connectors. Be sure to read each step, as these connectors come in different styles that disconnect differently.
-
Microphone cable
-
Left speaker cable
-
Keyboard data cable
-
Right speaker cable
-
Keyboard backlight cable
-
Display data cable
-
-
-
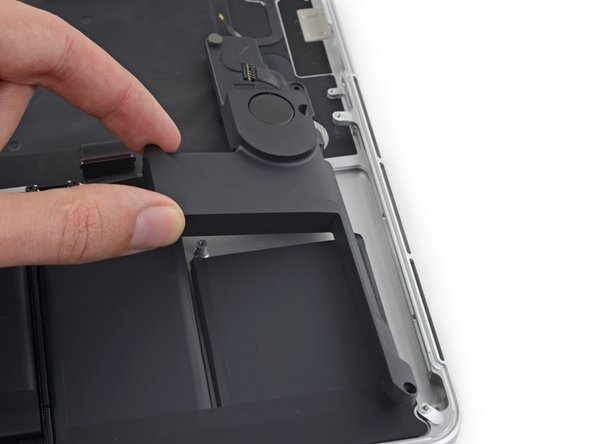
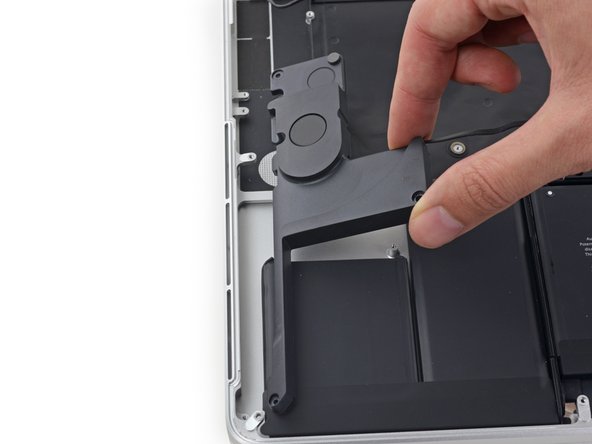
Remove the following screws securing the left speaker to the upper case:
-
2.7 mm T5 Torx screw
-
6.9 mm T5 Torx screw (with 4.5 mm shoulder)
-
5.6 mm T5 Torx screw
-
-
-
Remove the following screws securing the right speaker to the upper case:
-
2.7 mm T5 Torx screw
-
6.9 mm T5 Torx screw (with 4.5 mm shoulder)
-
5.6 mm T5 Torx screw
-
-
-
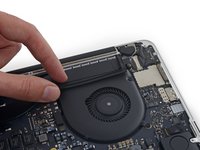
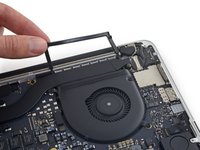
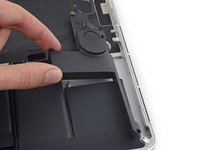
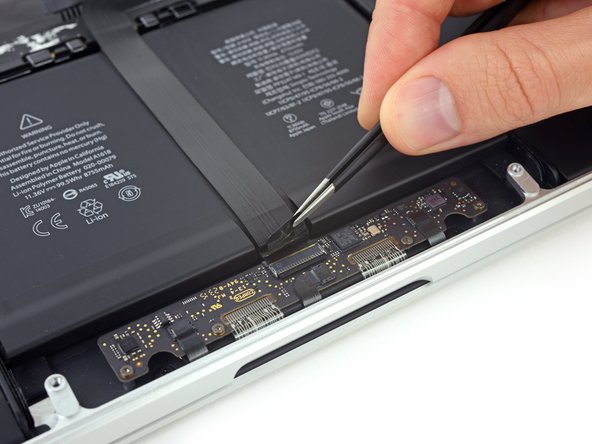
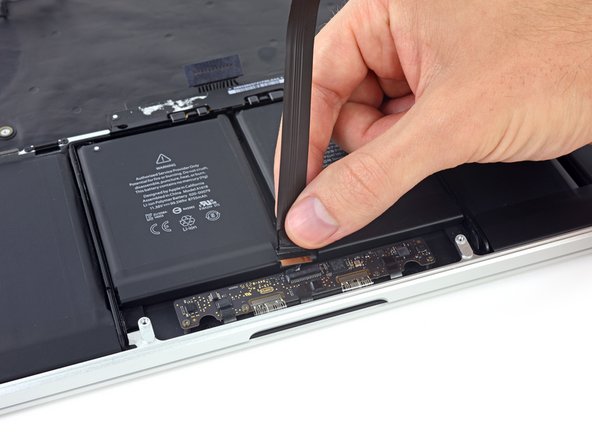
Peel back the tape covering the trackpad connector ribbon cable, near the front edge of the MacBook Pro.
-
-
-
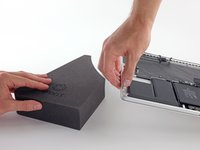
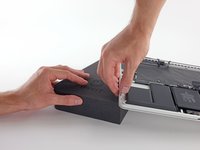
Now that your MacBook Pro is fully prepped, it's time to prep yourself.
-
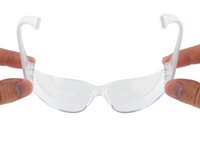
Wear eye protection when handling and applying the adhesive remover. (Eye protection is included in your kit.)
-
Do not wear contact lenses without eye protection.
-
Protective gloves are also included in your kit. If you are concerned about skin irritation, put your gloves on now.
-
-
Ferramenta utilizada neste passo:Plastic Cards$2.99
-
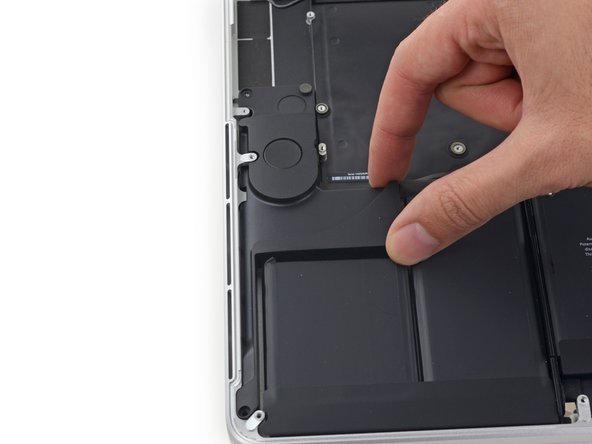
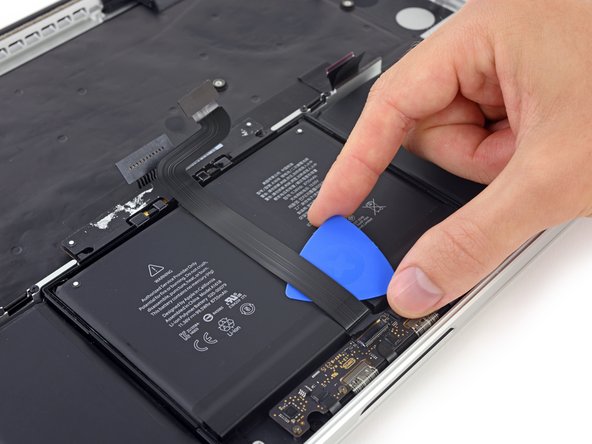
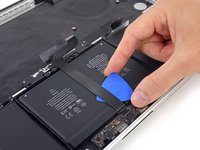
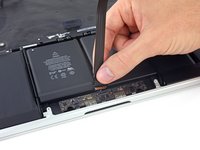
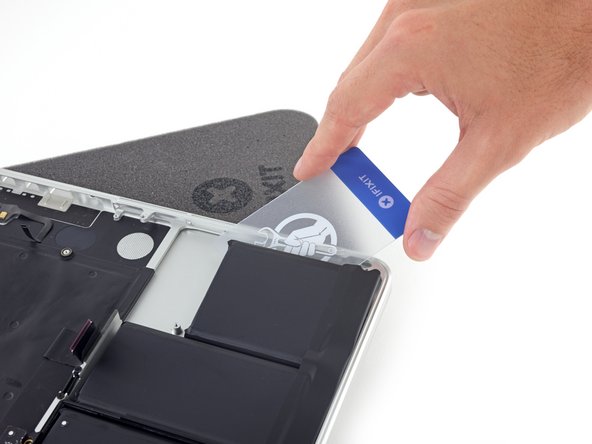
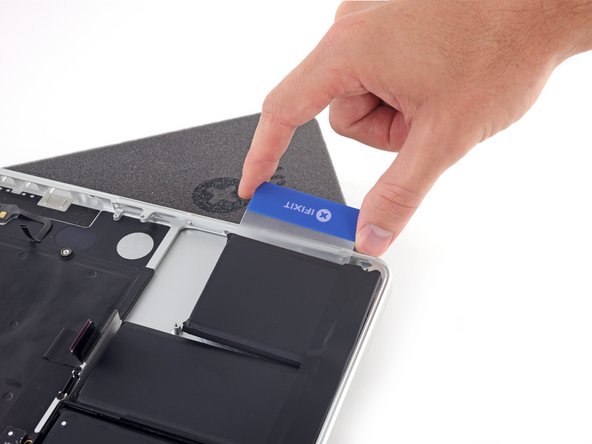
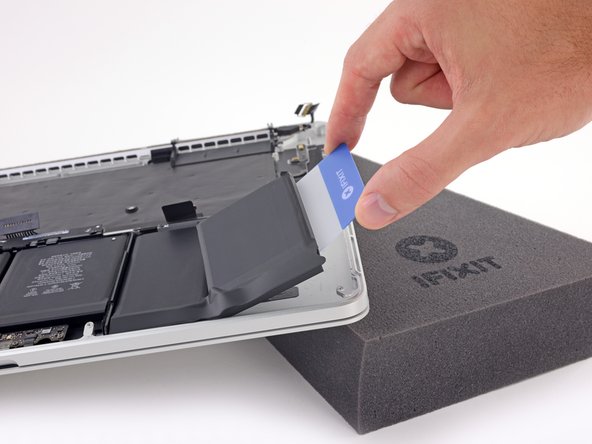
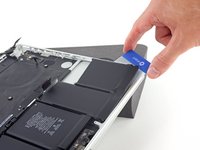
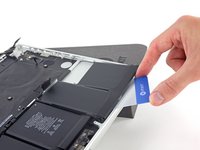
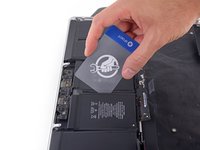
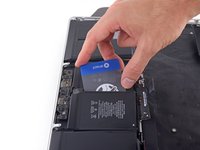
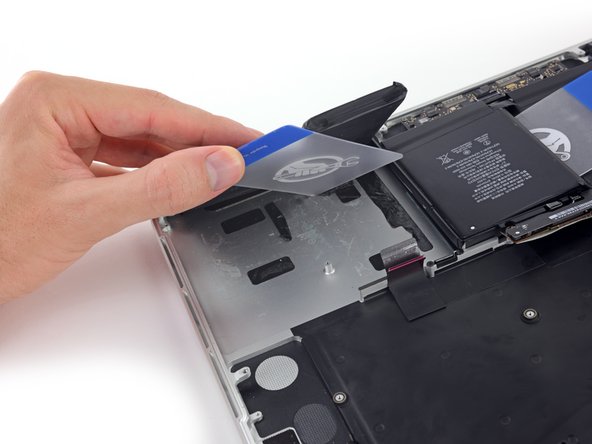
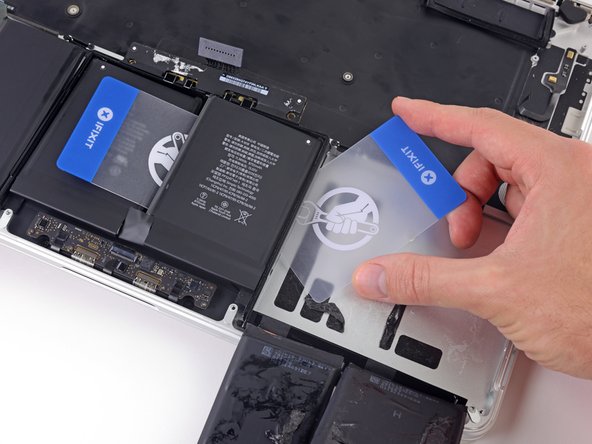
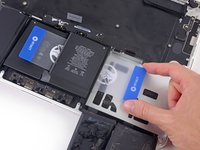
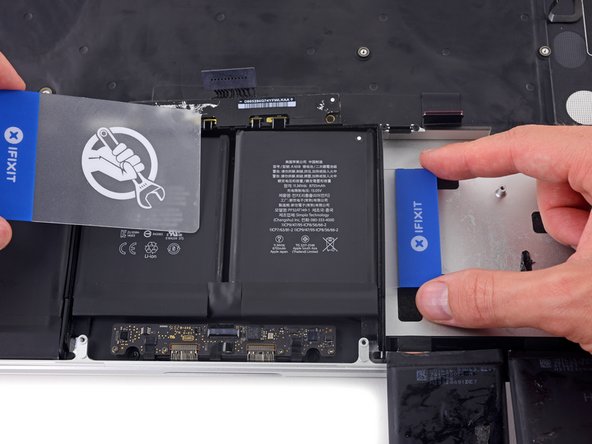
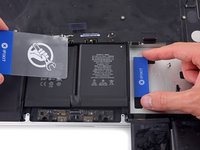
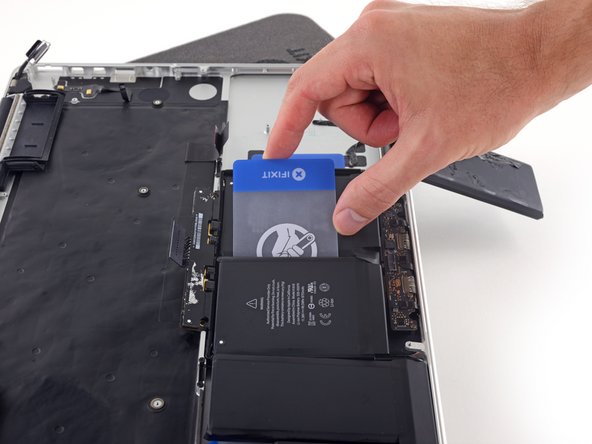
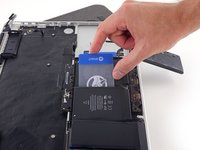
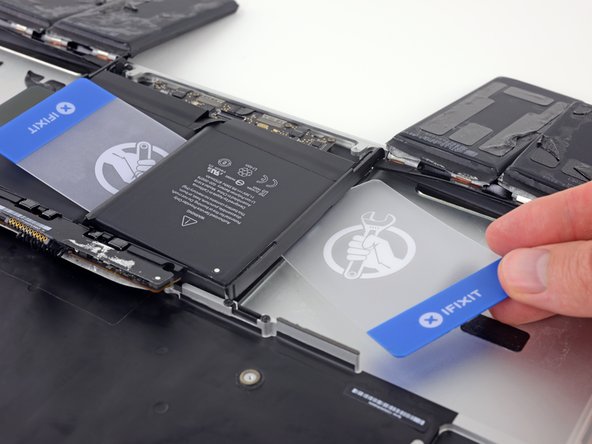
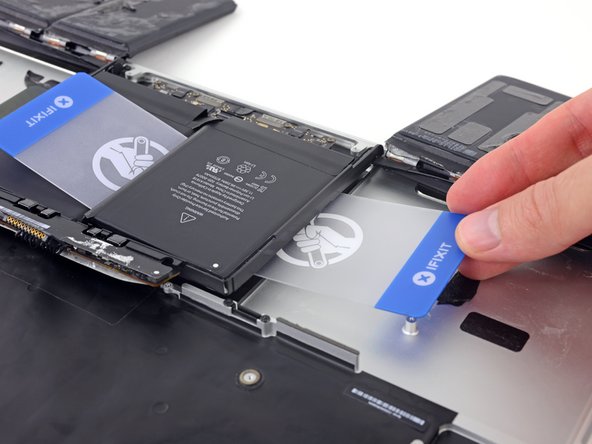
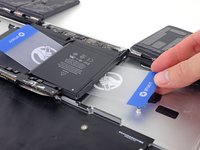
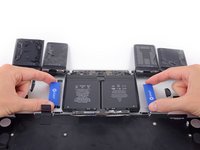
Slide one corner of a plastic card under the outer edge of the battery cell.
-
Slide the card farther underneath the battery cell to separate it from the adhesive securing it to the MacBook Pro's upper case.
-
-
-
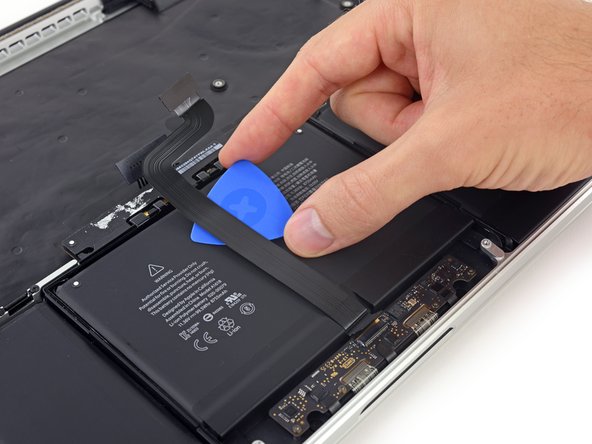
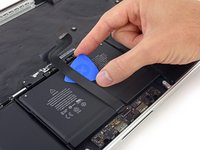
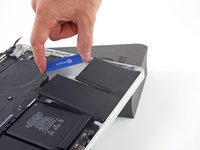
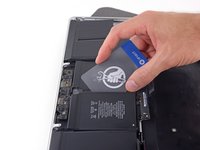
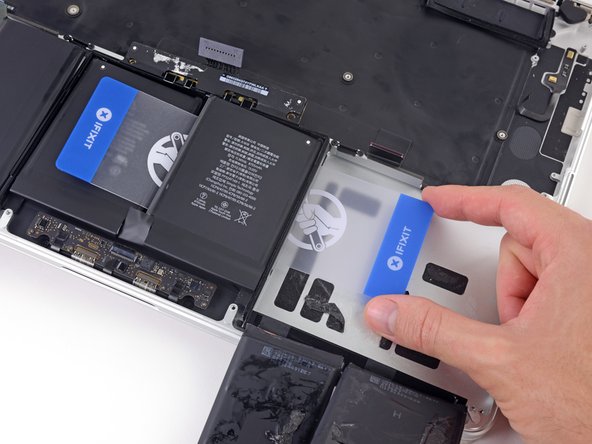
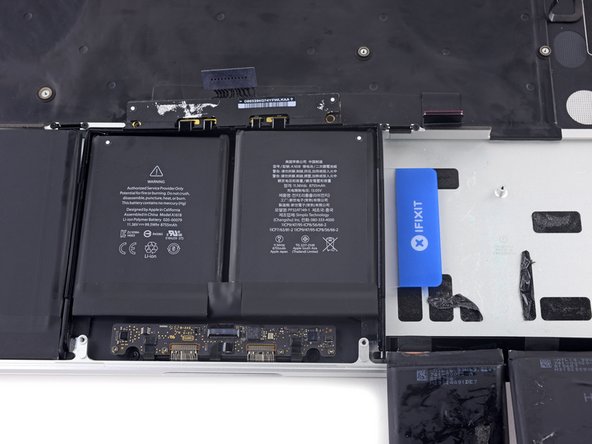
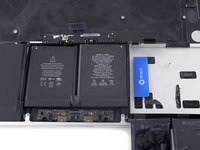
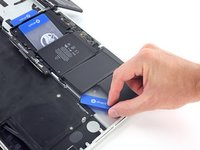
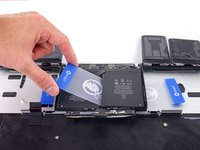
Slide one corner of your plastic card underneath the second battery cell.
-
Push the card underneath the second battery cell, and slide it side to side to separate the adhesive underneath.
-
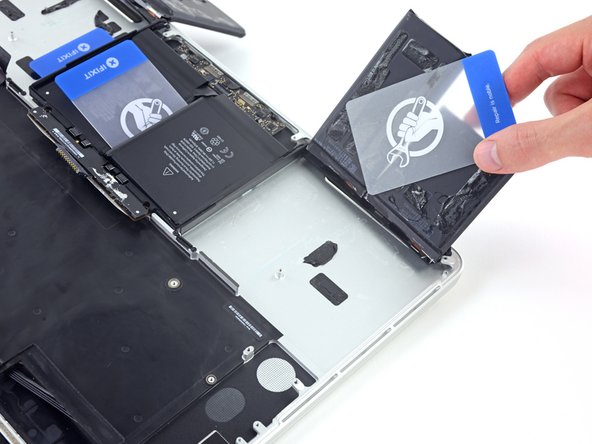
Leave the plastic card underneath both battery cells (or flip them over) to prevent them from re-adhering as you proceed to the next step.
-
-
-
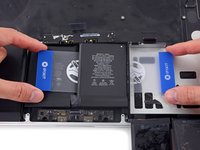
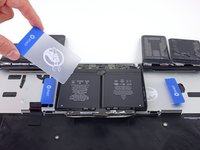
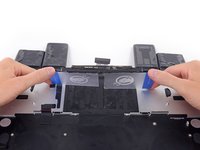
Repeat the procedure from the prior steps to separate the two battery cells on this side:
-
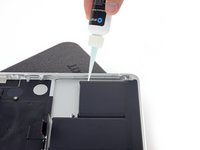
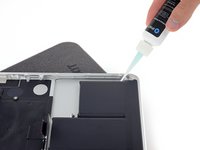
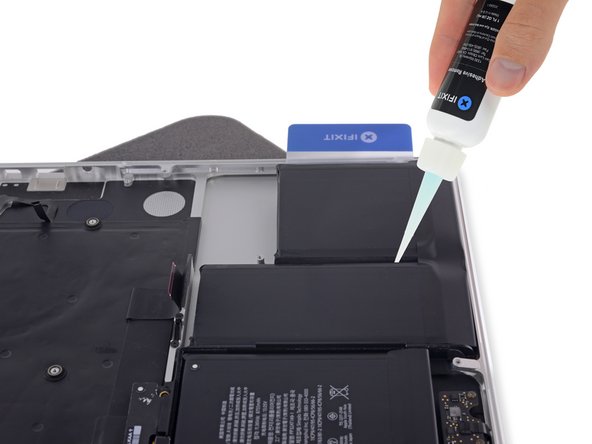
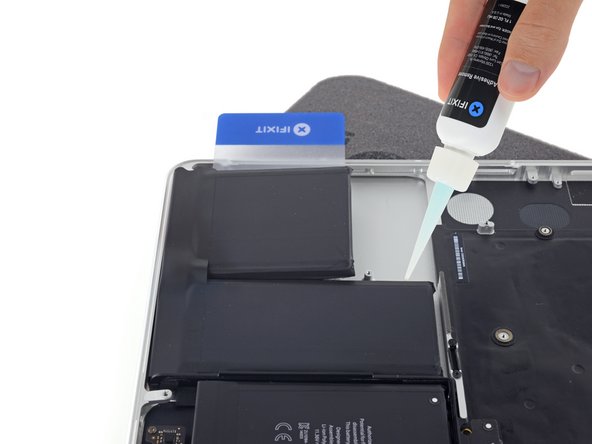
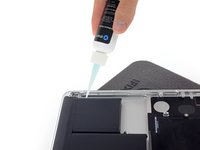
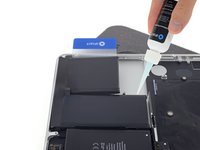
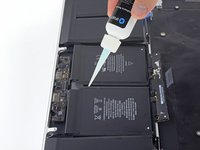
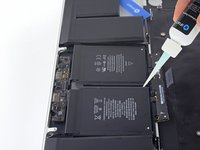
Apply your adhesive remover to the elevated edge of the outer left battery cell, and wait 2-3 minutes for it to penetrate.
-
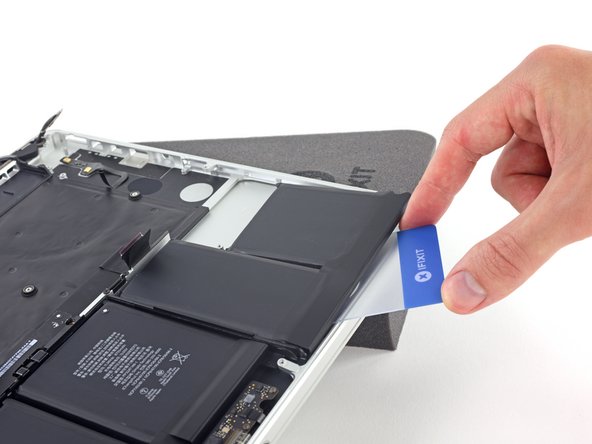
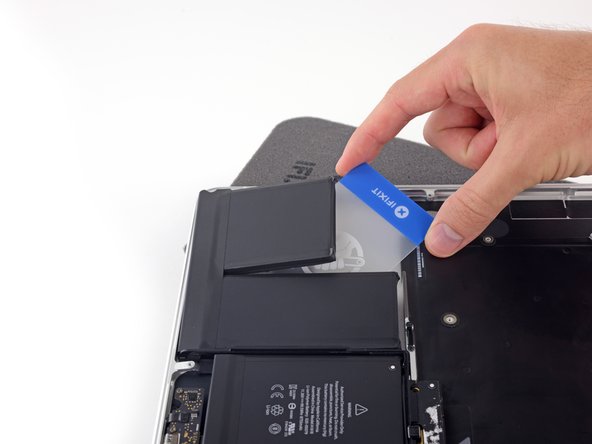
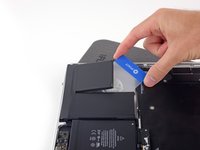
Work one corner of a plastic card underneath the battery cell, and slide the card fully underneath the battery cell to separate it.
-
Do the same for the adjacent cell.
-
Leave your plastic card in place or flip the battery cells over to prevent them from re-adhering during the following steps.
-
-
-
Slide one corner of a plastic card between the middle two cells, and under the elevated edge of the center-right battery cell.
-
Slide the card farther underneath the battery cell to slice through the adhesive securing it in place.
-
Don't try to fully separate this battery cell yet. Leave your plastic card in place to prevent it from re-adhering.
-
-
-
Slide one corner of a plastic card under the elevated edge of the final battery cell.
-
Push the card farther underneath the battery cell to slice through the adhesive securing it in place.
-
Don't try to fully separate this battery cell yet. Leave your plastic card in place to prevent it from re-adhering.
-
-
-
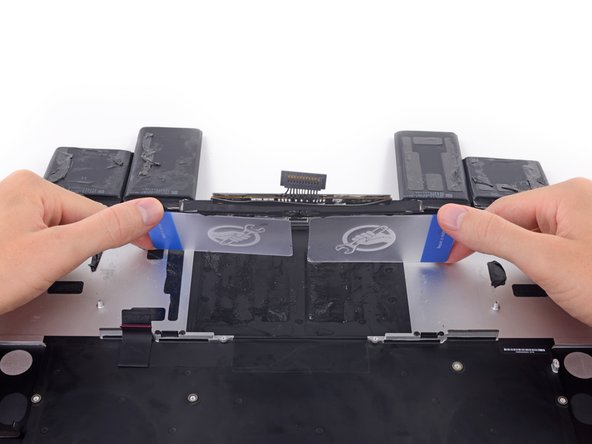
Repeat the process you used on the center-right battery cell to finish separating the adhesive on the center-left cell:
-
Push one corner of a plastic card below the plastic battery frame and underneath the remaining adhered edge of the final battery cell.
-
Slide your card all the way underneath the battery cell, and leave it to prevent the battery cell from re-adhering.
-
-
-
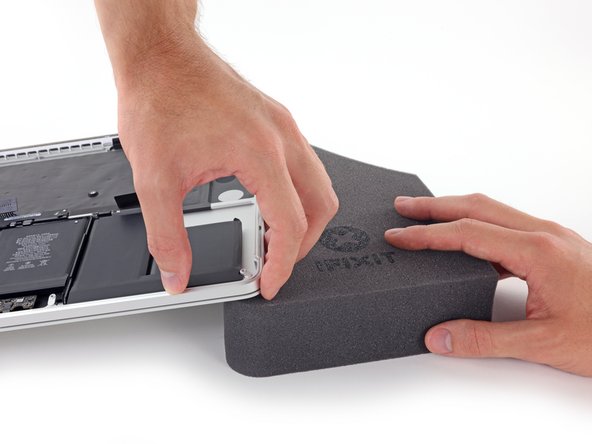
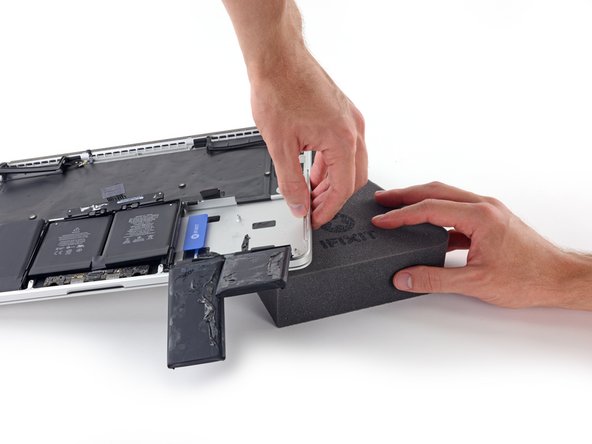
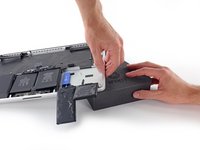
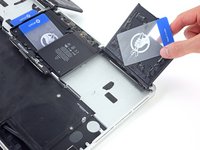
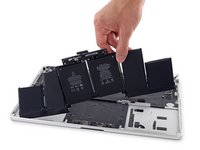
Lift and remove the battery.
-
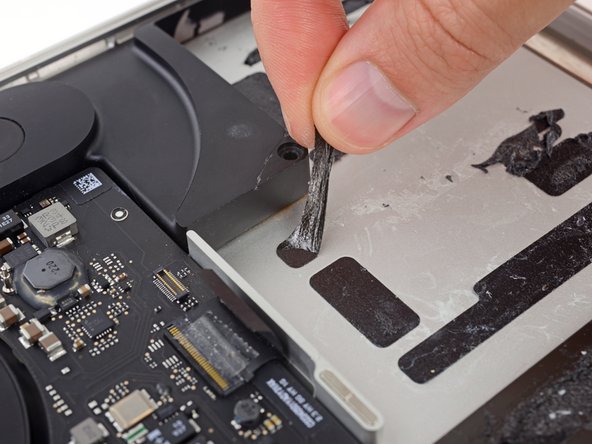
With a little luck, you can slowly pull out each strip of adhesive with your fingers.
-
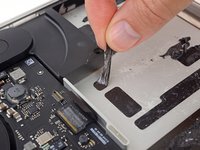
Otherwise, soak each strip of adhesive with a bit of adhesive remover for 2-3 minutes, and then scrape it out with a plastic tool. This can take quite a bit of work, so be patient.
-
Mop up any remaining adhesive remover and give your MacBook Pro a few minutes to air dry.
-
Calibrate your newly installed battery: charge it to 100%, and keep charging it for at least 2 more hours. Unplug and use it normally to drain the battery. When you see the low battery warning, save your work, and keep your laptop on until it goes to sleep due to low battery. Wait at least 5 hours, then charge your laptop uninterrupted to 100%.
-
To reassemble your device, follow these instructions in reverse order.
To reassemble your device, follow these instructions in reverse order.
Cancelar: não concluí este guia.
593 outras pessoas executaram este guia.
229 comentários
Do I need to remove all these things just to replace the battery or can I just remove the connectors above the battery than the battery?
I just went through this process yesterday, and today wondered why I needed to take all that crap out, because I don’t remember anything blocking the battery removal, that would require removing the speakers, logic board, etc. I think it’s because of the acetone adhesive solvent. It’s powerful stuff that can easily damage the system. Maybe, if you are able to get the battery out without the solvent, you can skip all the other stuff. I will say, however, that in my system, it seemed like the adhesive is real solid. It felt like I was pressing the card up against aluminum studs in the frame, until the solvent loosened it up. If you try to remove the battery without the solvent, be very careful not to use excessive force and warp your frame.
See the post I just added, it seems that this is all to be able to remove one of the speaker cables, which I don’t think in necessary. I really don’t like messing with delicate connectors and ribbon cables that I don’t have to.
I have done this job before. I remember that it was easy - did it on the kitchen bar.
In hindsight, I didn't have to take out all the crap. I must have used a different guide. Son of a gun, wasted time. I easily got the battery out without "adhesive remover". Hilarious if "adhesive remover" is acetone, a chemical availabe just about anywhere. Note to self, iFixit needs to be second opinioned. I think this guide is written to make it seem like you need a lot of special tools to do this job. Not true - just a few drivers, usually provided with any battery.
I thought this too and didn't wanna do all that work with the solvent. All I removed was the battery connector and the trackpad cable before attempting to remove the battery. The adhesive Apple uses is bewilderingly strong. I thought I could pry it off with a strong paperclip and a screwdriver but it bent both. I ended up using the backend of a hammer and that worked surprisingly well. But it was super janky and I ended up puncturing the battery outer plastic. It didn't catch fire or anything but you can definitly smell the battery juices or whatever so i opened up my window. If you somewhat know what you're doing and accept the risk of setting fire to your house you can get away with not using solvent but I highly recommend doing so as the battery I ended up pulling out of my MacBook is all mangled. And if you use the solvent you have to take everything out. Apple will be Apple.


