
PSP 1000 Front Casing Replacement

Introdução
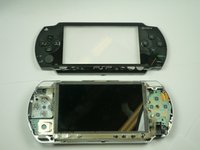
Ir para o passo 1This guide will show you how to remove the PSP's housing/frame.
O que você precisa
Ferramentas

-
-
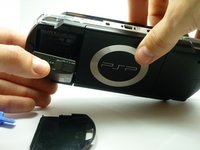
Locate the battery casing button on the rear-left side of the PSP.
-
Press down the button and remove the battery cover.
You are dumbbb... BRO YOUR DUMB BC U DIDNT HAVE TO USE A TOOL TO OPEN THE DOOR. USE YOUR FINGER""
The battery door can be damaged dont use a tool
That also happend to me it got destroyed by screwdriver
-
-
-
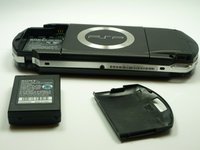
Using your finger, remove the battery upwards from the system as shown.
The use of the opening tool is completely unnecessary. There is a finger actuated opening latch button that says “PUSH” on it. Simply press down with your thumb then slide your thumb down and away, dragining the battery door with it. It will then come off. Assuming the system still has its original plastics, they may have become brittle enough that the opening tool could damage the release button or the plastic cover.
-
-
-
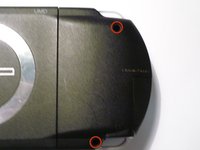
Remove the four screws shown with a Phillips #00 screwdriver.
you need to peel back the warranty sticker in order to access both the lower left and lower left screws
This is a bit misleading, you should only remove the two black screws in the battery compartment. The silver ones can stay.
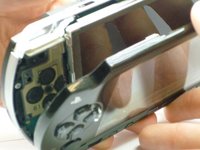
iFixit screwdriver bits aren't thin enough to reach the two screws on the right near the memory stick slot.
Can't edit previous comment so here's a new one:
Standard or older iFixit screwdriver bits aren't thin enough to reach the two screws on the right near the memory stick slot. You'll need precision bits that have longer tips to reach these deep screws.
-


To reassemble your device, follow these instructions in reverse order.
To reassemble your device, follow these instructions in reverse order.
Cancelar: não concluí este guia.
34 outras pessoas executaram este guia.

Equipe

Cal Poly, Team 5-6, Forte Winter 2010 Membro de Cal Poly, Team 5-6, Forte Winter 2010
CPSU-FORTE-W10S5G6
5 Membros
Autoria de 34 guias
3Comentários do guia
My psp is updating then psp is fallen down and battery comeout so please help me please thank you
Bye
i also made a video on this for anyone who needs to do it that way.