
Moto Z Display Assembly Replacement

Introdução
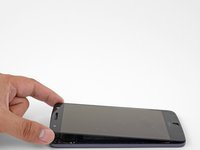
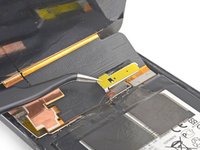
Ir para o passo 1This guide shows how to replace a broken or cracked display assembly for the Moto Z. The display assembly includes the front glass and the AMOLED display.
Before you begin, download the Rescue and Smart Assistant app to backup your device and diagnose whether your problem is software or hardware related.
The display assembly is extremely fragile and has no reinforcement. Work slowly and methodically when handling the display assembly.
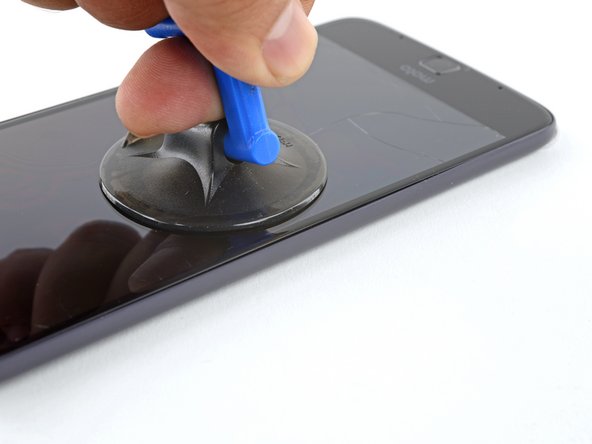
If your display glass is cracked, tape over the glass to keep the glass contained and to prevent bodily harm during your repair.
O que você precisa
Fix Kit
Este kit contém todas as peças e ferramentas necessárias para executar este guia.

Peças


Ferramentas


Exibir mais…
-
-
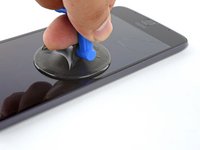
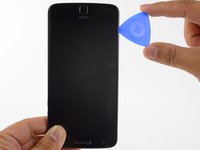
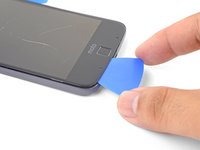
Heat an iOpener and apply it to the left edge of the phone for at least 90 seconds.
-
-
-
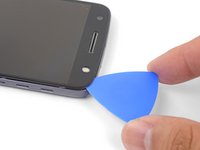
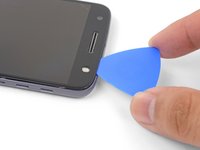
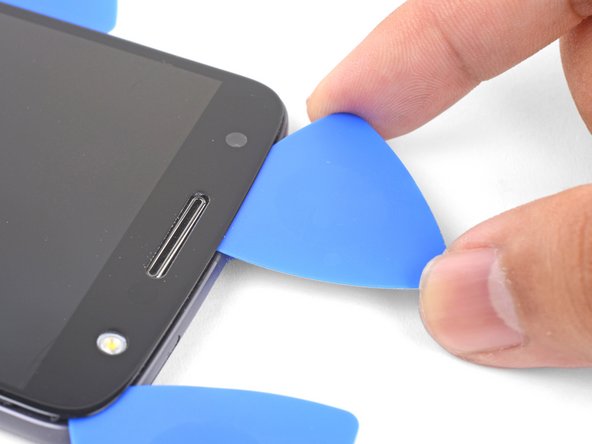
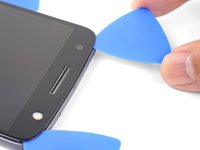
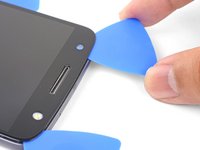
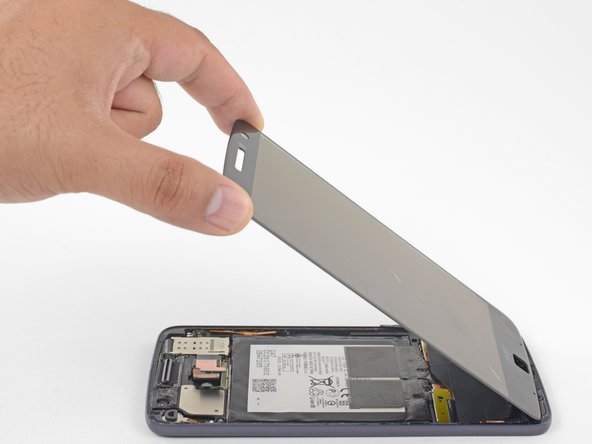
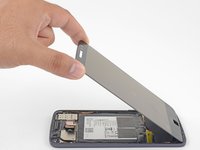
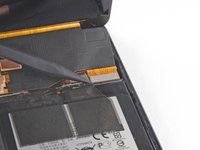
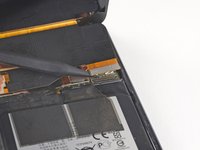
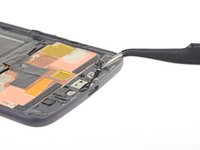
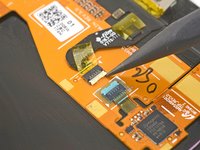
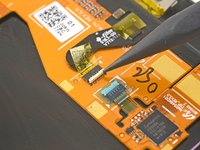
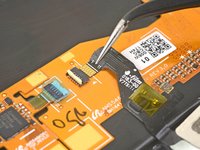
Lift the earpiece end of the display up to provide access to the display cables.
It says lift home button end of display but the photo shows lifting the earpiece end.
Good catch! I have fixed the step.
When I finally got mine opened, all I see is a white piece of metal. Nothing like you photo…UhOH…
Oh no! It sounds like a different model! Motorola phones are notorious for their similar sounding naming conventions.
-
-
-
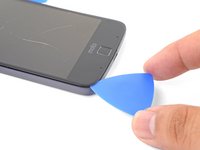
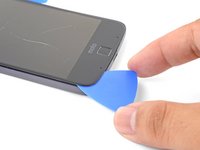
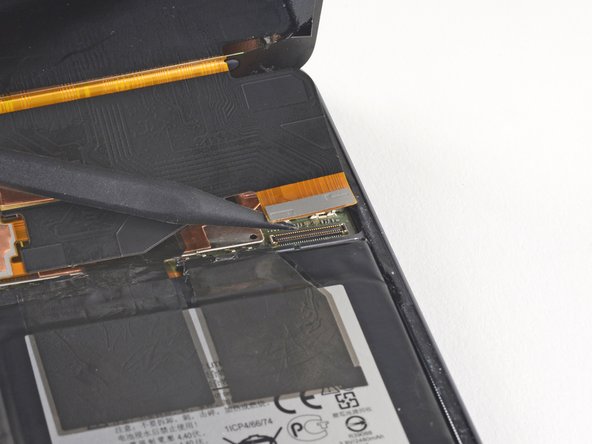
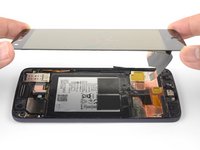
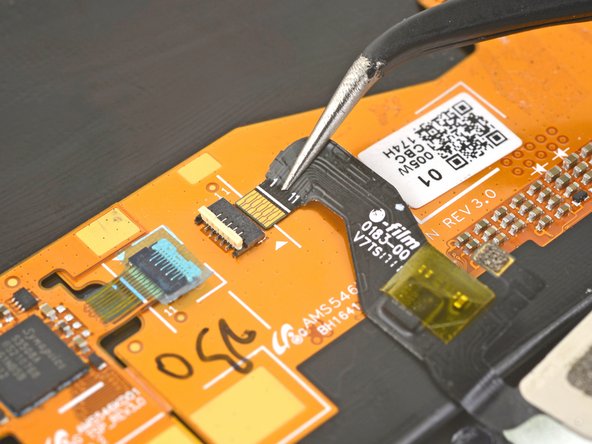
Remove the display assembly.
-
After removing all traces of glue and glass from the frame, clean the adhesion areas with 90% (or higher) isopropyl alcohol and a lint-free cloth or coffee filter.
By removing the traces of glue from the frame, you will also remove the protective covers of the microphone and whatnot at the home button side,, as well as the speaker cover at the other side, because the glue does its duty…
-
-
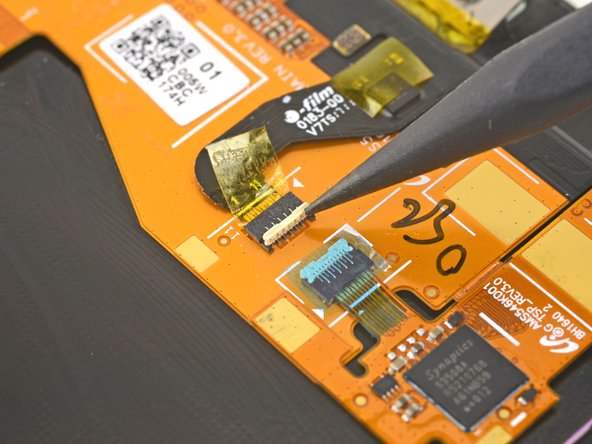
Ferramenta utilizada neste passo:Tweezers$4.99
-
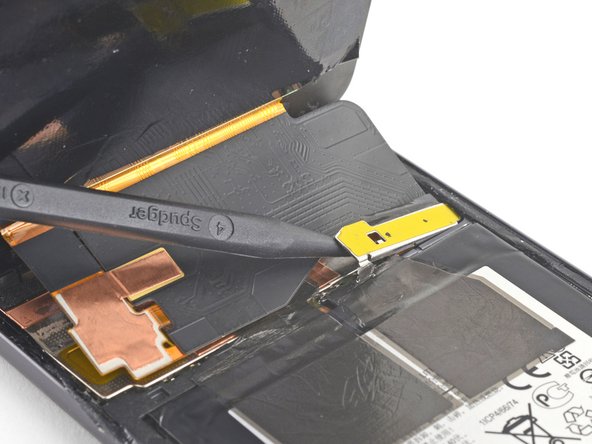
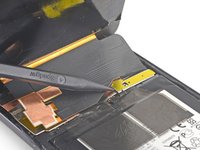
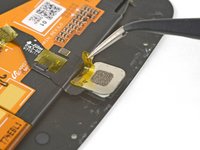
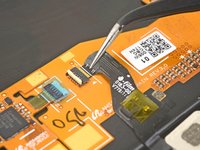
Use tweezers to peel off any tape on the home button connector and home button
-


Compare your new replacement part to the original part. You may need to transfer remaining components or remove adhesive backings from the new part before installing.
To reassemble your device, follow these instructions in reverse order.
Take your e-waste to an R2 or e-Stewards certified recycler.
Repair didn’t go as planned? Check out our Motorola Moto Z Answers community for troubleshooting help.
Cancelar: não concluí este guia.
19 outras pessoas executaram este guia.


14 comentários
Watch the youtube video it’s a lot better also instead of sending a sticker that connects the phone and the screen they should’ve added adhesive to the new screen.
Hi Jonathan,
Unlike aftermarket screens that may have adhesive pre-attached, we are an authorized Motorola reseller and sell OEM Motorola parts. In this case, the OEM screen comes without adhesive pre-attached.
For the most part this was a helpful guide, but what about the flash? When following the directions the flash comes off with the screen/digitizer, and it appears to have happened to the author as well. There is no mention or help in reattaching this component or needing to purchase a new flash component prior to beginning the repair. It will be too late for me, but any insight might help others.
Hey Joe,
You’re right—depending on the part you order, you may need to transfer the flash lens from your original back cover to the replacement part. This involves prying the original off and sticking it back onto the replacement cover. I’ll add a note to one of the steps.
You have to reattach the flash lens wires directly to the underside of the OLED screen, not the ‘back cover.’ It sticks directly to the OLED screen. That’s where it was on the old screen. Was this wrong?
Hello,
Somehow in the middle of the process to replace my Moto Z screen and battery, I lost the display cable shield. I assemble the display without it, but the touch won’t work. AIs this because I lost the part, or the replacement part is faulty?
Also, the adhesive tapes on the battery are also gone. Is it going to a problem?
Thank you
Hi Farshad,
It is possible, though unlikely that the missing display cable shield is the culprit for the touch. I would double-check the wide display connector to make sure it is fully seated. Connect the display, place a non-conducting sheet between the display and the rest of the phone, and power it up to see if the digitizer works. If it does, there’s a grounding issue. The black tape on the battery mainly helps dissipate heat, but may also help electrically insulate certain parts.
Hello
I have tried to use a piece of folded aluminium foil as the shield, but it won’t work. I used it because I failed to find this small part online, on the other hand, I find in comments after my story that the shield may not be of touch function value, so, I am wondering what else could be the issue. I also ordered two more display assemblies because I thought they may be faulty, but nothing changed. Any idea?
Everything went great but I forgot to replace the Display Cable Shield, found it when I was cleaning up. Hope it’s OK without it?!
Hi Randall,
If you already sealed the phone and it works, that’s fine!
Hi Randall
Is the phone fully functional? I have lost the display cable shield and when I assemble the device, there’s no touch.
The screen is super sensitive and I messed up the volume and power buttons.