DJI Phantom 3 Advanced LED Replacement
Introdução
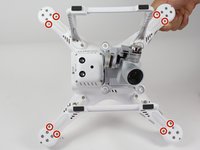
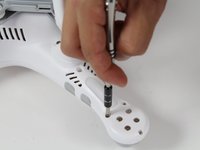
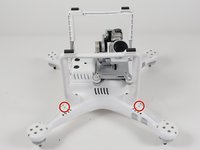
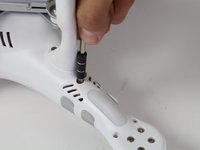
Ir para o passo 1In this guide you will remove the glue on the wires, desolder the wires connecting the LED to the control board and remove the LED from the drone.
O que você precisa
-
-
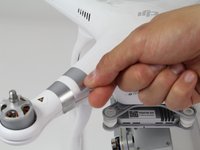
With the battery facing you, locate the two tabs on the top and bottom of the battery as shown.
-
-
-
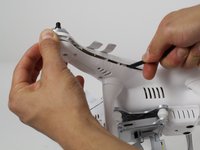
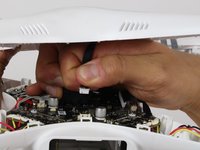
Slowly remove the upper half of the plastic case about halfway. There is a ribbon cable that's connects the cover and the control board.
-
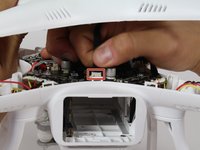
Follow the ribbon cable to the control board and locate the connector that connects the cable to the control board.
-
Press the tab on the side of the connector and pull up on the cable.
-
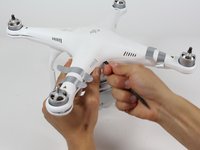
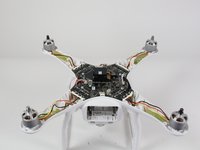
Continue to remove the shell the rest of the way.
-
-
-
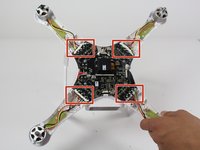
Follow the red,yellow and black wires from the LED to where they connect on the control board.
-
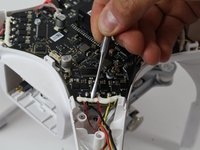
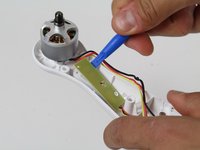
Scrape off the glue with a plastic opening tool. Use a metal opening tool if needed.
-
-
-
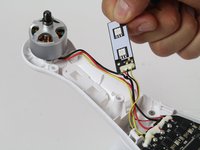
Desolder the red, yellow and black wires that connect the LED to the control board. Check out the link below for more information on desoldering. Desoldering Information
-
To reassemble your device, follow these instructions in reverse order.
To reassemble your device, follow these instructions in reverse order.
Cancelar: não concluí este guia.
3 outras pessoas executaram este guia.


