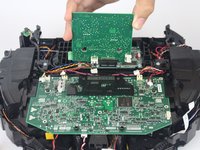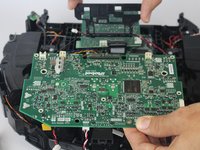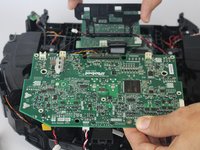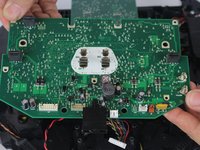
iRobot Roomba 980 Motherboard Replacement
Introdução
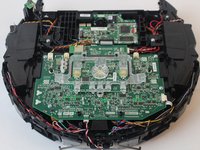
Ir para o passo 1If all efforts to repair the Roomba® 980 vacuum fail, replacing its motherboard is usually the last step before a full resolution is achieved. There can be several reasons why this replacement is necessary, from water to physical damage, the process can be a complicated, lengthy installation. Finally, proceed with caution when handling the circuit board’s connectors and pins as damaging this can result in irreparable damage.
O que você precisa
-
-
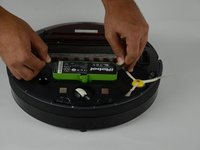
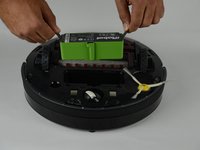
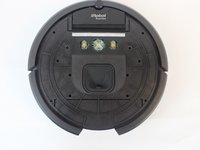
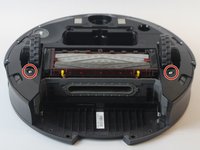
Flip over the device and remove the two 11.5 mm screws using the Phillips #1 screwdriver.
-
-
-
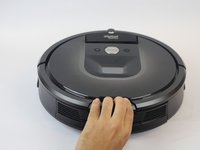
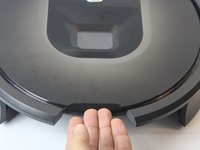
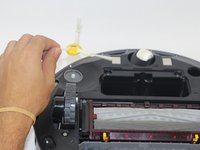
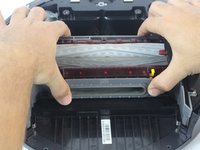
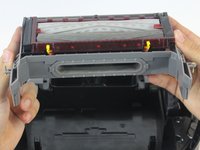
Remove the dust bin by pressing down on the rear button on the device.
-
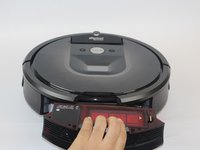
Pull the bin towards you to remove it.
-
-
-
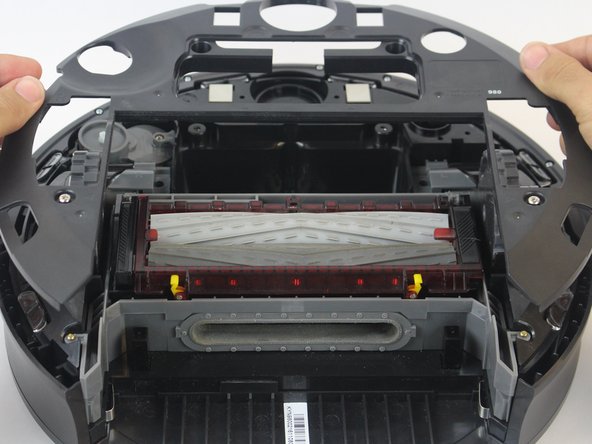
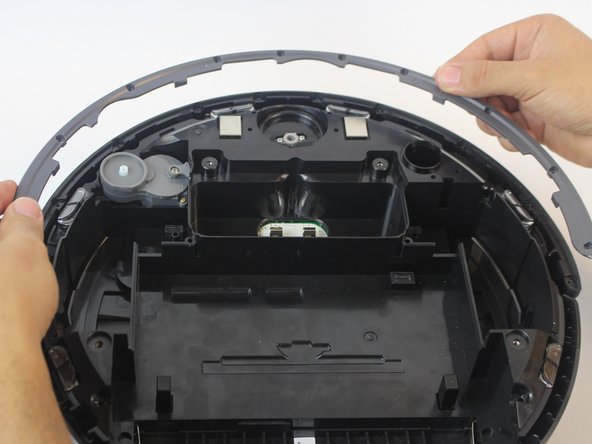
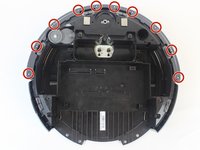
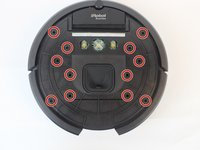
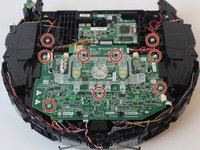
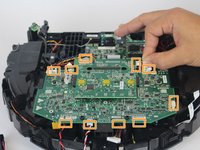
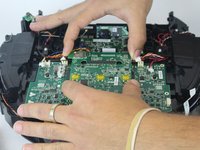
Remove the fourteen 6.6 mm black screws holding down the top plate using a Phillips #1 screwdriver.
-
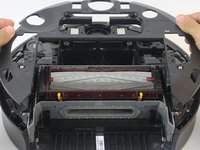
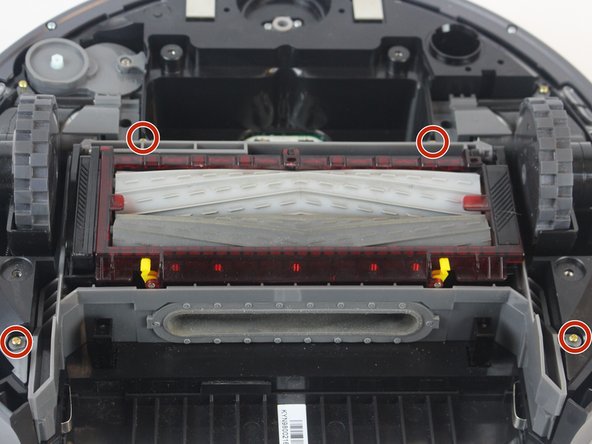
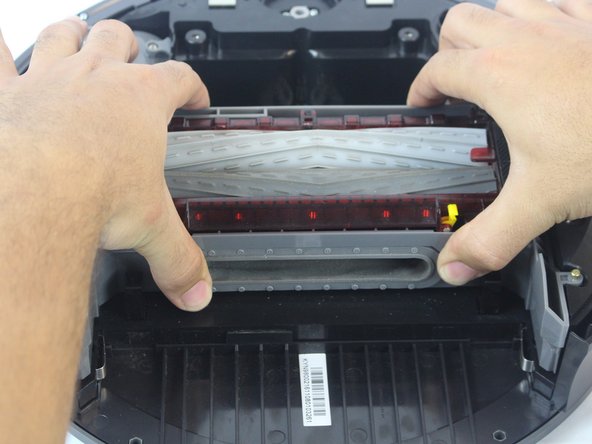
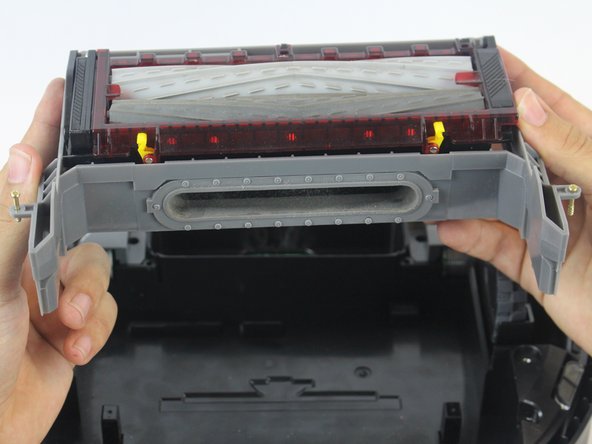
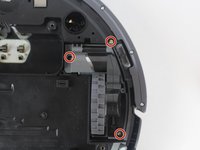
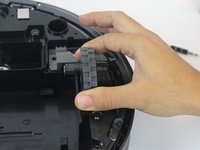
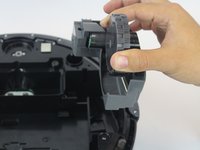
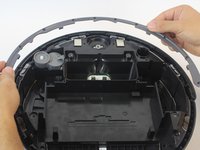
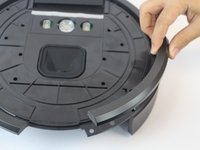
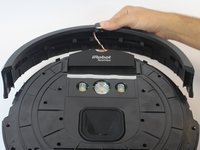
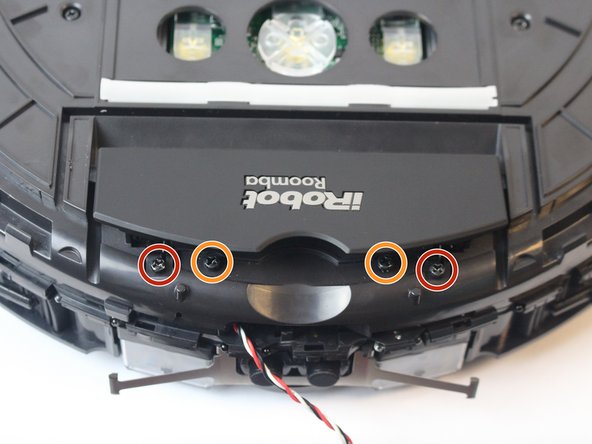
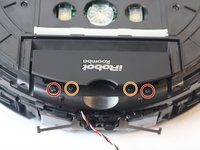
Push the lip back towards the logo to remove two 6.6 mm black screws found under it using a Phillips #1 screwdriver.
In the secon image is better to remove the outer screws at first.
Alejandro has it. This part was not explained well. The screws with red circles MUST be removed first. They hold the hinges for the lift handle with the logo. You cannot “push the lip back”. You have to remove the spring loaded lift handle by removing the first two screws and lifting the assemble up and out. The spring loaded hinges are self contained ans will not be an issue to remove due to the spring tension.
-
To reassemble your device, follow these instructions in reverse order.
To reassemble your device, follow these instructions in reverse order.
Cancelar: não concluí este guia.
23 outras pessoas executaram este guia.
10Comentários do guia
Thank you for the replacement instructions & pictures…so helpful!
Any idea where I can purchase a roomba 980 motherboard?
Where can I purchase the roomba 980 motherboard?
aliexpress my friend
you don’t need to take out the modules to take out the circuit board
If you find a rectangular rubber grommet left over when you’ve finished, it goes in a slot behind the dust bin and you can reinsert it from the outside just by removing the bin first.
Thanks for the instructions and the pictures , being a picture instruction person that’s a real help.
Between step 14 and 15 the front wiring harness plastic bracket has been removed. How? It doesn't have to be removed to remove the mainboard, but it does have to be removed to get to the edge sensor IR LEDs to disable them to fix the Roomba to ignore black carpets it thinks are a cliff edge and stops the Roomba.
To answer myself: Partially remove the mainboard. Enough to lift it as there is a plastic part hard attached to the mainboard that holds the wire harness/sensor bracket in place. Have to lift it up to lift out the proximity sensor bar to then get to the screws that hold the metal spring in place to then get to the front two edge sensor housings. You do not need to remove any connection from the mainboard. There is enough slack in the wire lengths (very little so be carefull!)
Sean -
I have purchased a motherboard from aliexpress however now my iRobot app recognizes the Roomba as 961 instead of 980. Anyone knows where I could look for instructions to fix that?
Maybe a forum?


