Introdução
iPhone batteries are rated to hold 80% of their capacity for up to 500 charge cycles, which lasts roughly 18-24 months for most users. After that, your iPhone may need to be charged far more frequently, and iOS may warn you that performance is affected (in other words, your phone will run slower). Use this guide to replace your battery and restore your iPhone to like-new performance.
If your battery is swollen, take appropriate precautions.
Note: After the repair, your iPhone may display a warning about the “genuineness” of the battery, even when using original Apple parts. If your iPhone functions normally, you can safely ignore the warning.
For optimal performance, after completing this guide, calibrate your newly installed battery: Charge it to 100% and keep charging it for at least two more hours. Then use your iPhone until it shuts off due to low battery. Finally, charge it uninterrupted to 100%.
O que você precisa
Vídeo de Apresentação
-
-
Power off your iPhone before beginning disassembly.
-
Remove the two 6.9 mm-long pentalobe screws at the bottom edge of the iPhone.
-
-
-
Measure 3 mm from the tip and mark the opening pick with a permanent marker.
-
-
-
Lay overlapping strips of clear packing tape over the iPhone's screen until the whole face is covered.
-
If you can't get the suction cup to stick in the next few steps, fold a strong piece of tape (such as duct tape) into a handle and lift the screen with that instead.
-
-
Ferramenta utilizada neste passo:Clampy - Anti-Clamp$24.95
-
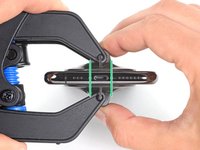
Pull the blue handle backwards to unlock the Anti-Clamp's arms.
-
Slide the arms over either the left or right edge of your iPhone.
-
Position the suction cups near the bottom edge of the iPhone—one on the front, and one on the back.
-
Squeeze the cups together to apply suction to the desired area.
-
-
-
Heat an iOpener and thread it through the arms of the Anti-Clamp.
-
Fold the iOpener so it lays on the bottom edge of the iPhone.
-
Wait one minute to give the adhesive a chance to release and present an opening gap.
-
Insert an opening pick into the gap under the screen and the plastic bezel, not the screen itself.
-
Skip the next three steps.
-
-
-
Use a hairdryer or heat gun or prepare an iOpener and apply it to the lower edge of the iPhone for about a minute in order to soften up the adhesive underneath.
-
-
-
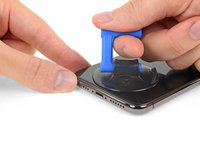
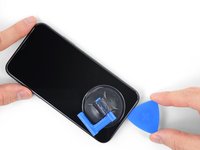
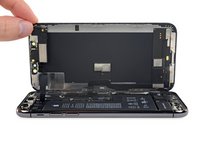
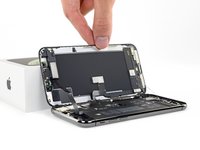
Pull up on the suction cup with firm, constant pressure to create a slight gap between the front panel and rear case.
-
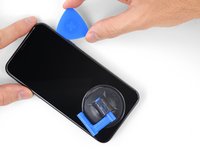
Insert an opening pick into the gap under the screen and the plastic bezel, not the screen itself.
-
-
Ferramenta utilizada neste passo:Magnetic Project Mat$16.96
-
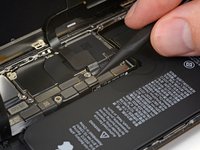
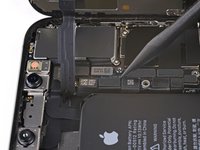
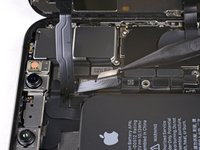
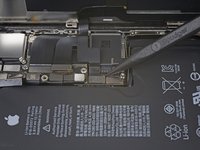
Remove five screws securing the logic board connector bracket, of the following lengths:
-
Three 1.0 mm Y000 screws
-
One 1.3 mm Y000 screw
-
One 3.7 mm Phillips screw
-
-
-
-
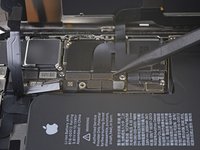
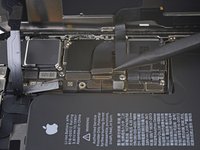
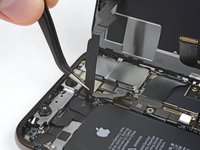
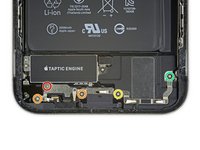
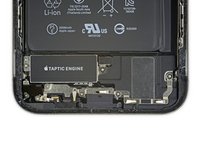
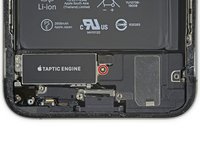
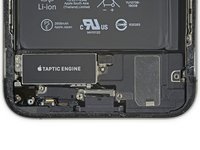
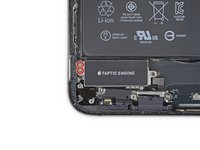
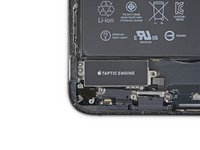
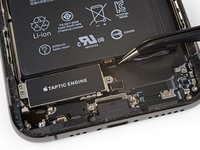
Remove the five screws securing the two brackets below the Taptic Engine and main speaker:
-
One 1.0 mm tri-point Y000 screw
-
Two 1.3 mm Phillips screws
-
One 1.7 mm Phillips screw
-
One 1.8 mm Phillips screw
-
-
-
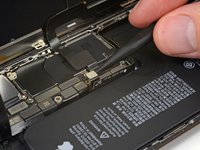
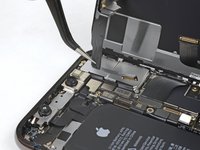
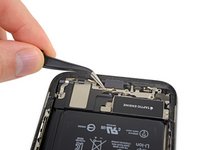
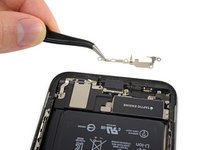
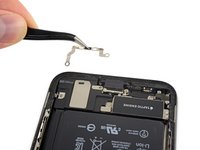
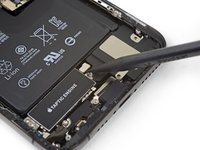
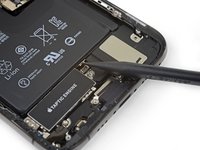
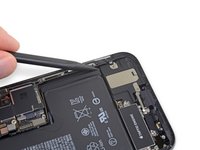
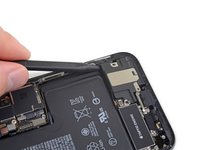
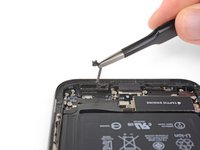
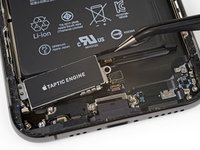
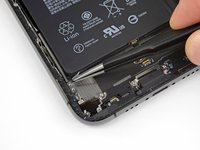
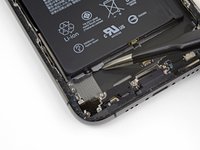
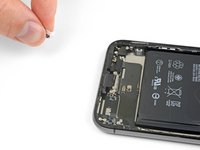
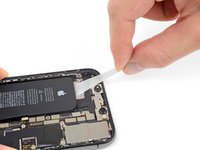
Use a spudger to disconnect the Taptic Engine flex cable by prying it straight up from its socket.
-
-
-
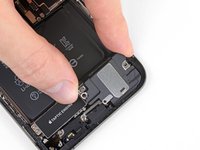
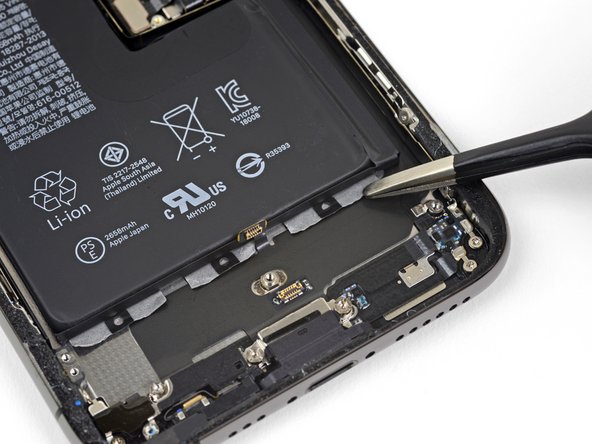
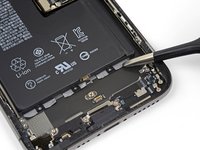
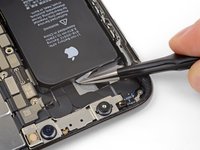
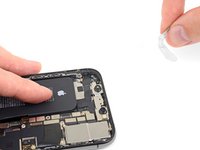
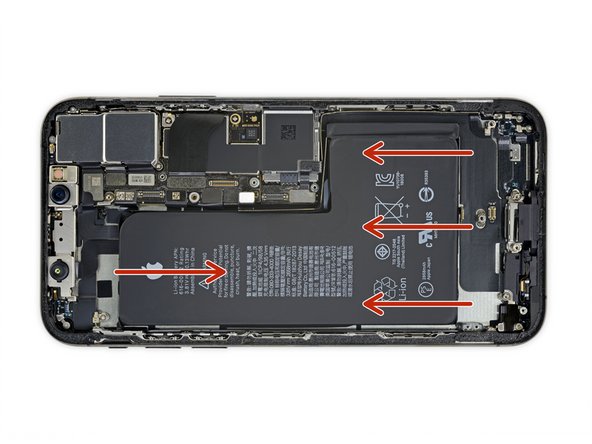
Each piece of adhesive has a black pull-tab at the end, which is lightly adhered to the side edge of the battery.
-
-
-
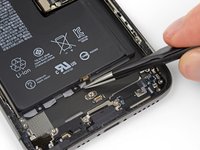
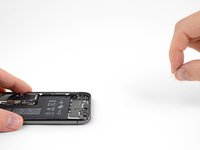
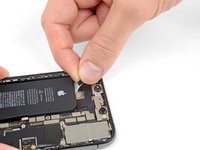
To increase your odds of success:
-
Don't press down on the battery. Hold the iPhone firmly by its sides.
-
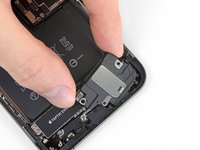
Keep the strips flat and unwrinkled as you pull.
-
Pull very slowly, giving the strip time to stretch and separate. It takes around 15-30 seconds of stretching to remove each strip.
-
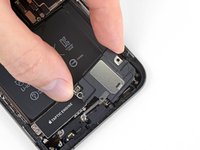
Pull at a low angle so the strip doesn't snag along the bottom edge of the battery.
-
If a strip does break off underneath the battery and cannot be retrieved, move on to the other strips and then continue with the additional steps below.
-
-
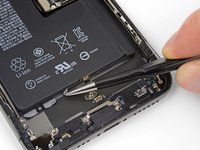
Ferramenta utilizada neste passo:Tweezers$4.99
-
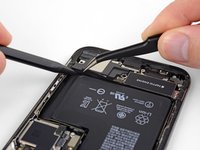
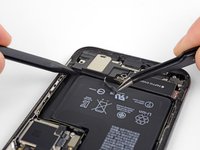
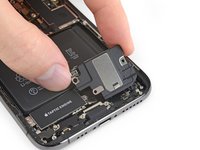
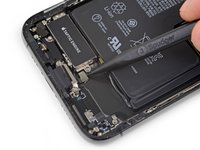
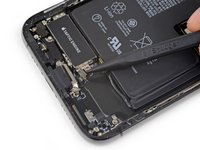
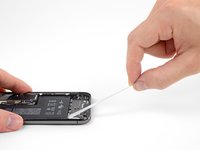
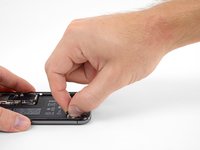
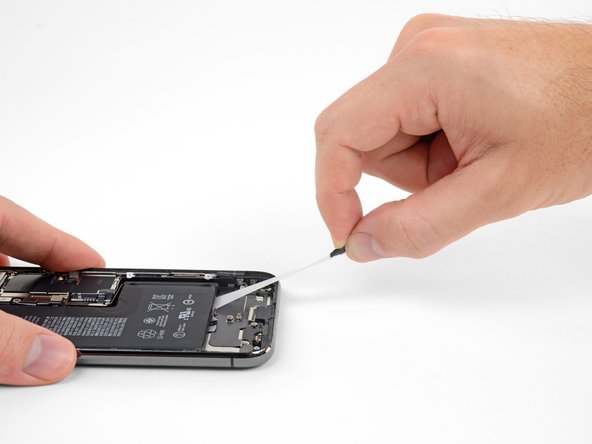
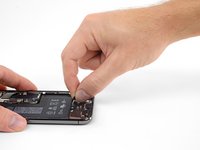
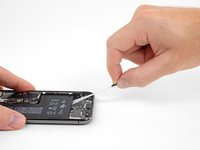
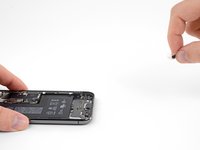
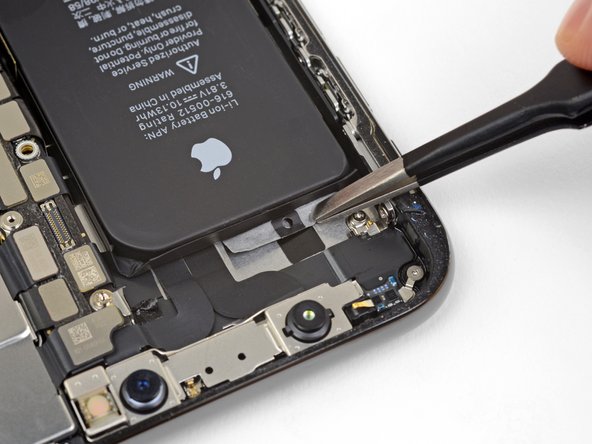
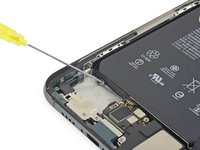
Grab one of the outer battery adhesive tabs and slowly pull it away from the battery, toward the bottom of the iPhone.
-
Pull steadily, maintaining constant tension on the strip until it slips out from between the battery and the rear case.
-
-
-
If any of the adhesive strips broke off and the battery remains stuck to the rear case, remove it by adding a few drops of isopropyl alcohol (90% or greater) underneath the battery near the stuck strip(s).
-
After about a minute, gently lift the battery.
-
-
-
If any of the adhesive strips broke off and the battery remains stuck to the rear case, prepare an iOpener or use a hair dryer to heat the rear case directly behind the battery.
-
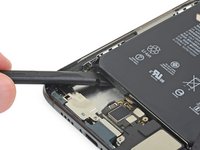
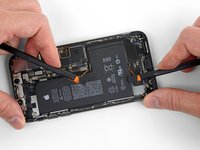
Flip the iPhone back over and thread a strong piece of string (such as dental floss or a length of thin guitar string) underneath the battery.
-
Pull the string from side to side in a sawing motion to separate the adhesive. This can take some time since the adhesive is slow to deform, but with patience it will come free. Do not deform or damage the battery.
-
Start from the top or bottom edge of the battery, and pull toward the middle. Don't pull the string through the middle third of the battery, or you may damage the ribbon cables or the wireless charging coil directly underneath.
-


Compare your new replacement part to the original part—you may need to transfer remaining components or remove adhesive backings from the new part before installing.
To reassemble your device, follow the above steps in reverse order.
Take your e-waste to an R2 or e-Stewards certified recycler.
Repair didn’t go as planned? Check out our Answers community for troubleshooting help.
Cancelar: não concluí este guia.
145 outras pessoas executaram este guia.


18Comentários do guia
i don’t know what happened but now my iphone xs will only boot into recovery mode and there is nothing showing up on the display. i have double triple quadruple checked and dont know what my issue is. any feedback on the matter would be greatly appreciated.
My iPhone has been turned off completely for the past few weeks, I have tried to hard restart it but nothing seems to work. It has a black screen and isn’t responding to anything. Nothing has ever been wrong with the phone it just shut down one day and hasn’t restarted since. Do you have a suggestion to get my phone working again?
Anyone have an issue where the phone won’t charge after replacing the battery/
Yes, I cant figure out why. I wonder if because its not the original battery, it wont let the new one charge? Idk.
Nick Lo -
It is possible the you went to deep with the plectrum, knocking of a capacitor from the logic board. I think it’s best you take it to a really good repair shop where the owner has expert solder skills to replace it.
Good luck