
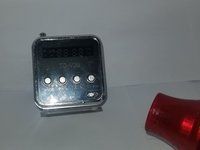
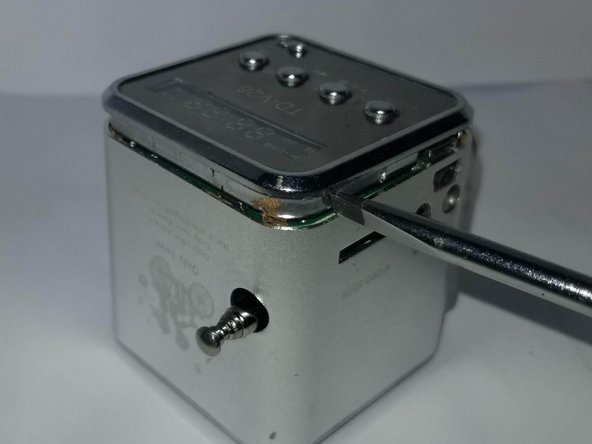
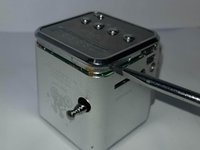
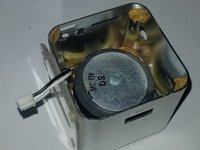
TD-V26 Speaker and Antenna Replacement

Introdução
Ir para o passo 1Radios are an everyday household item that are quite easy to break down after a few years or can wear down after many uses. Broken radios often just sit and collect dust and take up space. Fortunately, you can fix those radios and make them a functional device in your workspace. You’ll need some common hand tools and some replacement parts.
Once finished you can enjoy the sweet sounds of your favorite radio station.
Here some other guides to complete this project:
O que você precisa
Peças
Ferramentas


Exibir mais…
-
-
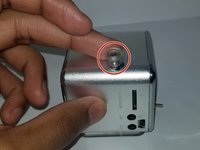
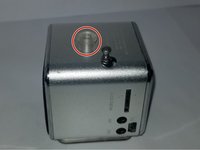
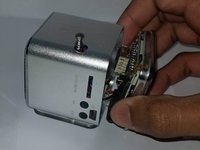
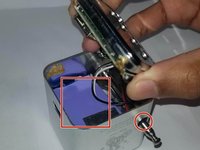
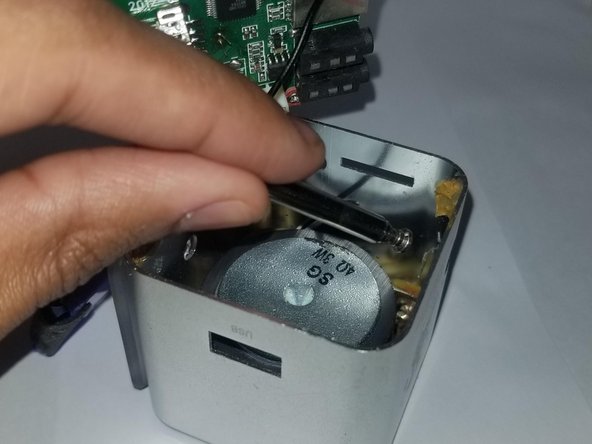
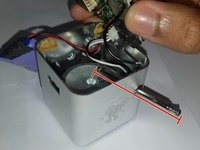
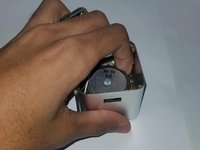
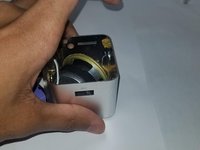
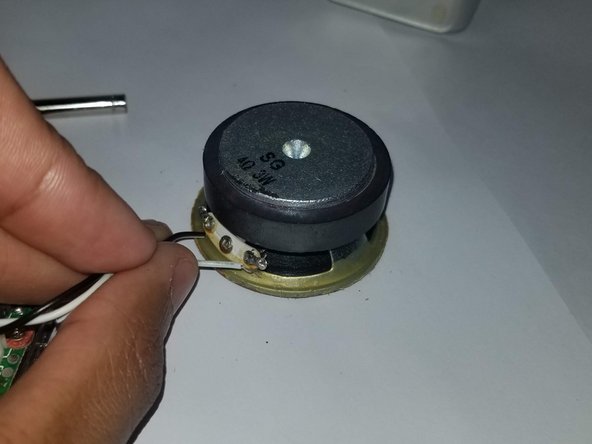
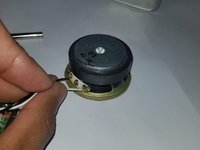
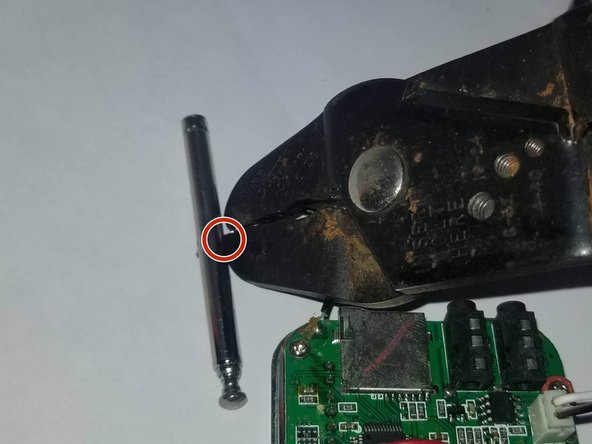
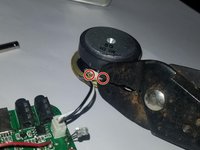
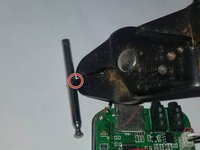
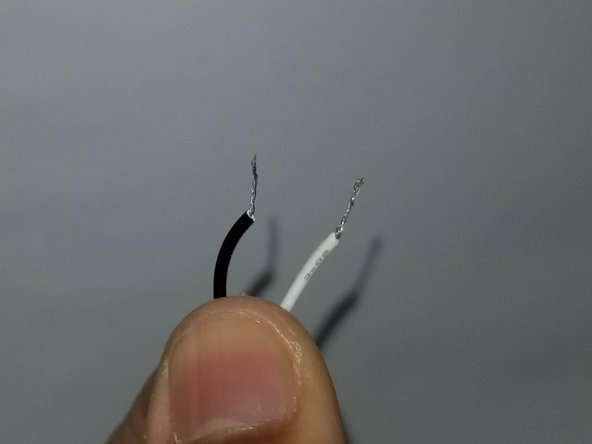
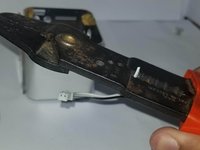
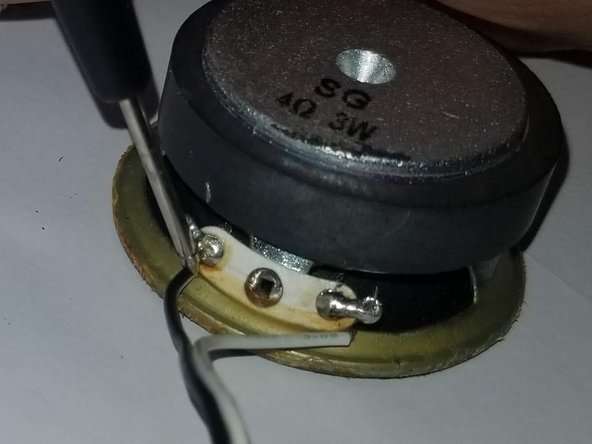
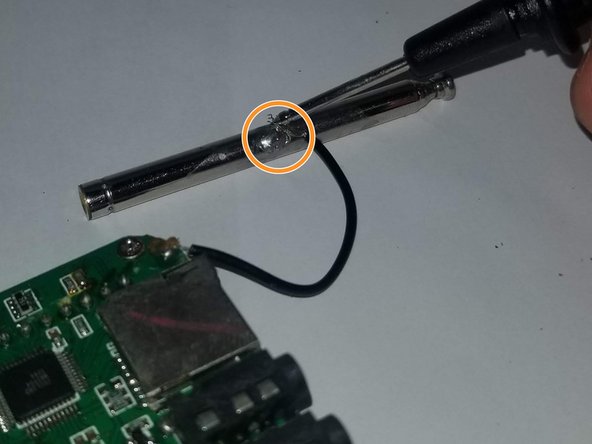
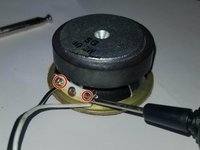
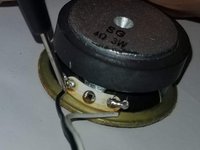
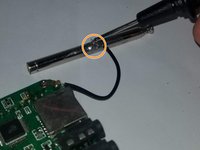
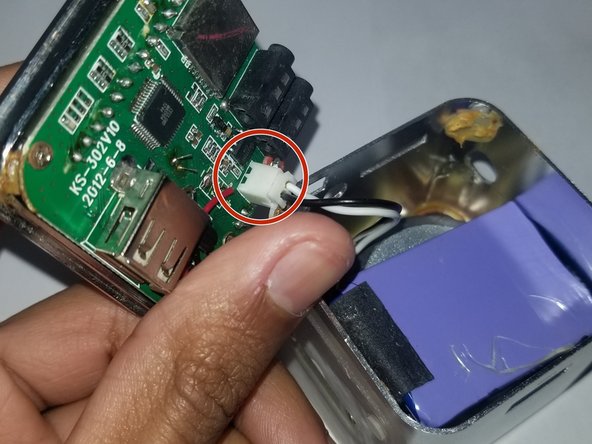
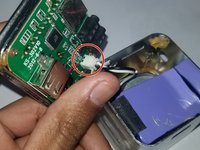
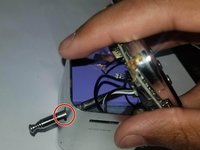
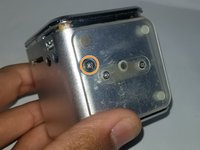
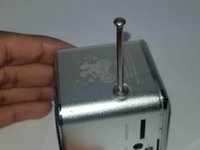
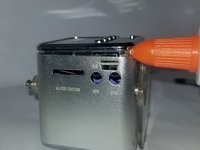
Observe what the problem is. Determine if the radio requires a Speaker change, an Antenna change or Both.
-


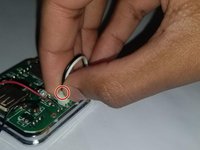


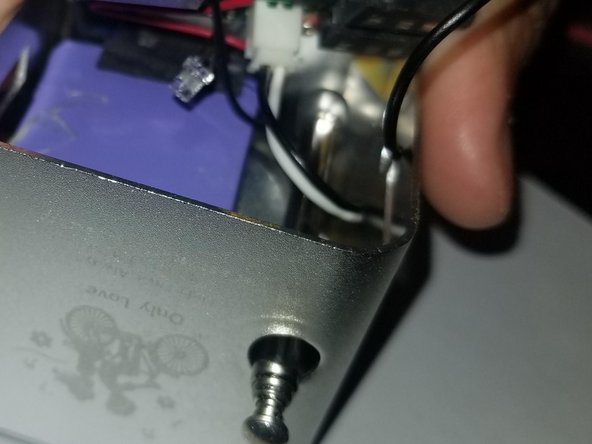
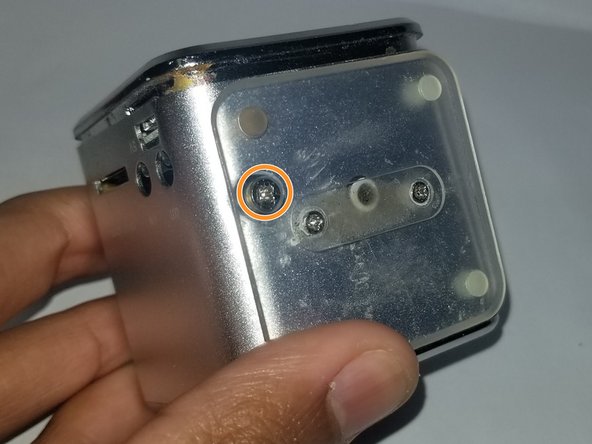


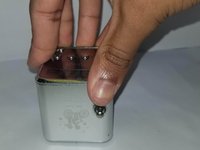
To reassemble your device, follow these instructions in reverse order.
To reassemble your device, follow these instructions in reverse order.

Equipe

York University, Team S16-G8, Turner Winter 2021 Membro de York University, Team S16-G8, Turner Winter 2021
YORK-TURNER-W21S16G8
3 Membros
1 Guia de autoria
2 comentários
Question..I just bought a td v26 mini cube radio speaker a week ago but the battery drain is very severe. It used to last 5 hours but now I'm lucky to get 3-5 minutes out of it per a full 2 hour charge with a 5 v phone adapter. Everything else on the mini cube radio works just fine..but the battery drain issue is just too unreal!! It's a 600 mAh internal battery to my understanding. It would have been nice if it was a removable battery like on my cellphone! I've been researching this issue online and it appears to be a very common issue for many. I really like this mini cube radio speaker but I can only get it to play music and fm by my phone adapter attached to it and to a wall outlet only now.
I was also reading up on the music ang3l radio speaker which is almost identical to the td v26 cube radio... it s specs are 0.4-1.0 A
Power supply id DC 5v -1000 mAh.
Could it be that the td v26 usesthe same ampage too? Thenit would mean that it can only utilize a 5v and at the most around a 5v - 1.0A ..I used a 2.5A
I used a 5v - 2.5A cellphone adapter. So maybe the ampage may have been too high..I don't know... usually if close in range Ampage is really not an issue..but being 5 volts only is a definite must to my understanding... need help please...and darn I have very bad eyesight too aka cataracts and diabetic blurry eyes and black floaters issues..and terminal bone cancer too in both hands and wrists. I really love this mini cubed radio..it's just the darn battery drain issue that is messing everything up! I don't want to send it back..I just need the battery fixed.
Btw..the music ang3l radio speaker uses a 1000 mAh battery. Both are also lithium-ion batteries to my understanding as well.
I don't think it would be a real biggy issue to fix..it's just that I'm dealing with terminal bone cancer and very blurry vision with added black eye floaters. Maybe I can thengive the info from this website afterwards to a repair guy or a good friend with steady hands and good eye vision in my town. Thanks...