
Samsung Watch Active Motherboard Replacement

Introdução
Ir para o passo 1Use this guide to replace a defective motherboard in your Samsung Galaxy Watch Active.
O que você precisa


-
-
Turn off the Galaxy Watch Active by pushing and holding the bottom button for approximately 3 seconds. You should feel a short vibration.
-
When the "Power off" symbol appears tap the center of the screen to make it shut down. You should feel a longer vibration for confirmation.
-
-
-
Use a Tri-point Y00 screwdriver to remove the four 4 mm-long screws on the back of the watch.
I'm having issues with getting the screws out it seems to be stripping them
-
-
-
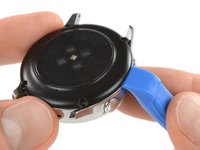
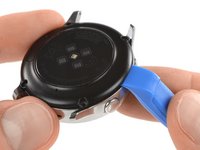
Use an opening tool and place it between the plastic back cover and the metal housing near the buttons.
-
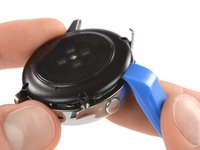
Push the tip of the opening tool into the gap to separate the back cover from the housing.
Do i need heat for this? i can't get a pry tool in
EDIT: use a Rasor knife in the corner nest to the screw holes and it's a lot easier and less damaging to take off.
In my case there was quite a bit of glue on the edge of the back cover, and a knife was indeed the only way to pry it open. No way to get the first gap with a plastic tool.
-
-
-
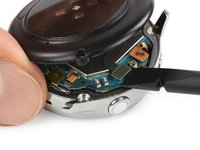
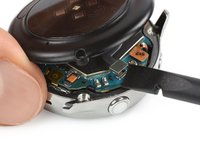
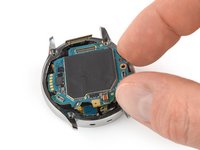
Carefully lift the back cover approximately 2 cm to access the sensor array connector near the two buttons.
-
Use a spudger to disconnect the sensor array from the motherboard.
-
-
-
Remove the back cover.
-
-
-
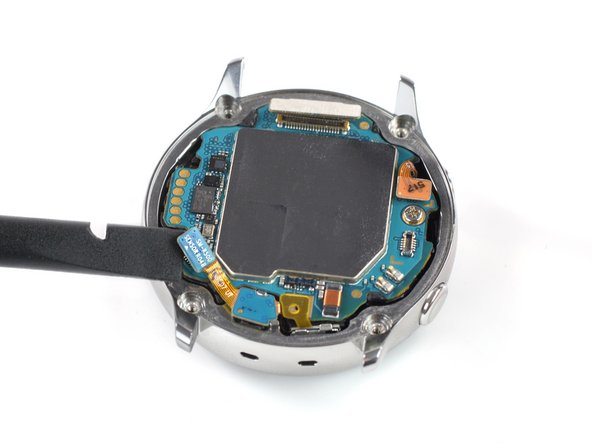
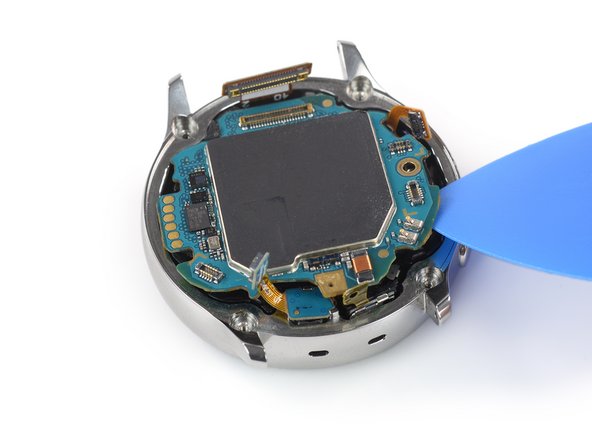
Use the flat end of a spudger to disconnect the display assembly, the microphone and pressure sensor array, and side button.
-
-
-
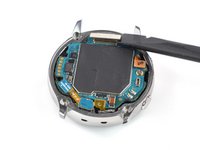
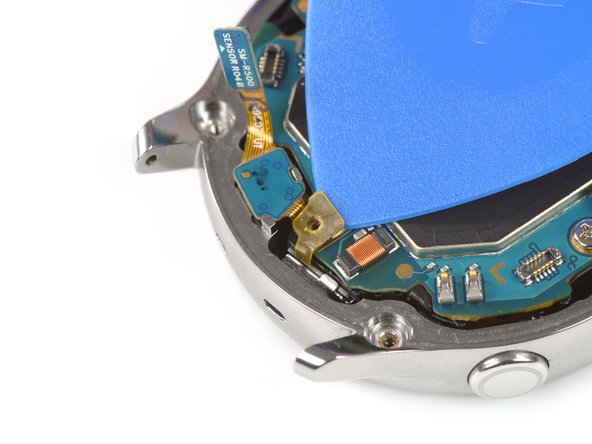
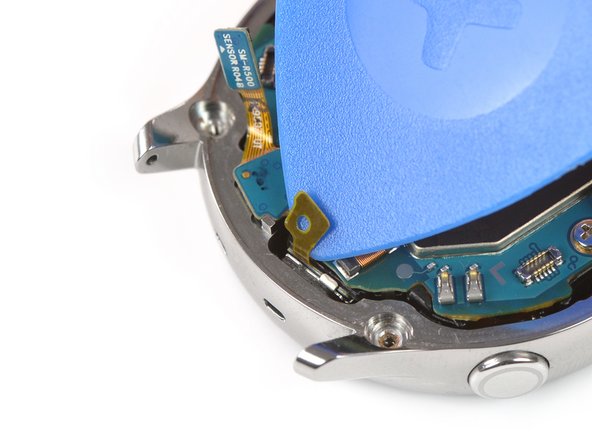
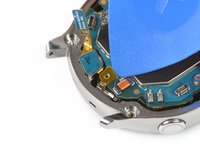
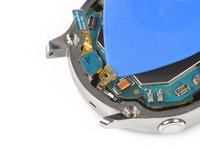
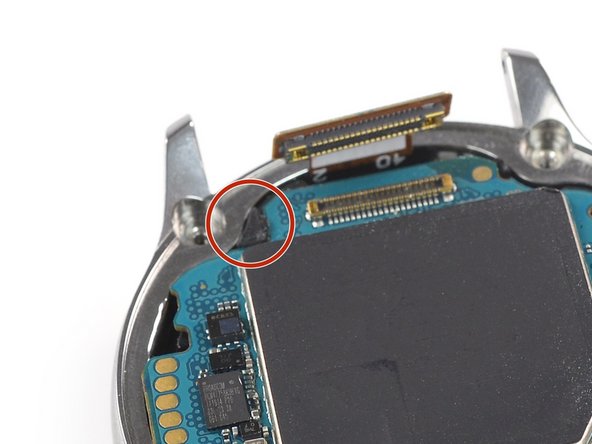
Use an opening pick to peel back the thin tape belonging to the microphone array.
-
-
-
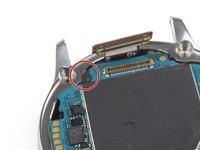
Use a Phillips screwdriver to remove the 4.4 mm-long screw holding the motherboard in place.
-
-
-
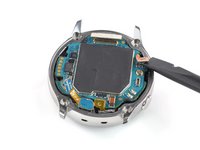
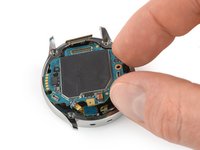
Use an opening pick to loosen the motherboard from the core assembly.
-
-
-
Slide the motherboard out from under the plastic tab to remove it.
-


Compare your new replacement part to the original part—you may need to transfer remaining components or remove adhesive backings from the new part before installing.
To reassemble your device, follow these instructions in reverse order.
Take your e-waste to an R2 or e-Stewards certified recycler.
Repair didn’t go as planned? Try some basic troubleshooting, or ask our Answers community for help.
Cancelar: não concluí este guia.
3 outras pessoas executaram este guia.

Equipe

Tobias Isakeit - Repairability Engineer Membro de Tobias Isakeit - Repairability Engineer
Business
1 Membro
Autoria de 1.132 guias