Ir para o conteúdo principal
RedOctane X-Plorer Whammy Bar Sensor Replacement

RedOctane X-Plorer Whammy Bar Sensor Replacement

Riley

Riley e 3 outros colaboradores

Última atualização em May 30, 2018

15 minutos
Moderado

Introdução

Ir para o passo 1

The whammy bar sensor is directly responsible for the performance of the whammy bar. This guide demonstrates how to remove the whammy bar sensor and diagnose issues with the whammy bar that were not obvious from its removal.

O que você precisa

Ferramentas

Exibir mais…

  1. RedOctane X-Plorer Whammy Bar Sensor Replacement, Rear Case: passo 1, imagem 1 %32 RedOctane X-Plorer Whammy Bar Sensor Replacement, Rear Case: passo 1, imagem 2 %32
    • Remove the strap by pulling it off of the mounts located on the body and neck.

  2. RedOctane X-Plorer Whammy Bar Sensor Replacement: passo 2, imagem 1 %32 RedOctane X-Plorer Whammy Bar Sensor Replacement: passo 2, imagem 2 %32 RedOctane X-Plorer Whammy Bar Sensor Replacement: passo 2, imagem 3 %32
    • Remove the nine 12mm Phillips #1 screws around the perimeter of the case with a screwdriver.

    • Remove the two 15mm Phillips #1 screws connecting the body panel to the neck panel with a screwdriver.

    • These screws can also be Torx on some models.

    • Pull off the rear case.

  3. RedOctane X-Plorer Whammy Bar Sensor Replacement: passo 3, imagem 1 %32 RedOctane X-Plorer Whammy Bar Sensor Replacement: passo 3, imagem 2 %32 RedOctane X-Plorer Whammy Bar Sensor Replacement: passo 3, imagem 3 %32
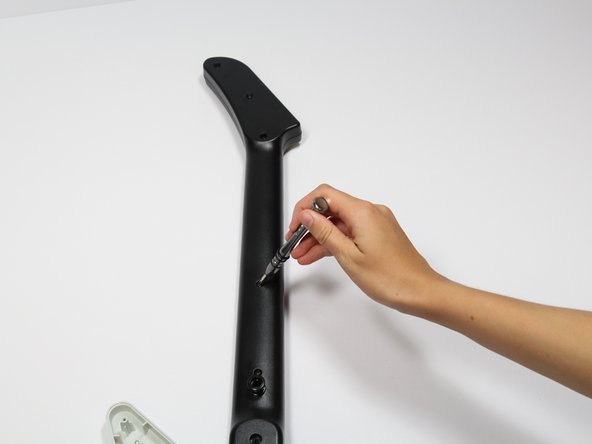
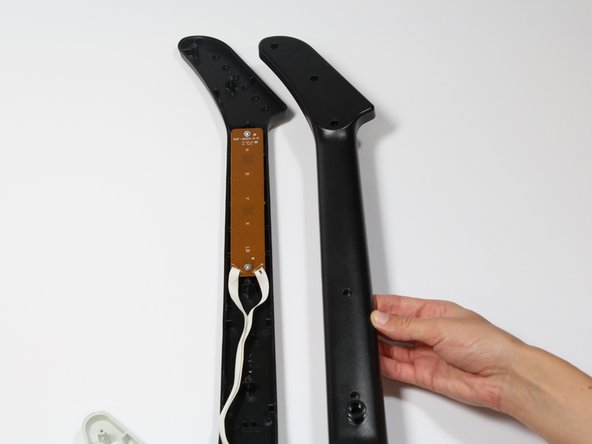
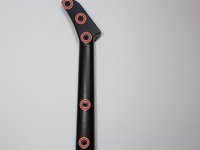
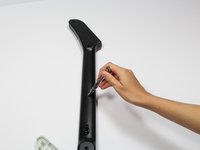
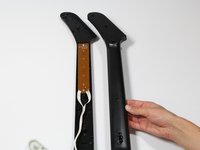
    • Remove the five 12mm Phillips #1 screws along the neck with a screwdriver.

    • Pull off the top shell of the neck to expose the internal features.

  4. RedOctane X-Plorer Whammy Bar Sensor Replacement, Whammy Bar Sensor: passo 4, imagem 1 %32 RedOctane X-Plorer Whammy Bar Sensor Replacement, Whammy Bar Sensor: passo 4, imagem 2 %32 RedOctane X-Plorer Whammy Bar Sensor Replacement, Whammy Bar Sensor: passo 4, imagem 3 %32
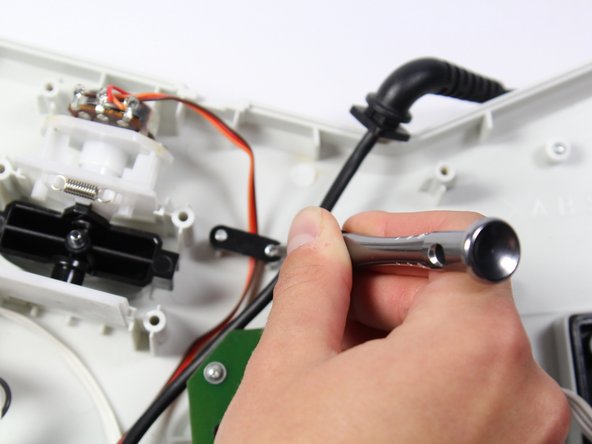
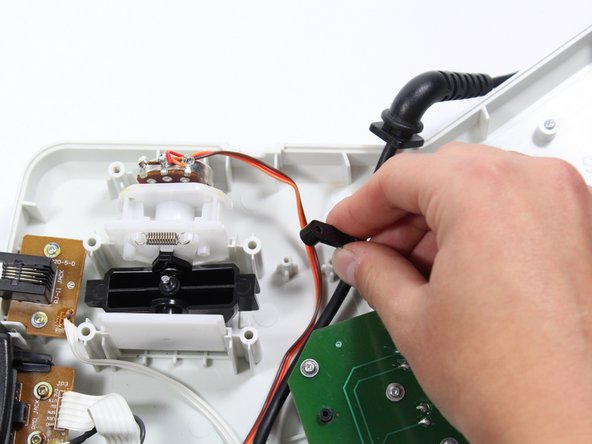
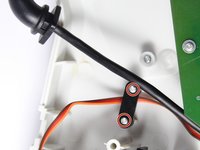
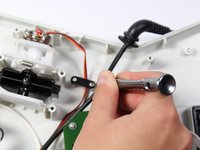
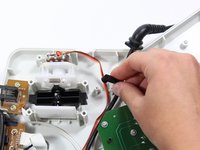
    • Remove the two 7mm Phillips #0 screws.

    • Using your fingers, remove the black wire retainer.

  5. RedOctane X-Plorer Whammy Bar Sensor Replacement: passo 5, imagem 1 %32 RedOctane X-Plorer Whammy Bar Sensor Replacement: passo 5, imagem 2 %32
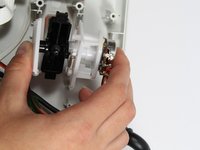
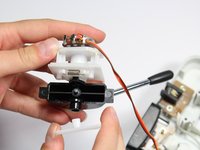
    • Using one hand, remove the whammy bar and its attached components from the case.

  6. RedOctane X-Plorer Whammy Bar Sensor Replacement: passo 6, imagem 1 %32
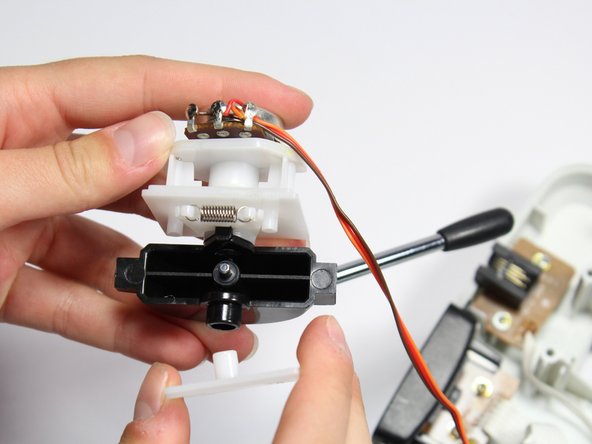
    • Using two hands, remove the whammy bar sensor.

Conclusão

To reassemble your device, follow these instructions in reverse order.

Uma outra pessoa concluiu este guia.

Riley

Membro desde: 04/18/18

676 Reputação

Autoria de 7 guias

Equipe

Cal Poly, Team S17-G1, Livingston Spring 2018 Membro de Cal Poly, Team S17-G1, Livingston Spring 2018

CPSU-LIVINGSTON-S18S17G1

3 Membros

Autoria de 9 guias

0 comentários

Comentar

Exibir estatísticas:

Últimas 24 horas: 1

Últimos 7 dias: 4

Últimos 30 dias: 15

Ao todo: 1,112