
Portege Z830-S8302 Internal Cooling Fan Replacement
25 - 35 minutos
Moderada
Introdução
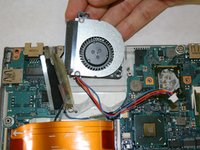
Vá para o passo 1Before beginning this repair guide, make sure the laptop is powered off and that it is not plugged into any chargers. If laptop was just in use, be cautious of pieces inside the device as they may be hot to touch.
O que você precisa


-
-
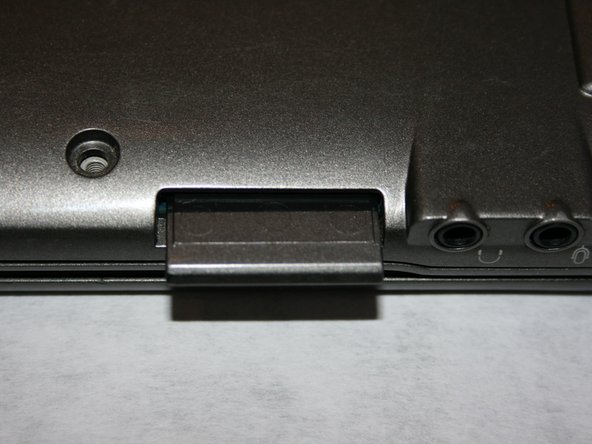
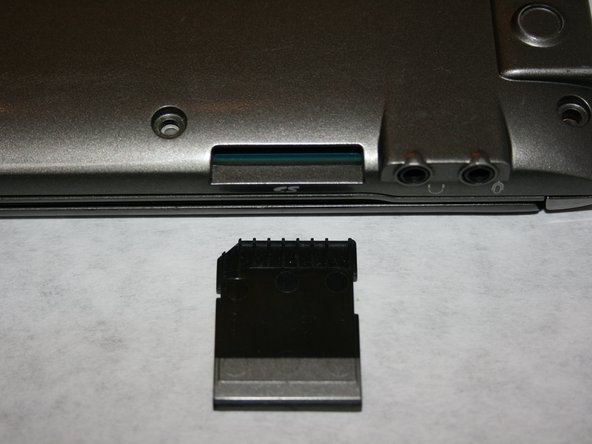
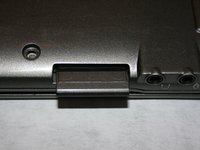
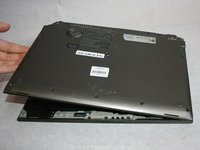
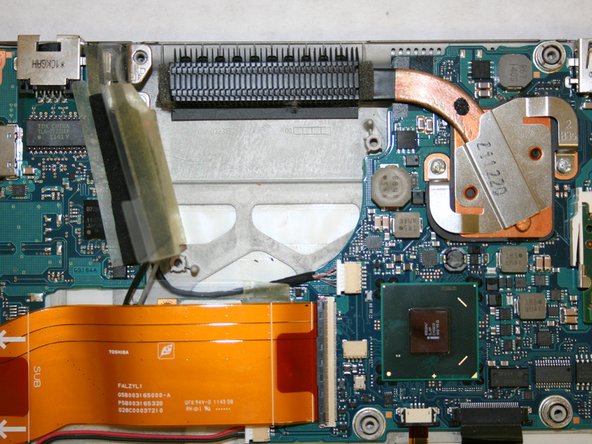
Flip the laptop over, with screen facing down to reveal bottom panel.
-
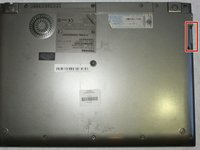
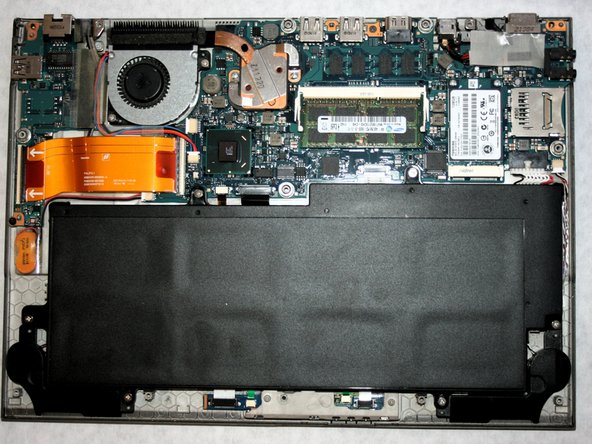
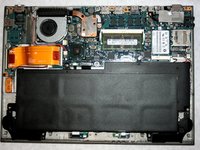
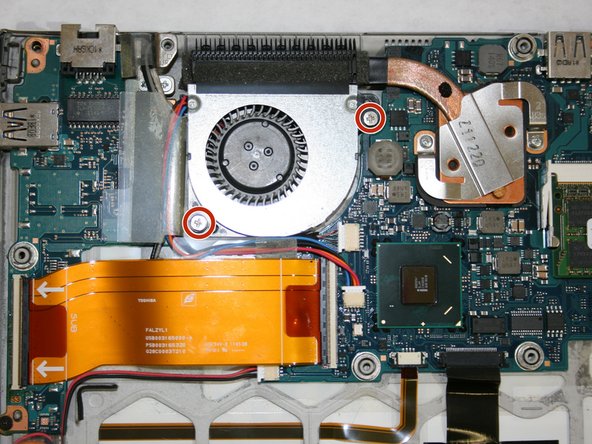
Remove thirteen 1.4mm Phillips #0 screws around the border of the frame.
-


Quase terminado!
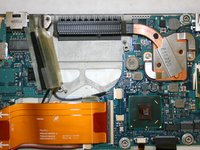
To reassemble your device, follow these instructions in reverse order.
Conclusão
To reassemble your device, follow these instructions in reverse order.
Equipe

Washington State, Team S2-G7, Hope Fall 2018 Membro de Washington State, Team S2-G7, Hope Fall 2018
WSU-HOPE-F18S2G7
Membros da 3
Autoria de 15 guias