
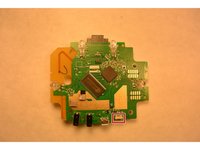
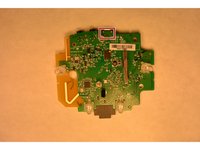
Logitech Harmony Smart Control Reset Button Replacement
10 - 20 minutos
Difícil
Melhor Introdução
Introdução
Ir para o passo 1This guide requires soldering, for soldering guide click below.
O que você precisa
Peças

Ferramentas


Exibir mais…
-
-
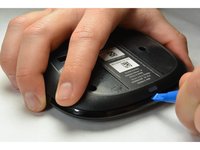
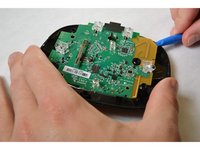
Using a plastic opening tool, lift up the rubber pad.
-
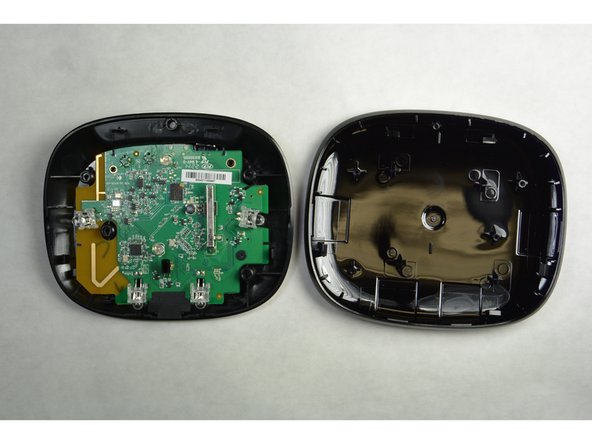
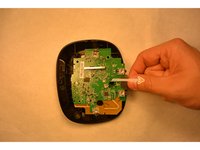
From the bottom of the device, with your fingers, pull back the rubber pad. This will expose the screw holes.
-
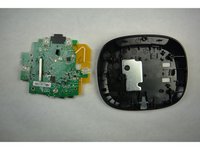
On the bottom of the hub, repeat the step above for the second rubber pad.
-


Quase terminado!
To reassemble your device, follow these instructions in reverse order.
Conclusão
To reassemble your device, follow these instructions in reverse order.
Gear Up For Future Repairs
Shop all


Equipe

IUPUI, Team 3-2, Harley Fall 2015 Membro de IUPUI, Team 3-2, Harley Fall 2015
IUPUI-HARLEY-F15S3G2
4 Membros
Autoria de 5 guias