
LG VX5200 Screen Replacement

10 minutos
Moderado
Introdução
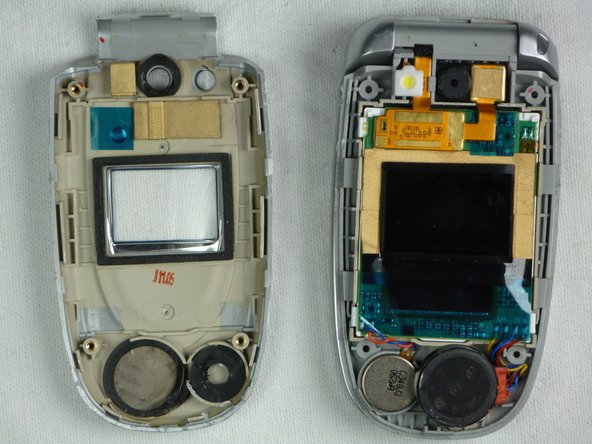
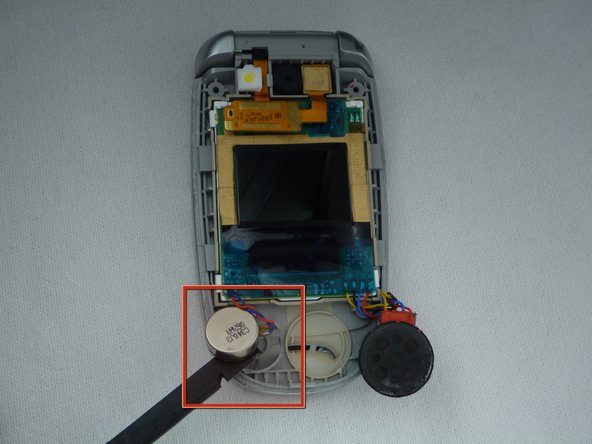
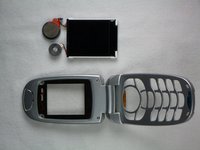
Ir para o passo 1This section covers how to disassemble the upper casing of the LG VX5200 to access the phone's screen.
O que você precisa


Quase terminado!
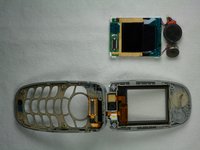
To reassemble your device, follow these instructions in reverse order.
Conclusão
To reassemble your device, follow these instructions in reverse order.
Gear Up For Future Repairs
Shop all


Equipe

Cal Poly, Team 9-18, Regan Fall 2009 Membro de Cal Poly, Team 9-18, Regan Fall 2009
CPSU-REGAN-F09S9G18
5 Membros
Autoria de 2 guias
1Comentário do guia
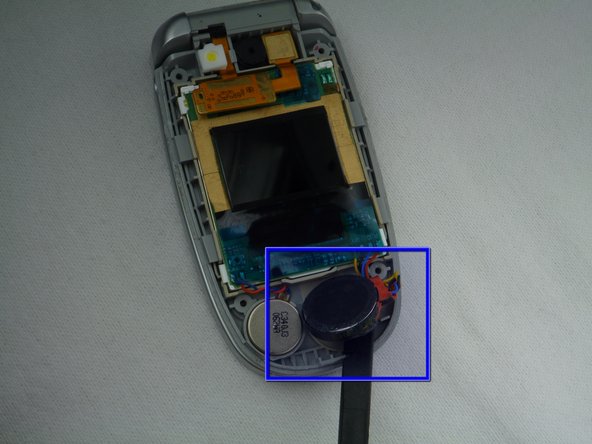
The “battery” beside the speaker isn’t the battery, it’s the phone vibrator. Still a good guide, however