Ir para o conteúdo principal

GameStop GS3 GameCube Controller Buttons Replacement

O que você precisa

  1. GameStop GS3 GameCube Controller Buttons Replacement, Back Panel: passo 1, imagem 1 %32 GameStop GS3 GameCube Controller Buttons Replacement, Back Panel: passo 1, imagem 2 %32 GameStop GS3 GameCube Controller Buttons Replacement, Back Panel: passo 1, imagem 3 %32
    • First, remove the 6 screws in the back panel and pull the back panel off.

    • Separate the halves of the controller. However, be careful when separating due to the little wires that could get mixed up.

  2. GameStop GS3 GameCube Controller Buttons Replacement: passo 2, imagem 1 %32 GameStop GS3 GameCube Controller Buttons Replacement: passo 2, imagem 2 %32 GameStop GS3 GameCube Controller Buttons Replacement: passo 2, imagem 3 %32
    • Next, remove the rumble motor by unscrewing the 2 screws connecting it.

  3. GameStop GS3 GameCube Controller Buttons Replacement: passo 3, imagem 1 %32 GameStop GS3 GameCube Controller Buttons Replacement: passo 3, imagem 2 %32 GameStop GS3 GameCube Controller Buttons Replacement: passo 3, imagem 3 %32
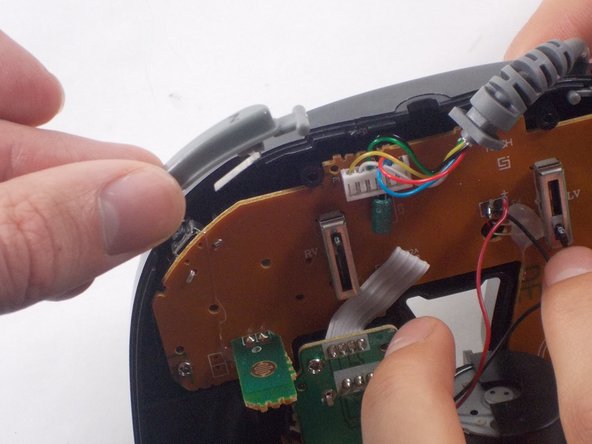
    • Finally remove the screws holding in the right and left triggers. It's easiest to hold the trigger together as shown in the third picture. Remove both the left and right trigger, and then you have successfully removed your back panel.

  4. GameStop GS3 GameCube Controller Buttons Replacement, Buttons: passo 4, imagem 1 %32
    • Hold the controller as shown in the picture so that you can remove the circuit board.

    • The locations of screws to be removed in future steps are shown in red.

  5. GameStop GS3 GameCube Controller Buttons Replacement: passo 5, imagem 1 %32 GameStop GS3 GameCube Controller Buttons Replacement: passo 5, imagem 2 %32
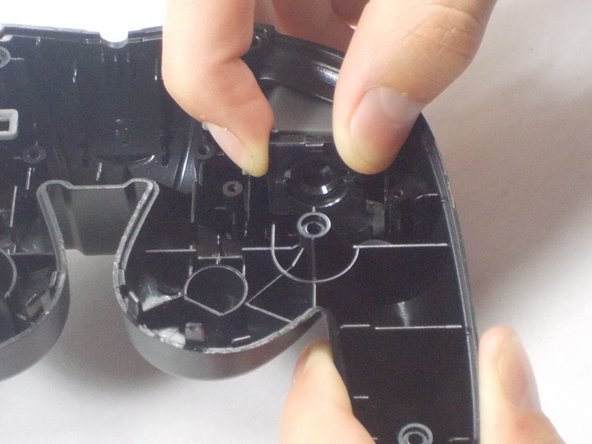
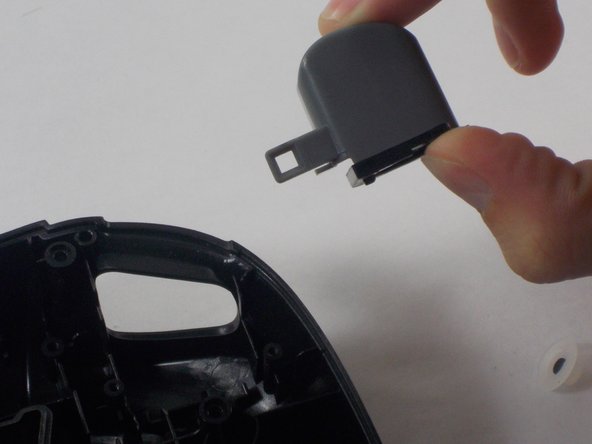
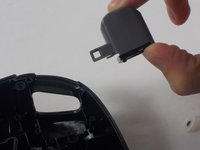
    • Now that the back panel has been removed it should be easy to snap off the "Z" and "TURBO" buttons as shown in the images.

  6. GameStop GS3 GameCube Controller Buttons Replacement: passo 6, imagem 1 %32
    • Remove the two screws on the motherboard so that you can remove the motherboard from the front cover.

  7. GameStop GS3 GameCube Controller Buttons Replacement: passo 7, imagem 1 %32
    • Now your controller front panel should look similar to this.

    • Remove the rubber backings on the buttons shown in red.

    • Snap them back in when you go to put the controller back together.

  8. GameStop GS3 GameCube Controller Buttons Replacement: passo 8, imagem 1 %32
    • Remove the buttons and you should have what you see here.

Conclusão

To reassemble your device, follow these instructions in reverse order.

Andrew Gonsalves

Membro desde: 10/20/16

226 Reputação

Autoria de 2 guias

Equipe

UMass Dartmouth, Team 3-5, Isaacson Fall 2016 Membro de UMass Dartmouth, Team 3-5, Isaacson Fall 2016

UMASSD-ISAACSON-F16S3G5

Membros da 3

Autoria de 10 guias

0 comentários

Adicione um comentário

Exibir estatísticas:

Últimas 24 horas: 0

Últimos 7 dias: 2

Últimos 30 dias: 8

Duração total: 842