Ir para o conteúdo principal
Dell Precision 7560 Keyboard Replacement

Dell Precision 7560 Keyboard Replacement

Jack Allred

Jack Allred e 2 outros colaboradores

Última atualização em June 6, 2023

10 - 15 minutos
Moderado

Introdução

Ir para o passo 1

The guide shows how to remove the keyboard from a Dell Precision 7560. The keyboard is a core component of the computer, so keeping on top of its maintenance is vital. If the issue with the keyboard isn't merely debris keeping a key from functioning, then this guide will assist you in replacing the keyboard entirely.

O que você precisa

Ferramentas

Exibir mais…

  1. Dell Precision 7560 Keyboard Replacement, Battery: passo 1, imagem 1 %32 Dell Precision 7560 Keyboard Replacement, Battery: passo 1, imagem 2 %32 Dell Precision 7560 Keyboard Replacement, Battery: passo 1, imagem 3 %32
    • The screws holding the back cover in place can not be removed.

    • Use a Phillips #0 screwdriver to loosen the the eight 5 mm captive screws in the bottom cover.

    • Remove the back cover by lifting at the corners.

  2. Dell Precision 7560 Keyboard Replacement: passo 2, imagem 1 %32 Dell Precision 7560 Keyboard Replacement: passo 2, imagem 2 %32 Dell Precision 7560 Keyboard Replacement: passo 2, imagem 3 %32
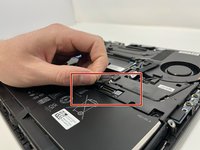
    • Unscrew and remove the five 2 mm screws that secure the battery.

    • Locate the battery connector.

    It is only 3 screws to remove the battery. Each one is labeled M2x5L on the tabs extending from the battery.

    Barry Todd - Responder

  3. Dell Precision 7560 Keyboard Replacement: passo 3, imagem 1 %32 Dell Precision 7560 Keyboard Replacement: passo 3, imagem 2 %32 Dell Precision 7560 Keyboard Replacement: passo 3, imagem 3 %32
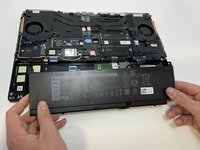
    • Pull the connector towards you to disconnect it.

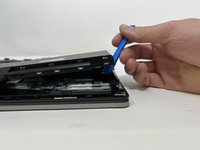
    • Use your fingers or a plastic opening tool to pry the battery up and remove it from the laptop.

  4. Dell Precision 7560 Keyboard Replacement, Keyboard: passo 4, imagem 1 %32 Dell Precision 7560 Keyboard Replacement, Keyboard: passo 4, imagem 2 %32 Dell Precision 7560 Keyboard Replacement, Keyboard: passo 4, imagem 3 %32
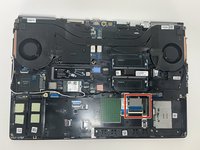
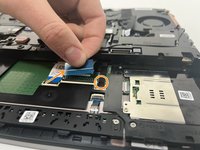
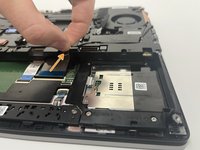
    • With the back cover and battery removed, locate the ribbon cables connected to the keyboard.

    • Pulling from the tab, carefully remove the connector.

  5. Dell Precision 7560 Keyboard Replacement: passo 5, imagem 1 %32 Dell Precision 7560 Keyboard Replacement: passo 5, imagem 2 %32 Dell Precision 7560 Keyboard Replacement: passo 5, imagem 3 %32
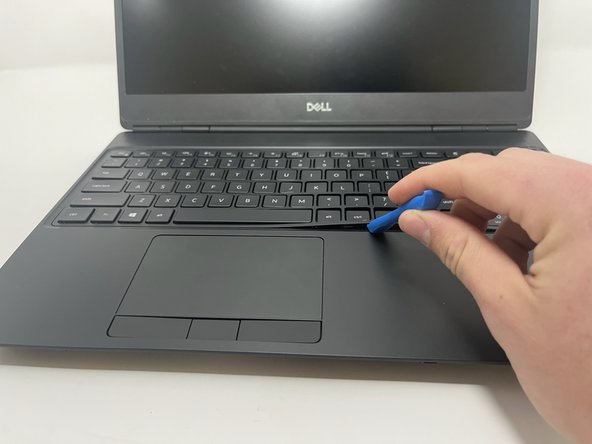
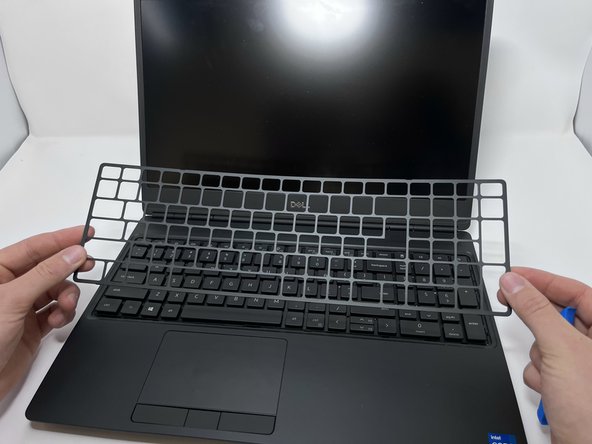
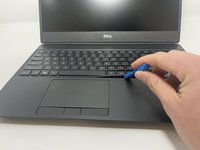
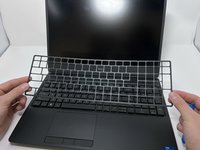
    • Turn the device over and open the screen to expose the keyboard.

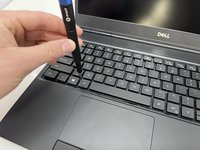
    • Using an opener tool, pry along the edges of the keyboard to remove the keyboard's plate cover.

  6. Dell Precision 7560 Keyboard Replacement: passo 6, imagem 1 %32 Dell Precision 7560 Keyboard Replacement: passo 6, imagem 2 %32 Dell Precision 7560 Keyboard Replacement: passo 6, imagem 3 %32
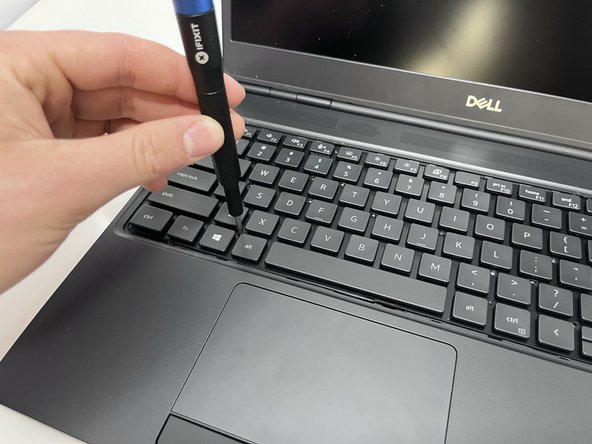
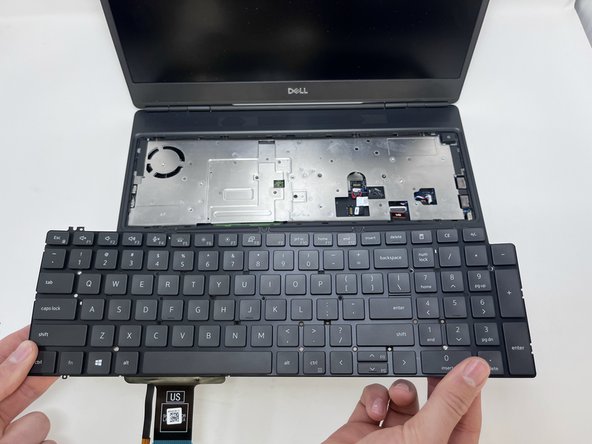
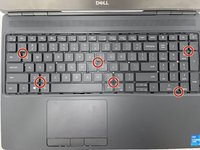
    • With the plate cover removed, use the screwdriver to remove each of the six 2 mm screws.

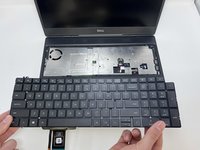
    • Carefully remove the keyboard from the device.

    There is a 7th keyboard screw above and left of the “7/Home” key.

    MikeP - Responder

    There is one more screw between the [Backspace], [Num Lock], [\], [home] keys.

    Barry Todd - Responder

Conclusão

To reassemble your device, follow these instructions in reverse order.

2 outras pessoas executaram este guia.

Jack Allred

Membro desde: 02/09/23

345 Reputação

Autoria de 2 guias

Equipe

1Comentário do guia

Guide is close, but not completely correct. Just need a little more attention to detail.

Barry Todd - Responder

Comentar

Visualizações:

Últimas 24 horas: 0

Últimos 7 dias: 7

Últimos 30 dias: 28

Ao todo: 1,104