Dell Latitude 7490 Heatsink and Fan Replacement
Introdução
Ir para o passo 1Use this guide to replace the heatsink and fan in your Dell Latitude 7490 laptop.
Note: The heatsink and fan are connected and must be replaced as one assembly.
O que você precisa
Ferramentas
Exibir mais…
-
-
Unplug all cables and fully shut down your laptop.
-
-
-
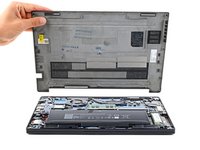
Use a Phillips screwdriver to fully loosen the eight captive screws securing the back cover.
-
-
-
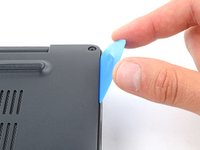
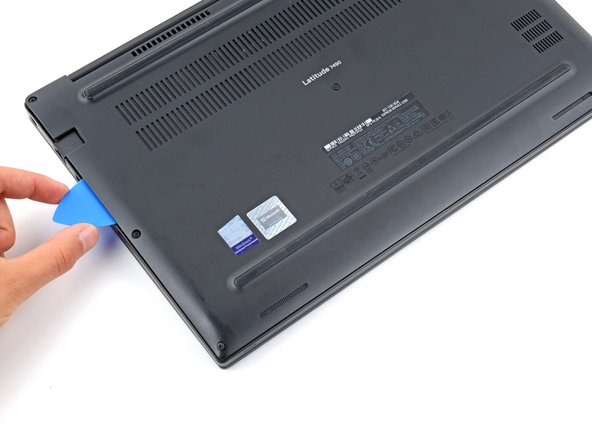
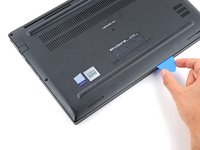
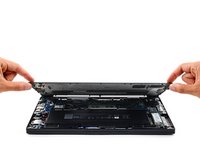
Insert the long side of an opening pick between the top right corner of the back cover and frame.
-
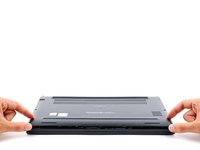
Pry the back cover up to release the clips securing the top right corner.
-
-
-
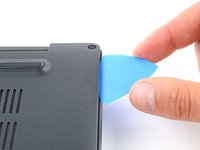
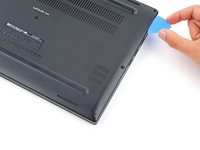
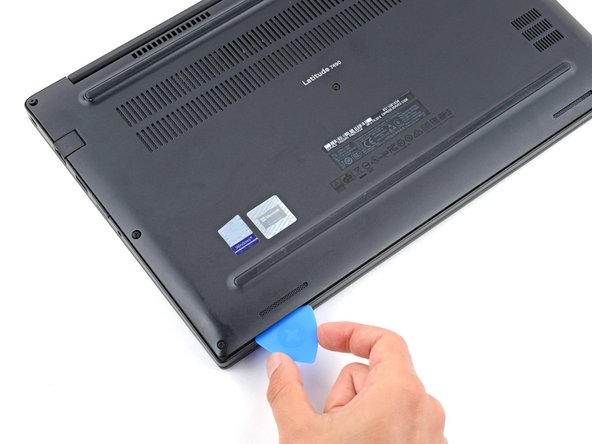
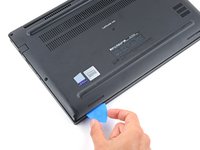
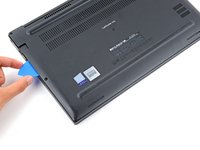
Slide the opening pick down the right edge and around the bottom right corner to release the clips.
-
-
-
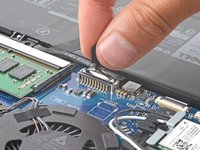
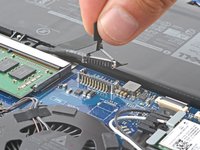
Grip the plastic tab on the battery connector and pull straight up to disconnect it.
-
-
-
Push on alternating sides of the fan cable connector with the point of a spudger to "walk" it out of its socket.
-
-
-
Use a Phillips screwdriver to remove the six screws securing the heatsink and fan:
-
Two 5.6 mm‑long screws on the fan
-
Four 3.7 mm‑long screws on the heatsink
-
-
-
Use the flat end of a spudger to lift the bottom right corner of the heatsink until it breaks free from the CPU.
-
To reassemble your device, follow these instructions in reverse order.
Take your e-waste to an R2 or e-Stewards certified recycler.
Repair didn’t go as planned? Try some basic troubleshooting, or ask our Answers community for help.
To reassemble your device, follow these instructions in reverse order.
Take your e-waste to an R2 or e-Stewards certified recycler.
Repair didn’t go as planned? Try some basic troubleshooting, or ask our Answers community for help.


