
DeWalt D28110 Brush and Spring Replacement
15 - 20 minutos
Fácil
Introdução
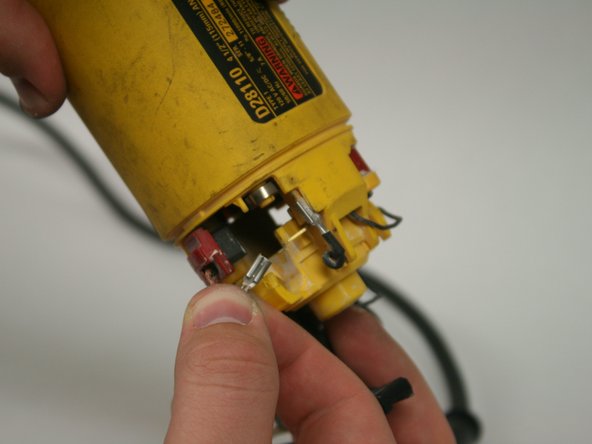
Vá para o passo 1This guide will walk you through replacing the brush and spring components of the grinder. These are both located at the base of the brush motor and can be easily replaced.
O que você precisa
Ferramentas

-
-
Using the T-15 screwdriver, remove the four 22-mm torx screws holding the back panel in place.
-


Quase terminado!
To reassemble your device, follow these instructions in reverse order.
Conclusão
To reassemble your device, follow these instructions in reverse order.
Equipe

Cal Poly, Team 18-6, Maness Winter 2015 Membro de Cal Poly, Team 18-6, Maness Winter 2015
CPSU-MANESS-W15S18G6
Membros da 5
Autoria de 7 guias