Ir para o conteúdo principal

Introdução

Ir para o passo 1

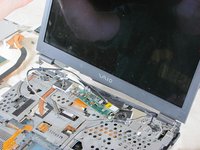
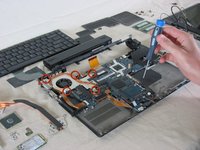
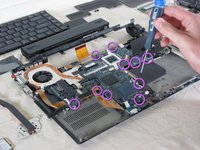
This is a full teardown of the Sony Vaio VGN-SZ120P laptop computer. This guide provides detailed photographs and steps to taking apart and repairing the laptop.

Hazards

Keep out of reach of children and pets.

DO NOT attempt to teardown or repair your device under the influence of drugs or alcohol.

DO NOT ingest any parts of the system.

Use the correct tools as stated in the tools section.

DO NOT touch any gold connectors on interior or exterior of the system.

Make sure system is unplugged before performing any maintenance on the system.

O que você precisa

Ferramentas

  • Tweezers
    Tweezers
  • Phillips #00 Screwdriver
    Phillips #00 Screwdriver
  • iFixit Opening Tool
    iFixit Opening Tool
  • Spudger
    Spudger

Exibir mais…

Este teardown (desmontagem analítica) não é um guia de reparo. Para reparar seu/sua Sony Vaio PCG-6J2L, use o nosso manual de serviço.

  1. Sony Vaio VGN-SZ120P Teardown, Sony Vaio VGN-SZ120P Teardown: passo 1, imagem 1 %32 Sony Vaio VGN-SZ120P Teardown, Sony Vaio VGN-SZ120P Teardown: passo 1, imagem 2 %32
    • Turn the laptop upside down.

    • Locate the battery.

    • Unlock the battery by shifting the 'lock' slide to the 'unlock' position on the underside and back of the system.

    • Hold the release on the right side and remove the battery out carefully.

  2. Sony Vaio VGN-SZ120P Teardown: passo 2, imagem 1 %32 Sony Vaio VGN-SZ120P Teardown: passo 2, imagem 2 %32 Sony Vaio VGN-SZ120P Teardown: passo 2, imagem 3 %32
    • Remove the four screws from the heat sink panel with the phillips screwdriver.

    • Unscrew the two screws from the memory panel with the phillips screwdriver.

    • Remove both panels and set aside.

    • Be careful with the heatsink, as this can be messy if handled improperly. It is a copper heat pipe.

  3. Sony Vaio VGN-SZ120P Teardown: passo 3, imagem 1 %32 Sony Vaio VGN-SZ120P Teardown: passo 3, imagem 2 %32 Sony Vaio VGN-SZ120P Teardown: passo 3, imagem 3 %32
    Ferramenta utilizada neste passo:
    Tweezers
    $4.99
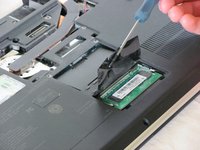
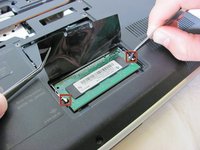
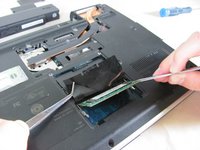
    • Lift the film covering to reveal the memory modules with the tweezers.

    • Pull the tabs on both sides of the RAM away from the module. The module will pop up.

    • Repeat these step for the other RAM module located above the RAM module previously removed and set aside.

  4. Sony Vaio VGN-SZ120P Teardown: passo 4, imagem 1 %32
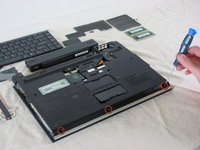
    • Using a Philips screw driver, unscrew the rear keyboard screw from the bottom of the laptop.

  5. Sony Vaio VGN-SZ120P Teardown: passo 5, imagem 1 %32 Sony Vaio VGN-SZ120P Teardown: passo 5, imagem 2 %32
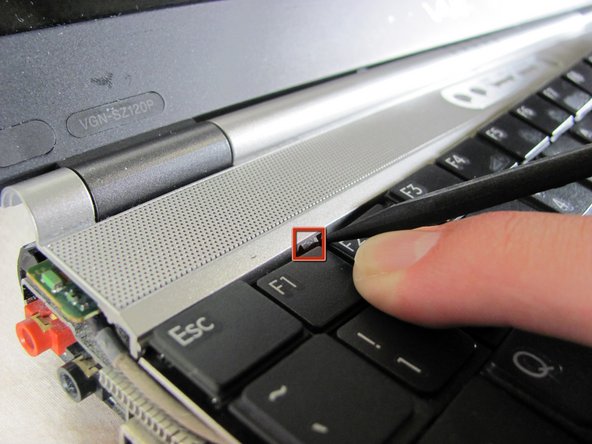
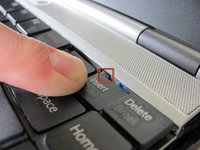
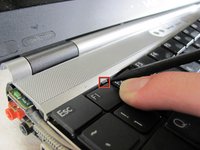
    • Push the tabs shown on both sides and the keyboard will pop up.

    • A small flat-head might help you push the tabs.

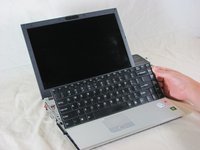
    • Move the keyboard toward the mouse pad and gently pull up.

  6. Sony Vaio VGN-SZ120P Teardown: passo 6, imagem 1 %32 Sony Vaio VGN-SZ120P Teardown: passo 6, imagem 2 %32
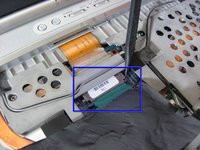
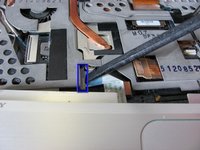
    • Caution: there is a ribbon cable attached to the keyboard. It will break easily.

    • Gently disconnect the ribbon cable by sliding down the tabs.

    • Gently take out the keyboard.

  7. Sony Vaio VGN-SZ120P Teardown: passo 7, imagem 1 %32 Sony Vaio VGN-SZ120P Teardown: passo 7, imagem 2 %32
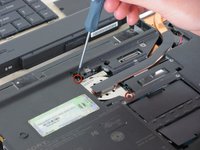
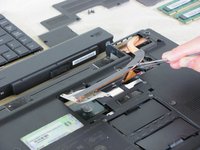
    • Unscrew the two securing screws indicated.

    • Carefully lift the heatsink out of the system with the tweezers and set it aside.

  8. Sony Vaio VGN-SZ120P Teardown: passo 8, imagem 1 %32 Sony Vaio VGN-SZ120P Teardown: passo 8, imagem 2 %32 Sony Vaio VGN-SZ120P Teardown: passo 8, imagem 3 %32
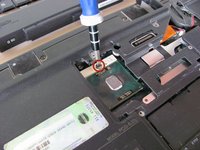
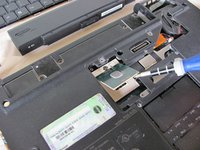
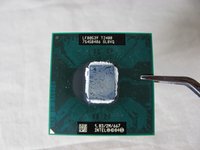
    • Caution: DO NOT touch the gold connectors on the cpu, as this may damage your processor.

    • Turn the securing screw on top of the CPU housing bracket counter-clockwise on the unlock position.

    • Gently lift the CPU out of the system with tweezers and set aside in a safe place.

  9. Sony Vaio VGN-SZ120P Teardown: passo 9, imagem 1 %32 Sony Vaio VGN-SZ120P Teardown: passo 9, imagem 2 %32 Sony Vaio VGN-SZ120P Teardown: passo 9, imagem 3 %32
    • Remove the three screws from the front mouse panel.

    • Lift the mouse assembly just enough to access the connecting ribbon cable.

    • Lift the ribbon cable lock to remove the cable.

    • Carefully remove the mouse panel assembly and set aside.

  10. Sony Vaio VGN-SZ120P Teardown: passo 10, imagem 1 %32 Sony Vaio VGN-SZ120P Teardown: passo 10, imagem 2 %32
    • Remove the securing screw on the bottom left of the optical drive.

    • Carefully slide the optical drive to the right.

    • The IDE connector on the left will pop out.

  11. Sony Vaio VGN-SZ120P Teardown: passo 11, imagem 1 %32 Sony Vaio VGN-SZ120P Teardown: passo 11, imagem 2 %32 Sony Vaio VGN-SZ120P Teardown: passo 11, imagem 3 %32
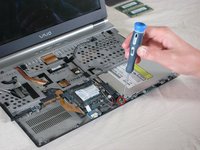
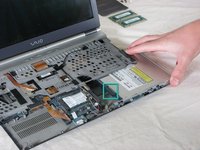
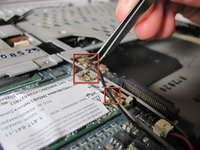
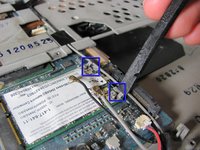
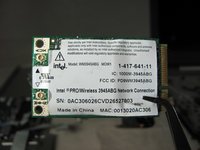
    • Disconnect the antennae from the wireless card.

    • Pull back the tabs on the right of the wireless card until the card disconnects and pops up.

    • Remove the wireless card and set aside.

  12. Sony Vaio VGN-SZ120P Teardown: passo 12, imagem 1 %32 Sony Vaio VGN-SZ120P Teardown: passo 12, imagem 2 %32 Sony Vaio VGN-SZ120P Teardown: passo 12, imagem 3 %32
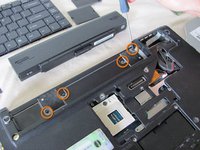
    • Remove the four screws from the underside of the computer. These screws are located underneath where the battery sits and secure the top keyboard panel.

    • To remove the panel below the screen, press up on the two tabs holding the panel in and lift up. The panel should pop off.

    • Before proceeding, remove all black tape holding down wires and other cabling.

  13. Sony Vaio VGN-SZ120P Teardown: passo 13, imagem 1 %32 Sony Vaio VGN-SZ120P Teardown: passo 13, imagem 2 %32
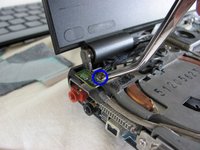
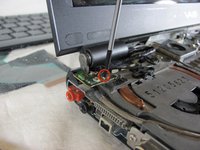
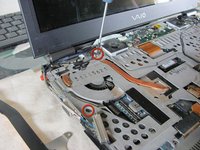
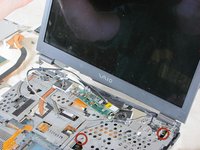
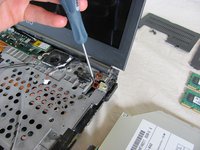
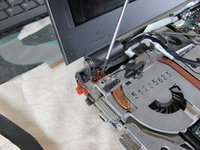
    • First pop off the antenna using a pair of tweezers.

    • Use a Philips screw driver to unscrew the screw holding the board in place.

    • Remove the board using a pair of tweezers.

  14. Sony Vaio VGN-SZ120P Teardown: passo 14, imagem 1 %32
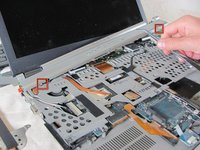
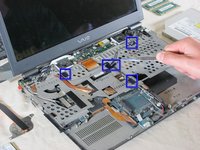
    • Remove the seven philips screws holding the speaker assembly in place.

    • Disconnect the ribbon cable located at the top left corner of the assembly.

    Only 2 screws, the others come from the bottom and secure the plastic shield removed 2 steps before this,

    also 1 of the marks is a push-button...

    oppermafkees - Responder

  15. Sony Vaio VGN-SZ120P Teardown: passo 15, imagem 1 %32 Sony Vaio VGN-SZ120P Teardown: passo 15, imagem 2 %32
    • Caution: Be careful of snags when pulling up assembly and speakers.

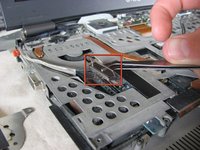
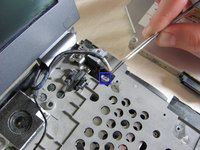
    • To remove the VGA cable, lift up on the metal bracket and gently lift the connector off the logic board.

    • To remove the webcam cable, lift up the connector from the logic board gently.

  16. Sony Vaio VGN-SZ120P Teardown: passo 16, imagem 1 %32
    • This is where your Hard Drive is located.

    • Remove the three harddrive securing screws.

    • The Serial ATA (SATA) hard drive is located where the yellow box indicates in the picture.

  17. Sony Vaio VGN-SZ120P Teardown: passo 17, imagem 1 %32 Sony Vaio VGN-SZ120P Teardown: passo 17, imagem 2 %32
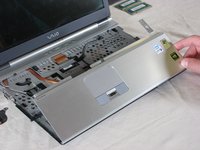
    • Remove all screws holding the keyboard tray to the laptop.

    • Lift the cover off the console and set aside.

  18. Sony Vaio VGN-SZ120P Teardown: passo 18, imagem 1 %32
    • Caution: Be careful of snags when pulling up assembly and speakers.

    • Remove bluetooth, speaker, webcam assembly. This is one unit and will come out together.

  19. Sony Vaio VGN-SZ120P Teardown: passo 19, imagem 1 %32 Sony Vaio VGN-SZ120P Teardown: passo 19, imagem 2 %32 Sony Vaio VGN-SZ120P Teardown: passo 19, imagem 3 %32
    • Unscrew the four securing screws, two on each side of the LCD.

    • Carefully remove the LCD

  20. Sony Vaio VGN-SZ120P Teardown: passo 20, imagem 1 %32
    • Remove all the screws securing the keyboard tray.

    • Remove keyboard tray.

  21. Sony Vaio VGN-SZ120P Teardown: passo 21, imagem 1 %32 Sony Vaio VGN-SZ120P Teardown: passo 21, imagem 2 %32
    • Caution: When removing the fan, be careful to not tear the attached ribbon cable.

    • Unscrew and remove the internal fan.

    • Unscrew and remove the logic board from the backing.

David Hoyt

Membro desde: 04/09/10

4.053 Reputação

Autoria de 41 guias

Equipe

Cal Poly, Team 25-89, Amido Spring 2010 Membro de Cal Poly, Team 25-89, Amido Spring 2010

CPSU-AMIDO-S10S25G89

4 Membros

Autoria de 61 guias

3 Guide Comments

Does this work with the PCG 9J5L

frederick200147 - Responder

Extremely similar to PCG-6Q2L, one thing to note is that the HDD in this unit was glued to the SATA connector, it can be a little tricky to remove but can be done if you go slow enough.

Myles B - Responder

Helped on PCG-6N1M = VGN- sz3xwp (was similar).

ediflorianUS - Responder

Comentar

Visualizações:

Últimas 24 horas: 1

Últimos 7 dias: 12

Últimos 30 dias: 65

Ao todo: 39,579