Ir para o conteúdo principal
ionvac SmartClean V2 Bumper Sensor Replacement

ionvac SmartClean V2 Bumper Sensor Replacement

Ruth Mekonnen

Ruth Mekonnen e um outro colaborador

Última atualização em December 27, 2023

30 - 40 minutos
Moderado
Guia do aluno destaque

Introdução

Ir para o passo 1

If your ionvac SmartClean V2 is running into objects while cleaning your floors, it may be a sign that the bumper must be cleaned, replaced, or reinstalled correctly.

This guide will show you how to replace the bumper and requires more time and attention to detail than other ionvac guides. You will need a Phillips #2 (PH2) screwdriver and a Jimmy tool (or another prying tool) to complete it. Remember to remove and reinstall all parts gently.

O que você precisa

A iFixit ganha comissão quando você compra por estes links.
  1. ionvac SmartClean V2 Bumper Sensor Replacement, Shell (Top & Bottom): passo 1, imagem 1 %32 ionvac SmartClean V2 Bumper Sensor Replacement, Shell (Top & Bottom): passo 1, imagem 2 %32
    • Caution: Before beginning, turn off the ionvac and place it on a level surface.

    • Keep in mind that your ionvac has many small screws that can be easily lost. Using a magnetic project mat is best to prevent misplacing any parts.

    • Flip your ionvac right-side up, turning it so that the front filter vents are facing forward and the power button is furthest from you.

  2. ionvac SmartClean V2 Bumper Sensor Replacement: passo 2, imagem 1 %32 ionvac SmartClean V2 Bumper Sensor Replacement: passo 2, imagem 2 %32 ionvac SmartClean V2 Bumper Sensor Replacement: passo 2, imagem 3 %32
    • Use a Phillips screwdriver to remove the 8 screws indicated in red holding the base together.

    • Use the same screwdriver to remove the 8 screws indicated in orange which hold the rims (bumper arms).

    • Remove the rims from your ionvac and set them aside.

  3. ionvac SmartClean V2 Bumper Sensor Replacement: passo 3, imagem 1 %32
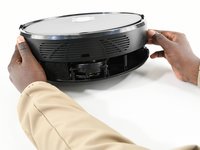
    • Flip your ionvac right-side up and tilt it upwards at a 45 degree angle.

    • Use a Jimmy or prying tool to wedge the sharp end through the bottom crevice (below the sensors).

    • Continue prying the outside rim of your ionvac open. You will feel the top shell (frame or cover) loosen.

    • Caution: Resist the urge to tear the top shell open until the entire rim has been loosened.

  4. ionvac SmartClean V2 Bumper Sensor Replacement: passo 4, imagem 1 %32 ionvac SmartClean V2 Bumper Sensor Replacement: passo 4, imagem 2 %32
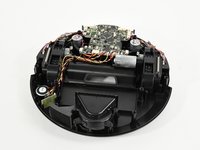
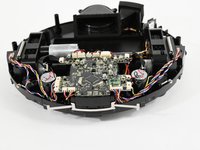
    • Lift the top shell off carefully.

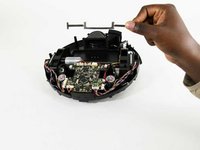
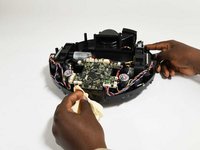
  5. ionvac SmartClean V2 Bumper Sensor Replacement, Bumper Sensor: passo 5, imagem 1 %32 ionvac SmartClean V2 Bumper Sensor Replacement, Bumper Sensor: passo 5, imagem 2 %32 ionvac SmartClean V2 Bumper Sensor Replacement, Bumper Sensor: passo 5, imagem 3 %32
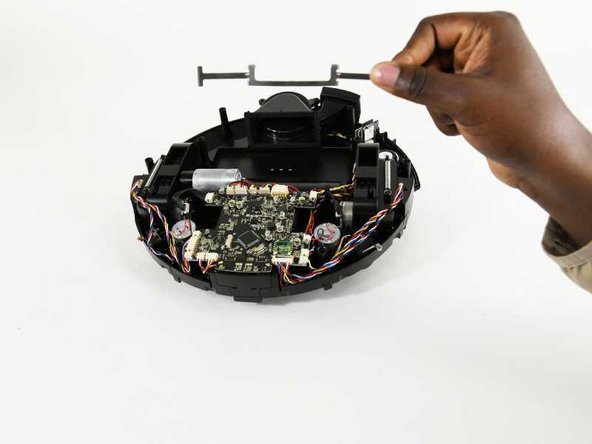
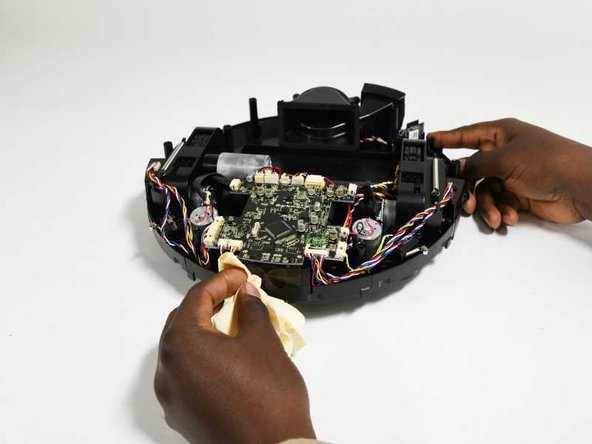
    • Turn your ionvac so that the sensor and the metal bumper piece are facing forward.

    • Gently lift and remove the bumper for cleaning or replacement.

Conclusão

To reassemble your device, follow these instructions in reverse order.

0Comentários do guia

Comentar

Visualizações:

Últimas 24 horas: 5

Últimos 7 dias: 15

Últimos 30 dias: 31

Ao todo: 278