
Toshiba Satellite P855-S5102 Hard Drive Replacement
Nenhuma estimativa
Moderada
Introdução
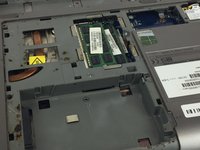
Vá para o passo 1The laptop's Hard Drive is where data is permanently stored and retrieved on the computer. A good Hard Drive keeps the computer running smoothly. Below are a few steps on how to effectively remove the Hard Drive.
O que você precisa
Ferramentas


-
-
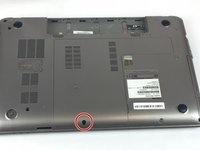
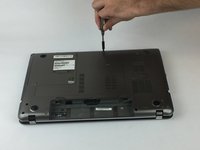
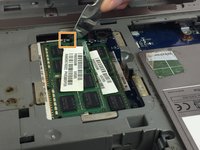
Remove the three 3mm Phillips #0 screws from the hard drive.
-
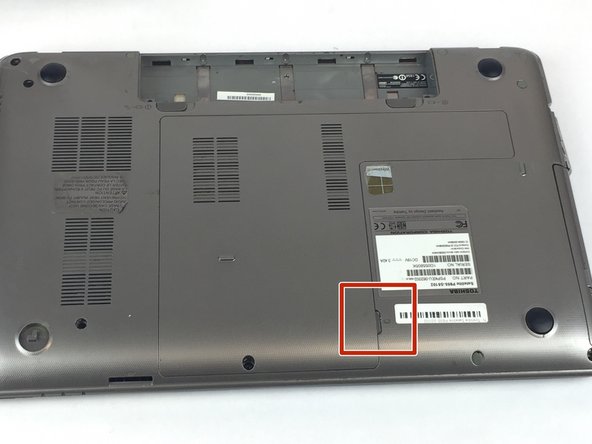
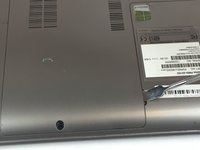
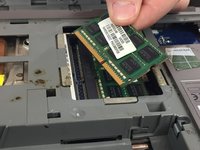
Remove the hard drive.
-


Quase terminado!
To reassemble your device, follow these instructions in reverse order.
Conclusão
To reassemble your device, follow these instructions in reverse order.
Equipe

USF Tampa, Team S20-G3, Passmore Spring 2018 Membro de USF Tampa, Team S20-G3, Passmore Spring 2018
USFT-PASSMORE-S18S20G3
Membros da 4
Autoria de 7 guias