
Toshiba Portege R205-S209 Heatsink Fan Replacement
Introdução
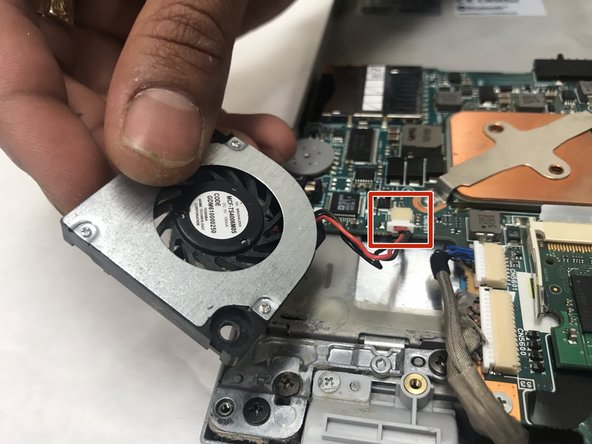
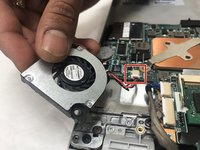
Vá para o passo 1Replacing the heatsink fan is an uncommon issue however if you laptop is running extremely hot this may be the correct adjustment. Removing the heatsink may seem intimidating, but it is relatively quick taking only about 5-10 minutes to complete.
O que você precisa
Ferramentas


-
-
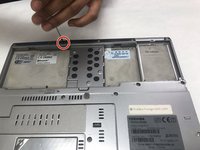
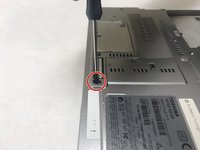
With the laptop flipped over, unlock the mechanism that is shown in red.
-
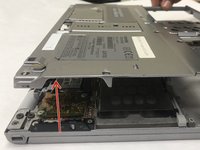
Lift and remove the battery out of the device.
-


To reassemble your device, follow these instructions in reverse order.
To reassemble your device, follow these instructions in reverse order.
Equipe

IUPUI, Team S1-G2, Crossman Spring 2019 Membro de IUPUI, Team S1-G2, Crossman Spring 2019
IUPUI-CROSSMAN-S19S1G2
Membros da 3
Autoria de 6 guias