
Toshiba Portege M400 Screen Replacement
Introdução
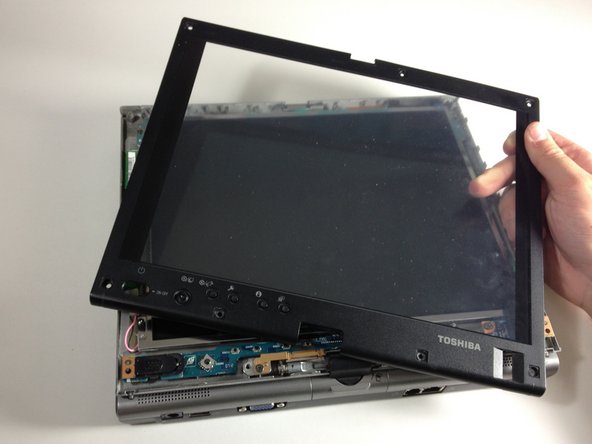
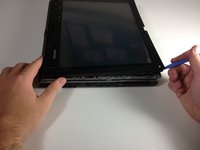
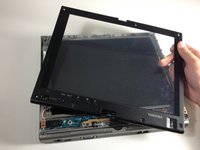
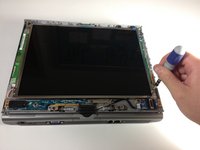
Ir para o passo 1In this guide, you will learn how to disassemble the broken/damaged screen from the rest of the laptop, allowing you to replace it for a new one. This guide will also teach you what the proper and necessary tools are for this repair.
O que você precisa


To reassemble your device, follow these instructions in reverse order.
To reassemble your device, follow these instructions in reverse order.
Cancelar: não concluí este guia.
Uma outra pessoa concluiu este guia.
Equipe

Cal Poly, Team 4-17, Maness Spring 2013 Membro de Cal Poly, Team 4-17, Maness Spring 2013
CPSU-MANESS-S13S4G17
3 Membros
Autoria de 12 guias
Um comentário
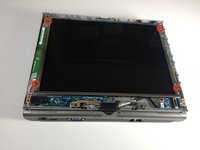
Be careful with this procedure, as there are at least 2 different part numbers for the M400, LTD121KM7K has a 32 pin connector, and a different one, LTD121KC6K has a shorter connector for the display which is not compatible. When ordering from Ebay they do not distinguish between them. I would also like a procedure for replacing the complete screen and lid assembly. I can't find it on the net at the moment. Also, be aware that there may be compatibility issues there too.