Ir para o conteúdo principal
Toshiba Portege M300 Hard Drive Replacement

Toshiba Portege M300 Hard Drive Replacement

Alison Wendt

Alison Wendt e 7 outros colaboradores

Última atualização em April 2, 2023

Nenhuma estimativa
Fácil
Melhor Introdução
Faltando detalhes

Introdução

Ir para o passo 1

This guide will go through the steps needed to install a new hard drive.

O que você precisa

Ferramentas

  1. Toshiba Portege M300 Hard Drive Replacement, Battery: passo 1, imagem 1 %32
    • Turn the computer over onto its back.

  2. Toshiba Portege M300 Hard Drive Replacement: passo 2, imagem 1 %32 Toshiba Portege M300 Hard Drive Replacement: passo 2, imagem 2 %32
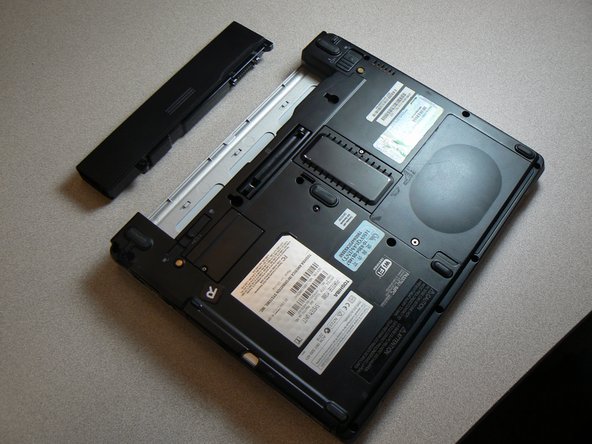
    • Slide the lock on the left side to the unlock position.

    • Slide the lock on the right side to the unlock position until there is a clicking sound.

  3. Toshiba Portege M300 Hard Drive Replacement: passo 3, imagem 1 %32 Toshiba Portege M300 Hard Drive Replacement: passo 3, imagem 2 %32
    • Remove the battery by sliding it away from the laptop.

    • Make sure the two locks from the previous step are in the unlocked position while sliding the battery away.

  4. Toshiba Portege M300 Hard Drive Replacement, Hard Drive: passo 4, imagem 1 %32 Toshiba Portege M300 Hard Drive Replacement, Hard Drive: passo 4, imagem 2 %32 Toshiba Portege M300 Hard Drive Replacement, Hard Drive: passo 4, imagem 3 %32
    • Turn the computer over onto the back.

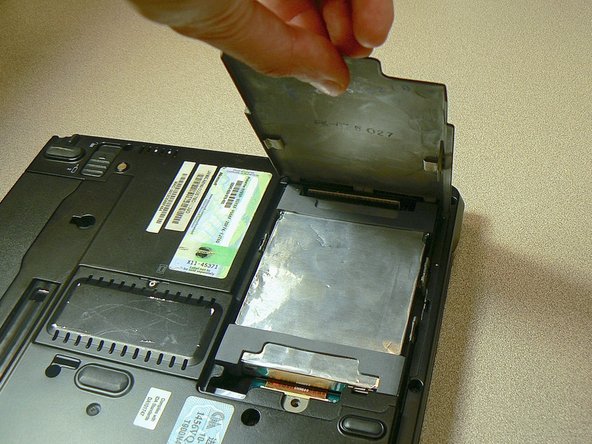
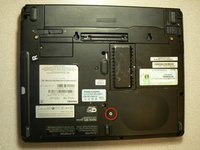
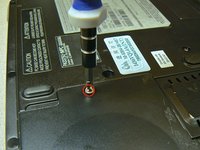
    • Use a Phillips #1 screwdriver to remove the screw from the hard drive cover.

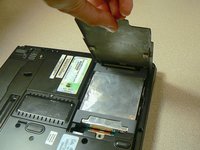
    • Lift and remove the cover.

  5. Toshiba Portege M300 Hard Drive Replacement: passo 5, imagem 1 %32 Toshiba Portege M300 Hard Drive Replacement: passo 5, imagem 2 %32 Toshiba Portege M300 Hard Drive Replacement: passo 5, imagem 3 %32
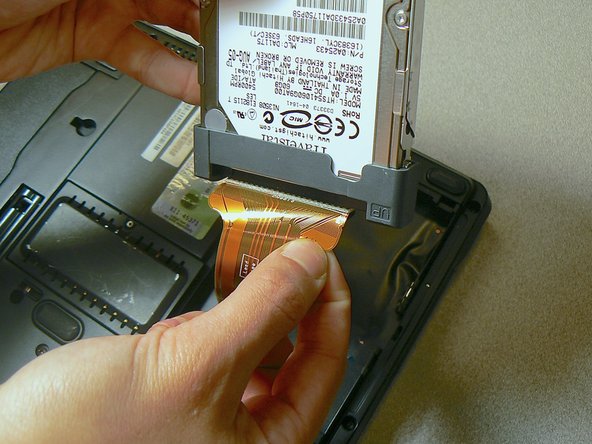
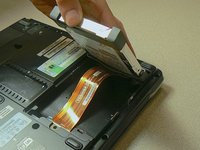
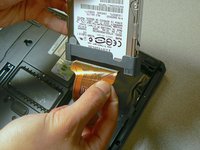
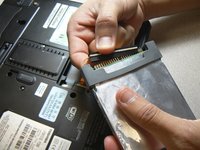
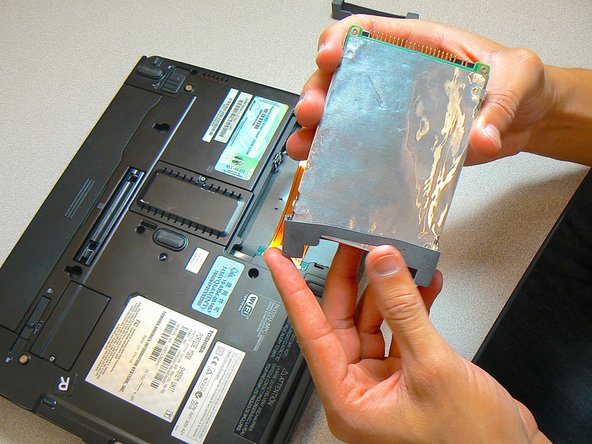
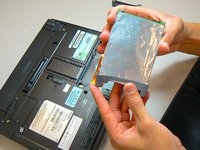
    • Carefully remove the hard drive from the IDE cable by pulling on the black connector.

    • Do not pull the orange cable.

  6. Toshiba Portege M300 Hard Drive Replacement: passo 6, imagem 1 %32 Toshiba Portege M300 Hard Drive Replacement: passo 6, imagem 2 %32
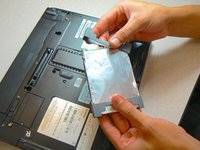
    • Remove the two gray rubber covers from both ends of the hard drive.

Conclusão

To reassemble your device, follow these instructions in reverse order.

5 outras pessoas executaram este guia.

Alison Wendt

Membro desde: 04/18/13

135 Reputação

Autoria de 6 guias

Equipe

Cal Poly, Team 21-51, Johann Spring 2013 Membro de Cal Poly, Team 21-51, Johann Spring 2013

CPSU-JOHANN-S13S21G51

3 Membros

Autoria de 18 guias

Um comentário

cual es el numero de parte del flex del hdd porfa

Alex De santiago - Responder

Comentar

Exibir estatísticas:

Últimas 24 horas: 1

Últimos 7 dias: 1

Últimos 30 dias: 35

Ao todo: 2,519