
Toshiba Dynabook AX 53D Touchpad Replacement
Introdução
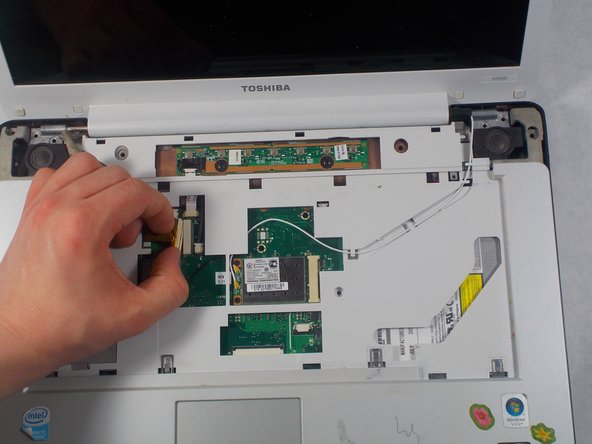
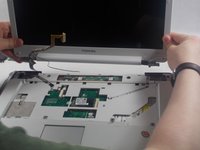
Vá para o passo 1In this guide users will replace the touchpad in the Toshiba Dynabook AX 53D. This process includes removing the top panel screws under the laptop, removing the media bezel, unscrewing the keyboard, popping the top panel off, and disconnecting the touchpad.
O que você precisa
Ferramentas


-
-
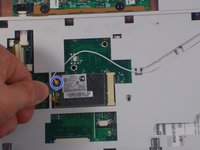
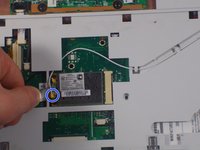
Using the #J1 bit, remove the 17 recessed 7.3 mm B6 screws from the underside of laptop and the 3.1 mm #J0 F3 screw inside the battery compartment.
-


To reassemble your device, follow these instructions in reverse order.
To reassemble your device, follow these instructions in reverse order.
Equipe

UMass Dartmouth, Team S2-G7, Isaacson Spring 2017 Membro de UMass Dartmouth, Team S2-G7, Isaacson Spring 2017
UMASSD-ISAACSON-S17S2G7
Membros da 3
Autoria de 15 guias