
Subwoofer Rubber Surround Repair

Introdução
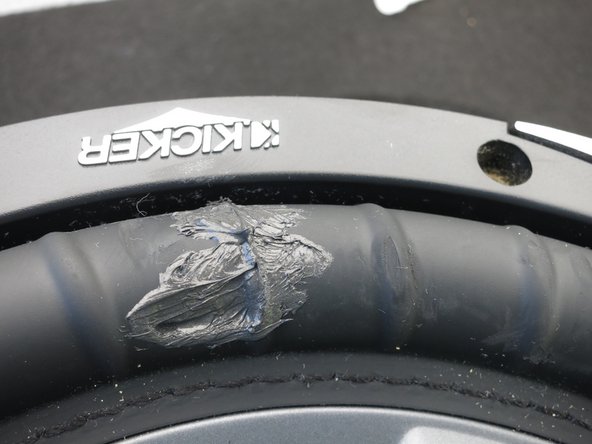
Ir para o passo 1I realized — a little too late — that a couple of retaining clips were rubbing against the top of the subwoofer/enclosure in my car. One clip was (thankfully) scratching the subwoofer enclosure carpet, but the other one had poked a hole on the subwoofer's rubber surround.
I removed the retaining clips so there would be no issues in the future, but the damage had already been done. So I figured what the heck — might as well make a guide!
O que você precisa
Peças

Ferramentas


Exibir mais…
-
-
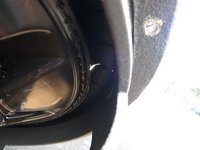
Assess the damage. Depending on the severity of the cut, you may need some other scaffolding material (aside from RTV silicone) to enclose the hole.
-
In this case, all we need to do is cover up the tear with RTV silicone in order to make the subwoofer almost as good as new — functionally, at least.
-
-
-
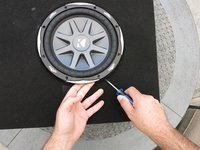
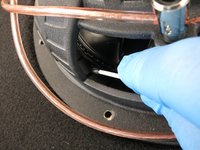
Use a flat pry tool (such as a flat-blade screwdriver) to prop up an edge of the subwoofer.
-
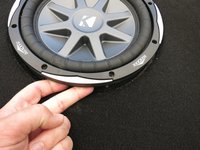
Slide your fingers underneath the sub so that you get a good grip on its edge.
-
Carefully lift the subwoofer out of the enclosure, minding any wires that may be tethering the sub to the enclosure.
-
-
-
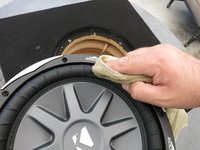
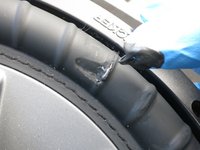
Use a clean, lint-free cloth to wipe away any dirt/grease/grime that would otherwise tarnish the bond between the rubber and RTV silicone.
-
Inspect the underside of the tear and also gently clean it with a cloth, if needed.
-
-
-
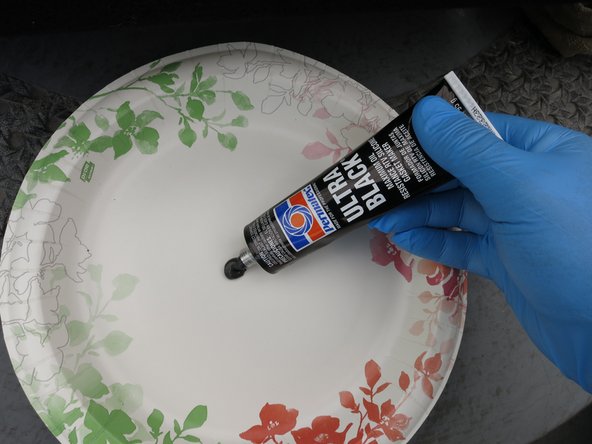
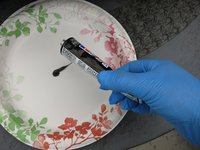
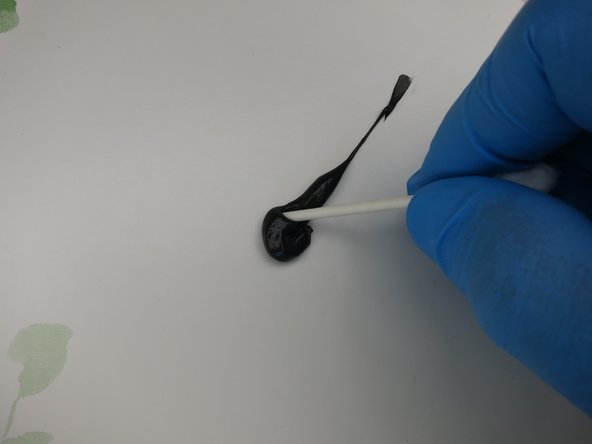
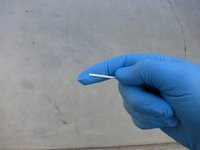
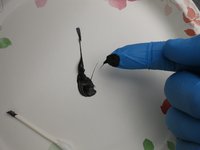
Cut the end off a cotton swab in order to transform it into an RTV applicator.
-
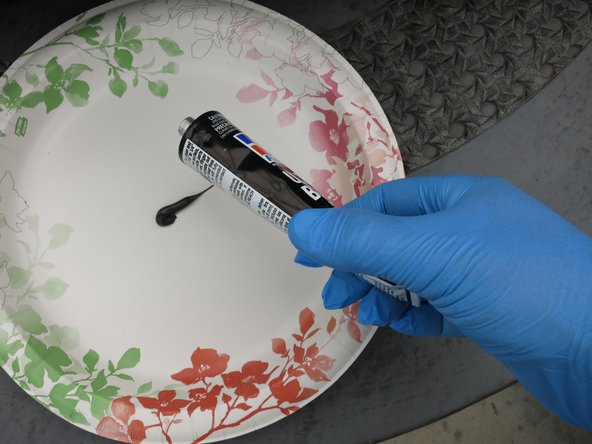
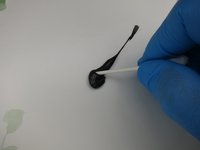
Dip the swab into the RTV silicone, and use it to apply the RTV silicone to the underside of the subwoofer tear.
-
You do not need a huge amount of RTV silicone on either side of the rubber surround — just enough to form a very thin layer.
-
-
-
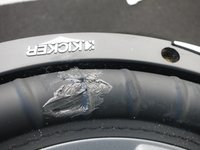
After you're done applying the RTV silicone and testing the subwoofer's excursion, shine a strong flashlight through the now-covered hole, and ensure that no light bleeds through.
-
Ensure the sub wires are still connected properly, and reinstall the subwoofer back into the enclosure.
R42 irderezirderezddS3Q
Is there anyway to replace the.entire rubber surround.
-


Cancelar: não concluí este guia.
25 outras pessoas executaram este guia.

19Comentários do guia
I have repaired many using fingernail polish. It may take several applications depending on the size but it forms a strong durable bond. Also works great on the cone.
Just be careful what silicone you use. Some may degrade the cone and other parts of the subwoofer.
what should be used on sundown sa12
what brand should e used on sundown sa12
Thanks for sharing wounderull information, With the example for pix.
LAUGH all you want but I came up with a super fast, and long lasting fix for speaker surround tears/holes.. without having to remove the speaker from the enclosure ( home or car)—- DRYER SHEETS.. these things not only help debug your windshield and grill but are also great in AC vets for that fresher smell— but I digress—- use just a tiny baby bandaid size strip with some speaker glue instant gasket or (Simply Speakers MI-3035) and you have created a long last flexible bainaide for the speaker with minimal effort cost and down time!
Here is a step by step process to Subwoofer Rubber Surround Repair technique, Thanks for sharing this post. https://bestcarmusic.blogspot.com/2018/1...
My tear was 1/4” in a Boston G1. I used a little “Tear Mender” and made sure I got it in the tear. Used a sharpie to color it.
I used 100% RTV silicone and wax paper to hold the tear together. Worked perfectly! Thanks for the post.
Is there a kit for the part in the middle of cone its like been hit with hammer but i wanto see if its fix able its a kicker comp 15 inch sub i have 2 and 3 12 inch of same .just woundering if theres any hope thanks.
If i use multimeter to make sure speaker is all the way bliwn i put it on oms ,after that it goes .43 .48 is that good or bad for my kicker 15 inch sub its been broken but yet if i plug it into stereo i here sound coming out still what is a goid and bad multimeter reading if u no anybody pls help thanku goidnite bless u all i love speakers music wat can i say if thered a way to save ut please let me no what to do
Next time, put a piece of plastic wrap over the top hole and fix the repair from the back once it’s dry pull the plastic off and away….when dry….use a dab and a razor blade to dress up the face smooth with the edge of blade.