
Sony Cyber-shot DSC-H200 LCD Screen Replacement

Introdução
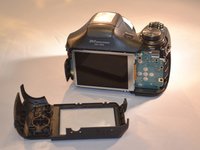
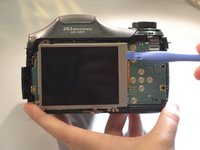
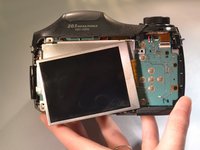
Ir para o passo 1In order to change a broken screen, you need to get into the body of the camera. We will show you how to not only take apart your camera but also how to replace a broken screen. Properly following the steps included will ensure a safe and easy LCD Screen replacement.
O que você precisa


-
-
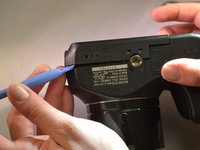
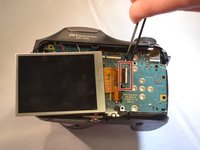
Using a screwdriver, remove the five 6mm screws located on the back panel.
-
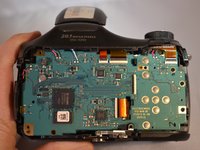
Using a screwdriver, remove the two 3mm screws located on the back panel.
-


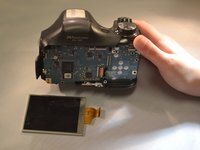
To reassemble your device, follow these instructions in reverse order.
To reassemble your device, follow these instructions in reverse order.
Gear Up For Future Repairs
Shop all


Equipe

Eastern Washington University, Team 2-3, Matresse Spring 2015 Membro de Eastern Washington University, Team 2-3, Matresse Spring 2015
EWU-MATRESSE-S15S2G3
4 Membros
Autoria de 10 guias