
Sew a Button

Introdução
Ir para o passo 1Replacing a button is one of the most common clothing repairs. Fortunately, it's also one of the easiest. This guide will show you how to reattach a standard four-hole button with a needle and thread. In this guide we're using contrasting thread for visibility, but when it comes time to do your actual project, you'll want to use thread that matches the color of your fabric.
O que você precisa
Peças
Ferramentas
Exibir mais…
-
-
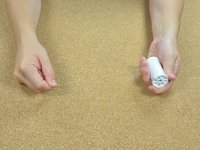
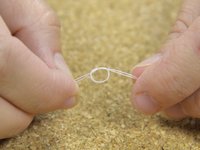
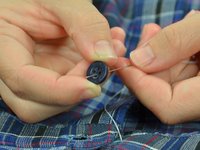
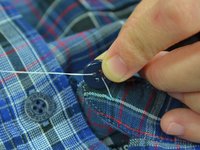
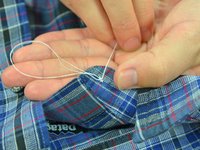
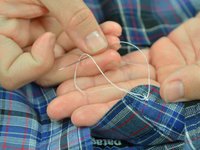
Get a length of thread—about an arms-length should be more than enough.
-
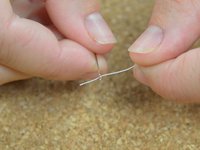
Thread a needle.
You can use common cotton thread found in most basic sewing kits, but for a stronger, more durable repair you might consider "button thread". It is a cotton-blend thread that is a bit thicker and stronger due to the polyester content.
It can be found in any good craft or fabric shop and is only about 50 cents more than the average spool of common thread.
Thread color: if you have many too a choose from pick a thread similar to that in the other buttons. But if not then use any thread at hand on the spot, you can always redo the button later.
-
-
-
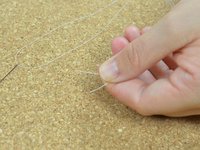
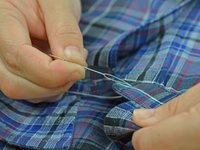
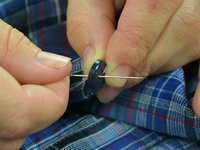
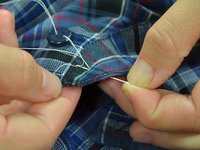
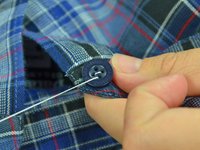
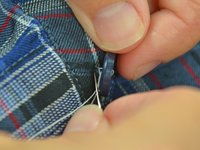
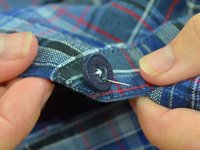
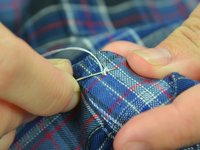
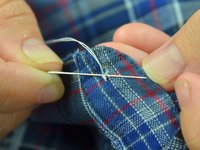
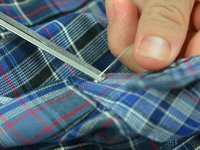
Push the needle through the buttonhole directly opposite the one you have already threaded.
-
Be sure to go through only the button, not the fabric.
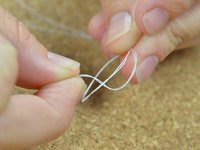
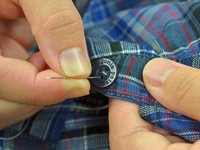
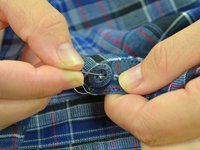
Which order to go up/down through the button holes: This can vary (diagonally vs one step to the side) so just look at the shirt's existing buttons and mimic that to get the most consistent look.
-


Cancelar: não concluí este guia.
58 outras pessoas executaram este guia.


5Comentários do guia
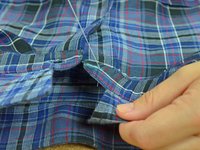
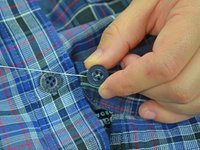
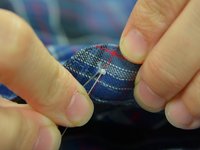
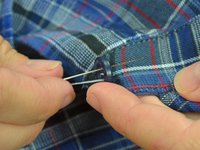
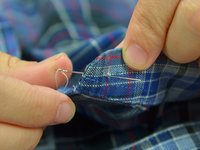
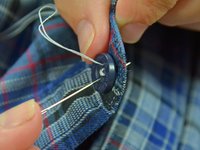
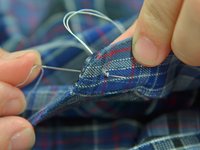
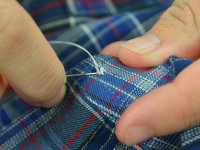
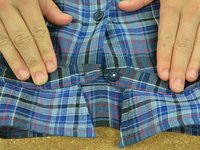
What helps after the last step 14 is to wrap the thread around and around a few times underneath the button itself (binding all the threads together) and making one last pass through the cloth before the final knot. This makes the repair much more durable.
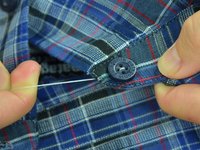
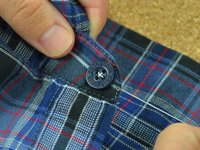
Wrapping the threads underneath the button to create a shank is useful for coat buttons where the fabric is thick and you don’t want the fabric to pucker. As noted, it adds durability to the button attachment. On a shirt collar, as seen here, it would create too much bulk where you need the button to lie quite flat, so this method is quite sufficient.
Thanks Jonathan. Great insight.
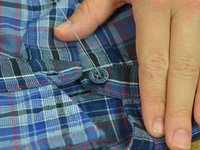
Tailor's chalk is optional. Unnecessary to buy if you don't have it already. You can mark the location on the underside with your finger or lightly with any pointy object such as a pen. Stick the needle through a little and double check the location. If off then pull the needle back and retry, no harm done.
The parts list should also include: Needle.
Fixbert Fixstein - Responder