
Screwless Light Switch Wall Plate Replacement

Introdução
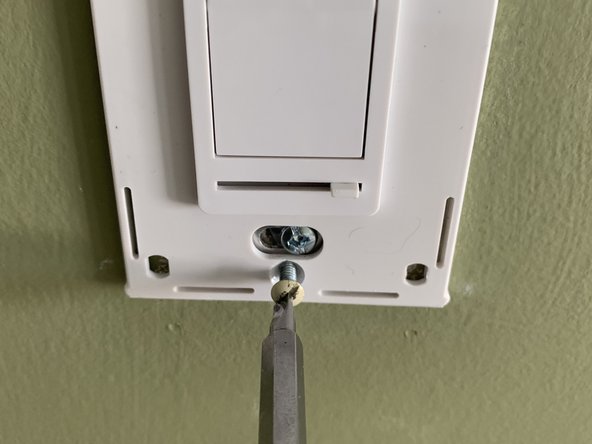
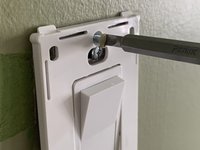
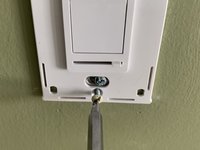
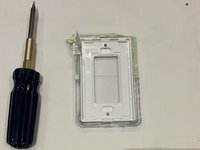
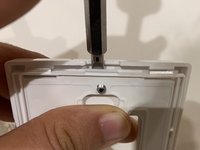
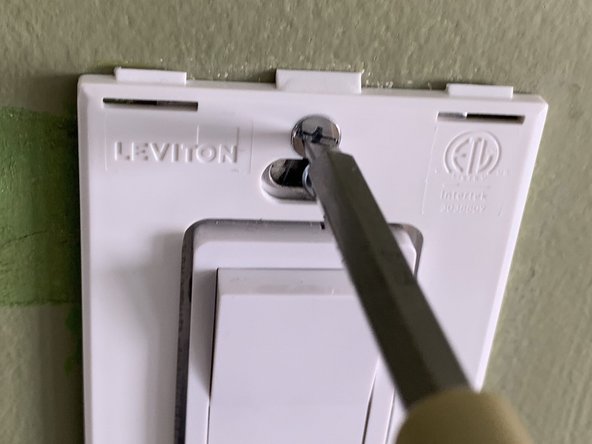
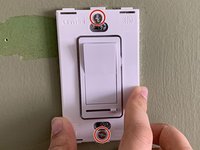
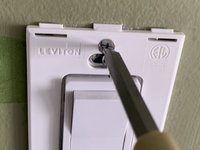
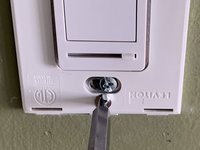
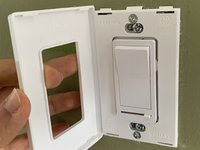
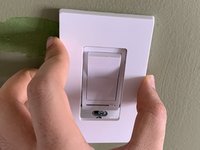
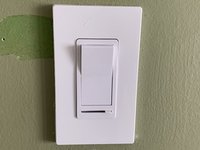
Vá para o passo 1This guide will show you how to replace an old light switch wall plate (also called a faceplate) with a screwless one. Reasons to replace faceplates include but are not limited to:
- Switching from a regular wall plate to a more modern-looking screwless wall plate.
- Change of color of older wall plates that happens with the passage of time.
- Damage to the wall plate due to an accident or incorrect use.
Caution: Before beginning this guide, turn the light switch off and turn off power to the switch at the circuit breaker.
O que você precisa


You can follow this guide to replace a power outlet faceplate as the procedure is essentially the same.
You can follow this guide to replace a power outlet faceplate as the procedure is essentially the same.
Cancelar: não concluí este guia.
3 outras pessoas executaram este guia.

Equipe

York University, Team S1-G7, Woodhouse Winter 2021 Membro de York University, Team S1-G7, Woodhouse Winter 2021
YORK-WOODHOUSE-W21S1G7
1 Membro
Autoria de 2 guias