
Refrigerator Handle with No Drills Installation
5 minutos
Muito fácil
Guia arquivado
Este guia é mantido exclusivamente para fins históricos. Use a versão atualizada do guia para executar o reparo.
Introdução
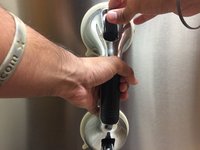
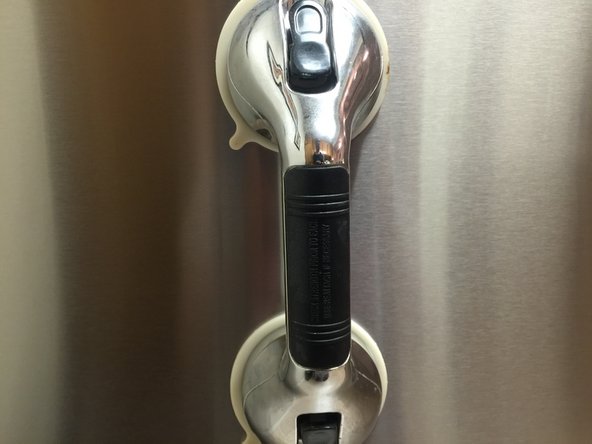
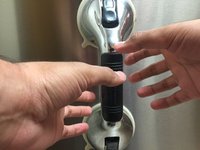
Ir para o passo 1Have you recently broken the handle of your fridge, but don't want to go through the hassle of drilling holes and screwing in bolts? Well, with this guide you will be able to avoid that issue and properly install a cheap and mess free handle.
O que você precisa
Peças
Ferramentas

A iFixit ganha comissão quando você compra por estes links.
-
-
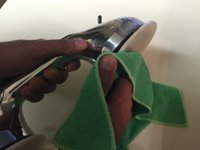
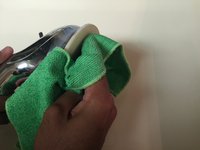
Use a clean sponge or damp lint free cloth to apply the handle to the surface.
-


Quase terminado!
To reassemble your device, follow these instructions in reverse order.
Conclusão
To reassemble your device, follow these instructions in reverse order.
Equipe

Cal Poly, Team 10-7, Green Fall 2015 Membro de Cal Poly, Team 10-7, Green Fall 2015
CPSU-GREEN-F15S10G7
3 Membros
Autoria de 3 guias