
Pentax LX Top Cover (Wind Side) Removal
Introdução
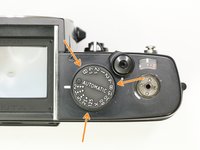
Vá para o passo 1Removing the top cover of the camera is the first step in many servicing jobs. It gives the user direct access to the shutter dial, speed resistor and frame counter mechanism.
Any disassembly of the LX body will compromise the weather sealing. New seals must be reapplied during final reassembly to restore weather proofing.
O que você precisa

-
-
Use a piece of tape wrapped sticky side out to grip the winding lever cover. Turn clockwise to loosen and remove
-
Remove four #000 2.5 mm screws.
-
Use spanners to remove top cover retaining nut.
-
-
-
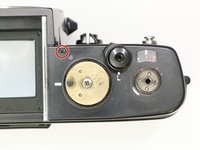
Gently remove the rubber covering around the shutter speed dial.
-
Remove three #000 1.6 mm screws.
-
Remove cover ring.
-
-
-
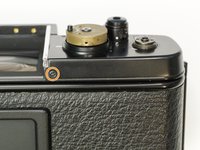
Remove one #00 2.5 mm screw.
-
Remove one #00 X mm screw.
-
Lift off top cover.
-


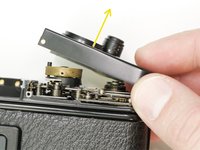
To reassemble your device, follow these instructions in reverse order.
To reassemble your device, follow these instructions in reverse order.