Ir para o conteúdo principal
Participe da comunidade de reparos - Criar conta
Nvidia Shield Display Assembly Replacement

Nvidia Shield Display Assembly Replacement

Noel Fletcher

Noel Fletcher e 4 outros colaboradores

Última atualização em 21 de abr de 2023

Nenhuma estimativa
Moderado
Melhor Introdução

O que você precisa

Ferramentas

  • T5 Torx Screwdriver
    T5 Torx Screwdriver
  • Spudger
    Spudger

Exibir mais…

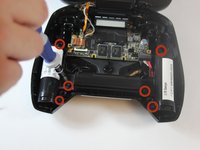
  1. Nvidia Shield Display Assembly Replacement, Remove Front Panel: passo 1, imagem 1 %32 Nvidia Shield Display Assembly Replacement, Remove Front Panel: passo 1, imagem 2 %32 Nvidia Shield Display Assembly Replacement, Remove Front Panel: passo 1, imagem 3 %32
    • Remove the seven 6.4mm T5 Torx screws from the back panel.

    • Use the spudger to separate the front and back panels.

    For the rubber screw covers, it is easiest to push at them at the top, otherwise you have the possibility of damaging the surrounding rubber.

    Any hints at getting the center plastic screw cover out?

    Miles Raymond - Responder

  2. Nvidia Shield Display Assembly Replacement, Remove Green Grill: passo 2, imagem 1 %32 Nvidia Shield Display Assembly Replacement, Remove Green Grill: passo 2, imagem 2 %32
    • The green grill is not screwed in so it can be pulled right out.

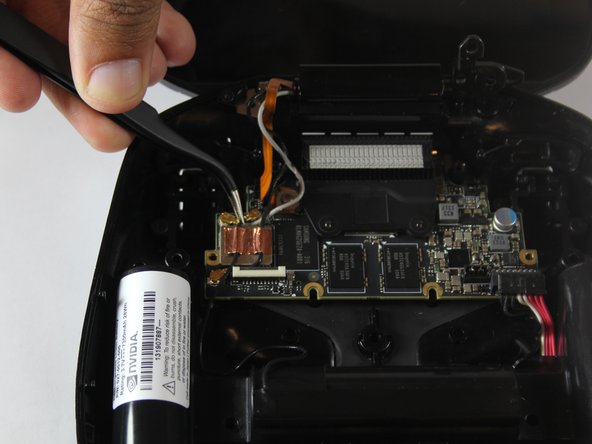
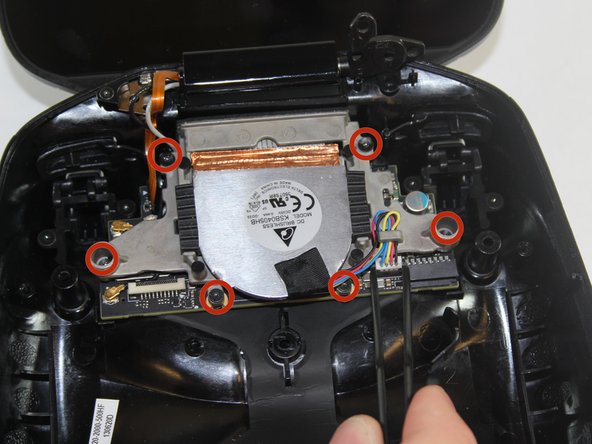
  3. Nvidia Shield Display Assembly Replacement, Remove Battery Cables: passo 3, imagem 1 %32 Nvidia Shield Display Assembly Replacement, Remove Battery Cables: passo 3, imagem 2 %32 Nvidia Shield Display Assembly Replacement, Remove Battery Cables: passo 3, imagem 3 %32
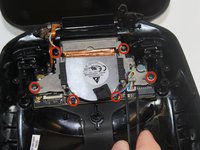
    • Remove the six 6.5mm T5 Torx screws.

    • Disconnect the power wires.

    • Peel back the copper tape and disconnect the black and white wires.

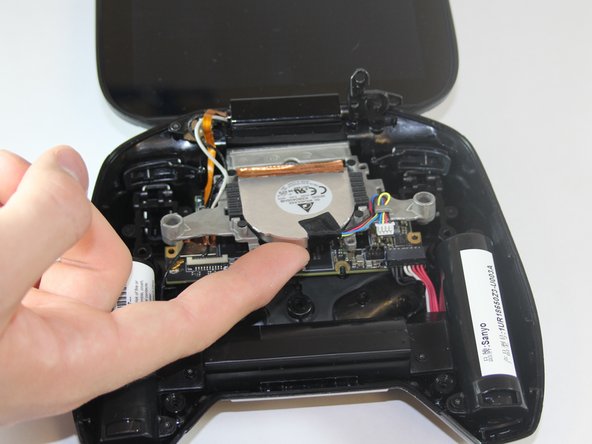
  4. Nvidia Shield Display Assembly Replacement, Remove Battery Apparatus: passo 4, imagem 1 %32
    • Pull the battery apparatus out once all cables are removed.

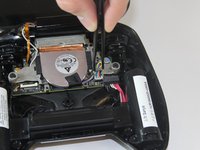
  5. Nvidia Shield Display Assembly Replacement, Removing Fan: passo 5, imagem 1 %32 Nvidia Shield Display Assembly Replacement, Removing Fan: passo 5, imagem 2 %32 Nvidia Shield Display Assembly Replacement, Removing Fan: passo 5, imagem 3 %32
    • Cooling is important for electronics, the last thing they want is to overheat.

    • Remove the two 7.3mm and four 8.4mm T5 Torx screws and disconnect the power cable.

    • Lift the fan free after the screws and cable are removed.

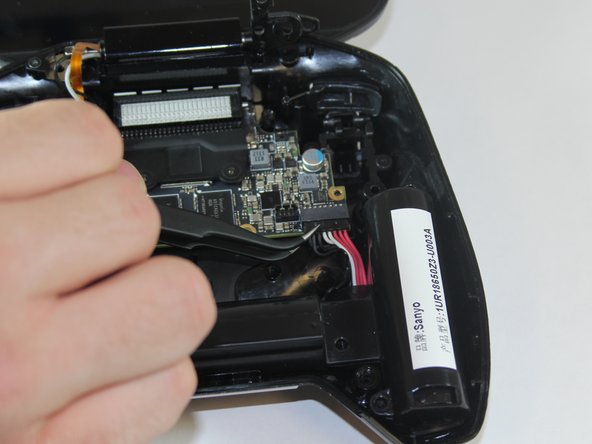
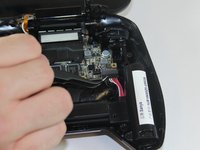
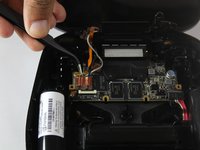
  6. Nvidia Shield Display Assembly Replacement, Disconnecting from logic board: passo 6, imagem 1 %32
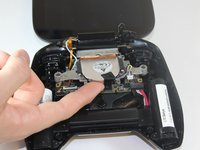
    • On the left side from where the display is attached to the back panel there is one 3.8mm T5 Torx screw that needs to be removed.

    • Once removed, the display should be able to be detached.

    There is also a screw holding down the ribbon cable to the main board. which needs to be removed prior to display assembly removal.

    Miles Raymond - Responder

    Any one know size of screw holding down ribbon cable?

    tgl030 - Responder

Conclusão

To reassemble your device, follow these instructions in reverse order.

5 outras pessoas executaram este guia.

Gear Up For Future Repairs

Shop all

Noel Fletcher

Membro desde: 09/22/14

116 Reputação

Autoria de 1 guia

Equipe

USF Tampa, Team 1-1, Hickman Fall 2014 Membro de USF Tampa, Team 1-1, Hickman Fall 2014

USFT-HICKMAN-F14S1G1

4 Membros

Autoria de 18 guias

1Comentário do guia

Where can o get a replacement screen

jorge valenzuela - Responder

Comentar

Visualizações:

Últimas 24 horas: 1

Últimos 7 dias: 4

Últimos 30 dias: 26

Ao todo: 6,710