
Nikon Coolpix L830 LCD Monitor Replacement

Introdução
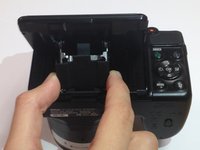
Ir para o passo 1If the LCD monitor on your Nikon Coolpix L830 is corrupted or completely blank, replacement is necessary. Following these steps will allow you to replace the broken screen with a new one to allow complete monitor functionality to return.
O que você precisa


-
-
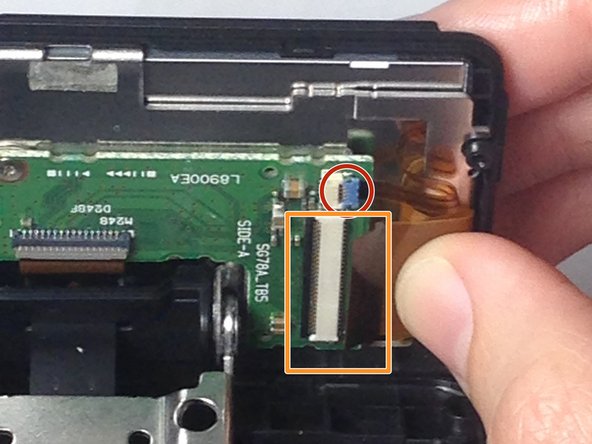
Use a Phillips head P000 screwdriver to remove the four 3.0 mm Phillips screws on the back of the monitor.
-


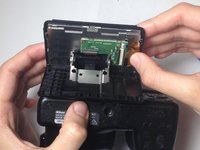


To reassemble your device, follow these instructions in reverse order.
To reassemble your device, follow these instructions in reverse order.
Cancelar: não concluí este guia.
Uma outra pessoa concluiu este guia.

Equipe

Baylor, Team 4-4, Williams Fall 2016 Membro de Baylor, Team 4-4, Williams Fall 2016
BU-WILLIAMS-F16S4G4
3 Membros
Autoria de 10 guias
2Comentários do guia
Très bien pour démonter , mais pour remonter les nappes, notamment la moins large, je n'arrive pas à l'insérer !
Avez vous une technique à me proposer ?