Nexus 6P Rear Camera Replacement
Introdução
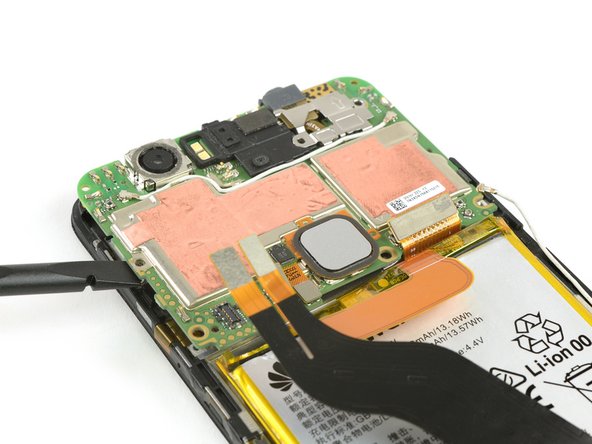
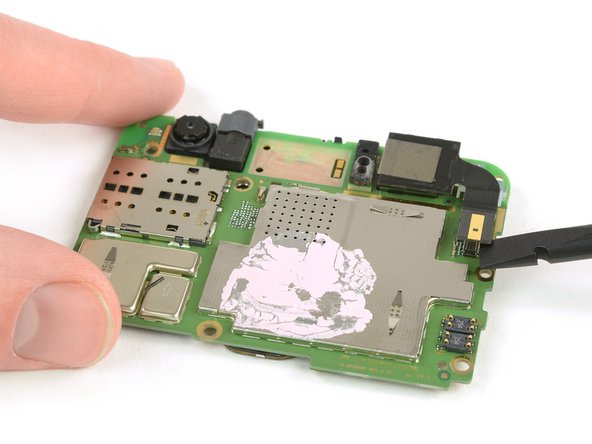
Ir para o passo 1Use this guide to replace the rear camera in your Nexus 6P smartphone. When reassembling your phone apply new adhesive where it is necessary.
-
-
Use a SIM card eject tool, to pop out and remove the SIM card tray.
-
Use an iOpener to loosen the adhesive underneath the small plastic cover at the bottom of the phone.
-
-
-
Use an iOpener to loosen the adhesive underneath the glass cover at the top of the phone.
-
Insert a knife between the phone and the glass cover. Pry up the glass cover until you can insert an opening pick.
-
-
-
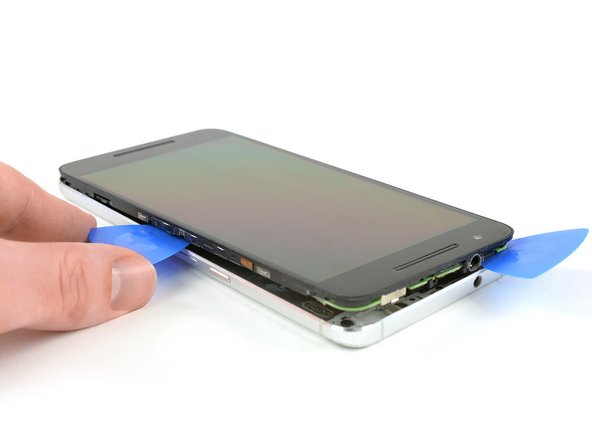
Insert a razor knife between the metal back cover and the front glass to create a gap. Insert an opening pick into the gap and slide it to the top right corner.
-
Insert a second opening pick and slide it to the top left corner.
-
Slide the opening picks along the edges to seperate the plastic clips, holding back cover and midframe together.
-
Remove the rear cover.
-
-
Ferramenta utilizada neste passo:Tweezers$4.99
-
Remove the six Phillips #000 screws.
-
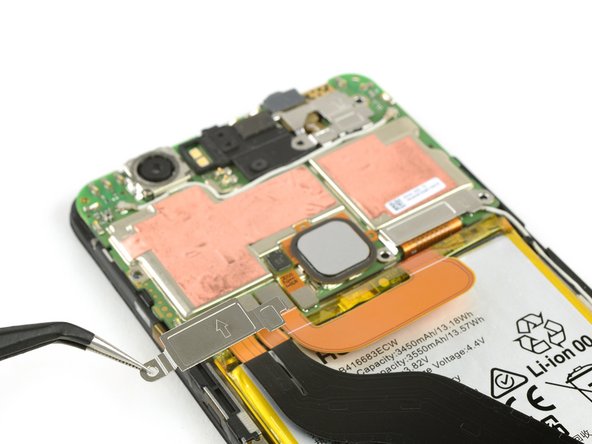
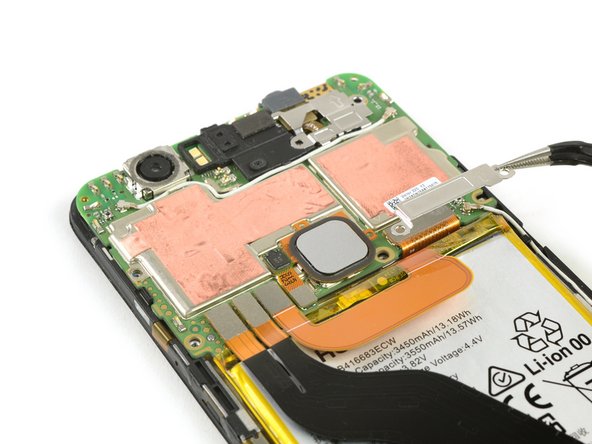
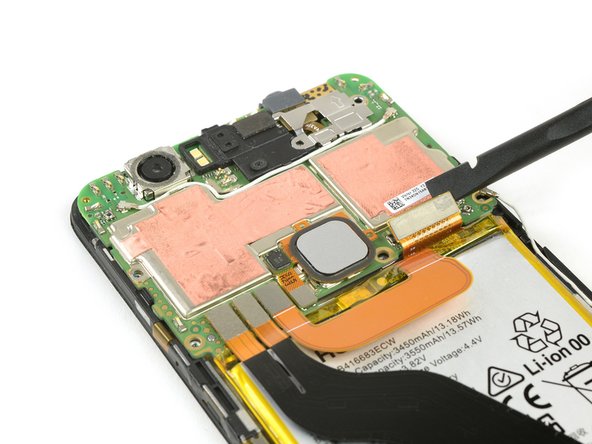
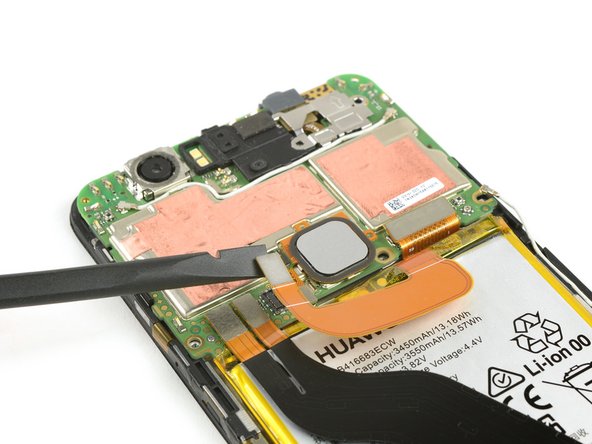
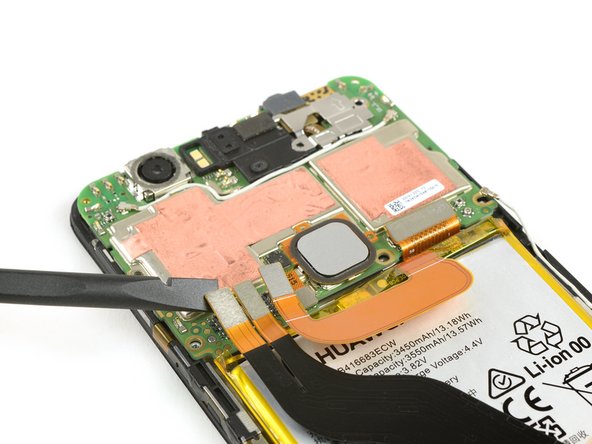
Use tweezers to remove the metal shields covering the battery/main flex cable and the display flex cable.
-
To reassemble your device, follow these instructions in reverse order. When reassembling your phone apply new adhesive where it is necessary.
To reassemble your device, follow these instructions in reverse order. When reassembling your phone apply new adhesive where it is necessary.
Cancelar: não concluí este guia.
Uma outra pessoa concluiu este guia.
Um comentário
Any suggestions on where to source adhesive or what to use?


