
Motorola Moto Z Play Display Assembly Replacement

Introdução
Ir para o passo 1Prerequisite only. Detach the display assembly, either to replace it or to effect other repairs.
O que você precisa


-
-
If possible, drain the battery before disassembly. When the battery is charged, there's increased risk of a dangerous thermal event if the battery is overheated or damaged during repairs.
-
If your display is cracked, completely cover it with packing tape to contain the glass shards and avoid injury.
-
-
-
Prepare an iOpener and heat the front of the phone along its left edge for about two minutes, or until it's slightly too hot to touch. This will help soften the adhesive securing the display.
-
-
-
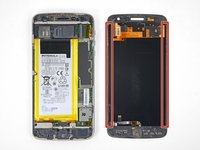
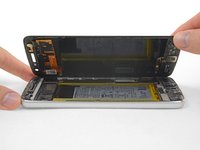
For reference, refer to the first image, showing the back of the display assembly (right) after it has been removed from the phone (left).
-
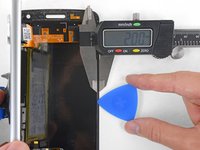
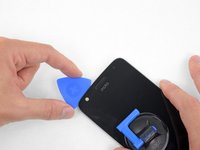
If you plan to re-use the display assembly, pay particular attention to the side edges. When slicing through the glue in this area, you must be careful to insert your tool less than 2 mm, or your tool will come in contact with the display panel and damage it.
-
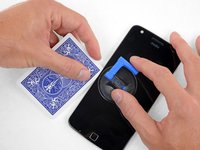
Playing cards are a safer, but much slower, prying tool. The soft paper cards are less likely to damage the display panel, which is good news if you plan to reuse it.
-
-
-
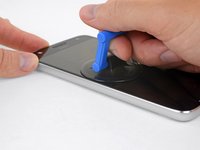
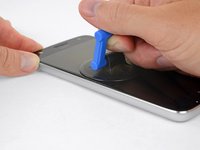
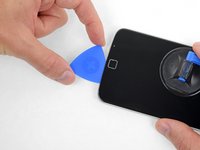
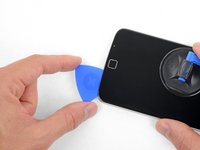
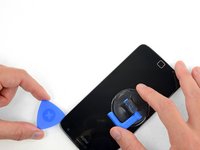
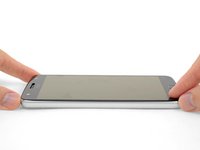
Apply a suction cup to the display, near the middle of the left edge.
-
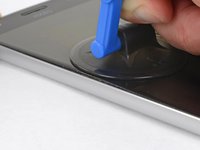
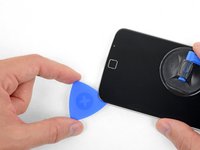
Pull up on the suction cup with firm, constant pressure to create a slight gap between the front panel and rear case.
-
This may require a significant amount of force, but you only need to open a very slight gap with the suction cup to insert your tool.
-
If you have trouble, apply more heat to further soften the adhesive, and try again. The adhesive cools very fast, so you may need to heat it repeatedly.
-
-
-
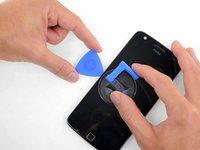
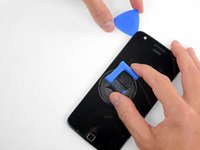
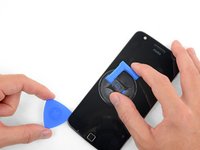
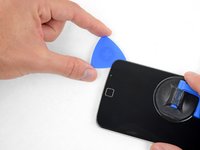
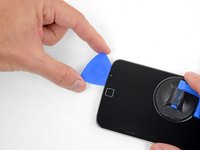
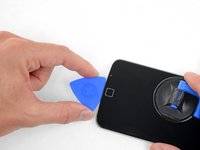
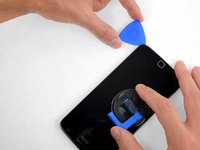
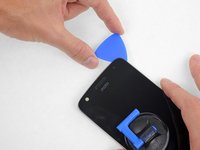
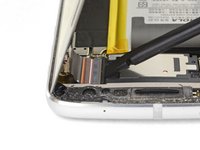
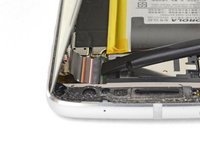
Insert your tool at the top right corner of the phone, and begin to slide it underneath the top bezel to separate the glue.
-
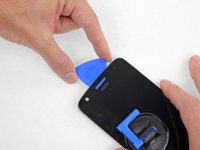
When your tool just passes the left edge of the earpiece speaker, stop.
-
Slide or roll your tool over the top of the flash module for the selfie camera to avoid damaging it.
-
-
-
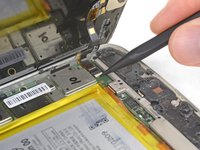
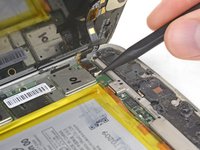
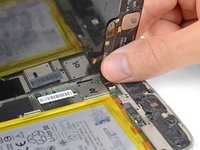
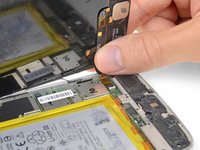
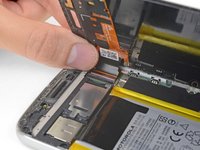
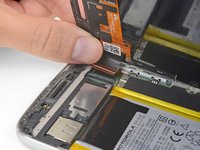
While holding the display open, use the point of a spudger to pry up the locking tab on the fingerprint sensor cable's ZIF connector.
-


To reassemble your device, follow these instructions in reverse order.
To reassemble your device, follow these instructions in reverse order.

