
Lenovo ThinkPad T480 SSD Replacement

10 - 15 minutos
Moderado
Guia colaborativo
Introdução
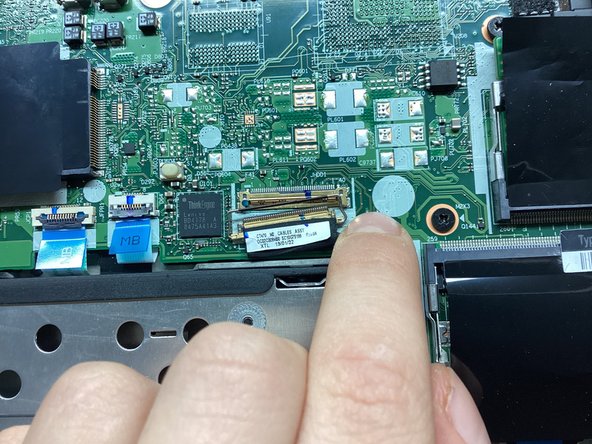
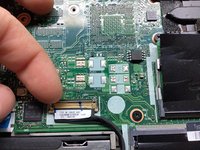
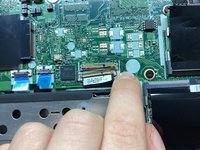
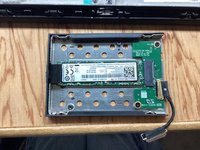
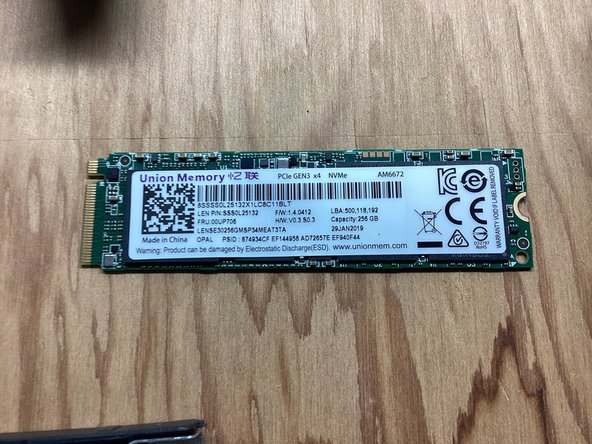
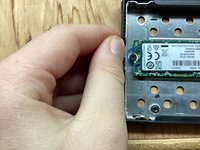
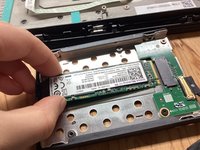
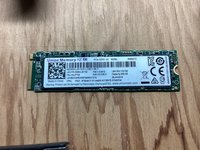
Ir para o passo 1This guide will show you how to replace the SSD on your Lenovo Thinkpad T480 laptop. Backup your data before replacing if possible.


-
-
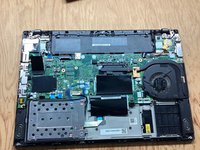
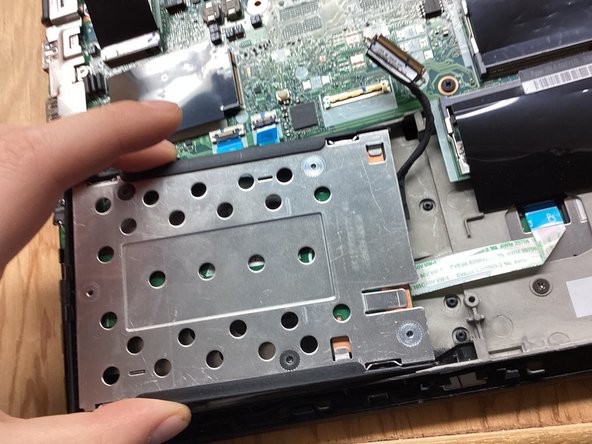
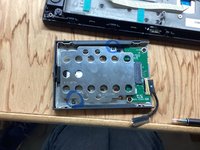
Disable the battery, and unplug your device before you begin. Flip laptop over on its back.
-


Quase terminado!
To reassemble your device, follow these instructions in reverse order.
Conclusão
To reassemble your device, follow these instructions in reverse order.
Cancelar: não concluí este guia.
4 outras pessoas executaram este guia.
