Ir para o conteúdo principal
Instant Pot 60 EPC Button Panel Replacement

Instant Pot 60 EPC Button Panel Replacement

Bela Hernandez

Bela Hernandez e 3 outros colaboradores

Última atualização em January 3, 2025

45 minutos
Moderado

Introdução

Ir para o passo 1

The following guide is from replacing the front panel of an Instant Pot 60 EPC. Consider following this guide if you have issues with unresponsive buttons, random error codes, or a flickering screen display.

O que você precisa

A iFixit ganha comissão quando você compra por estes links.
  1. Instant Pot 60 EPC Button Panel Replacement, Button Panel: passo 1, imagem 1 %32 Instant Pot 60 EPC Button Panel Replacement, Button Panel: passo 1, imagem 2 %32 Instant Pot 60 EPC Button Panel Replacement, Button Panel: passo 1, imagem 3 %32
    • Ensure the device is unplugged and cool before beginning.

    • Remove the lid and inner pot from the Instant Pot and turn the body upside down.

    • Remove the single Torx screw.

  2. Instant Pot 60 EPC Button Panel Replacement: passo 2, imagem 1 %32 Instant Pot 60 EPC Button Panel Replacement: passo 2, imagem 2 %32
    • Turn the bottom face counterclockwise and remove it.

  3. Instant Pot 60 EPC Button Panel Replacement: passo 3, imagem 1 %32 Instant Pot 60 EPC Button Panel Replacement: passo 3, imagem 2 %32
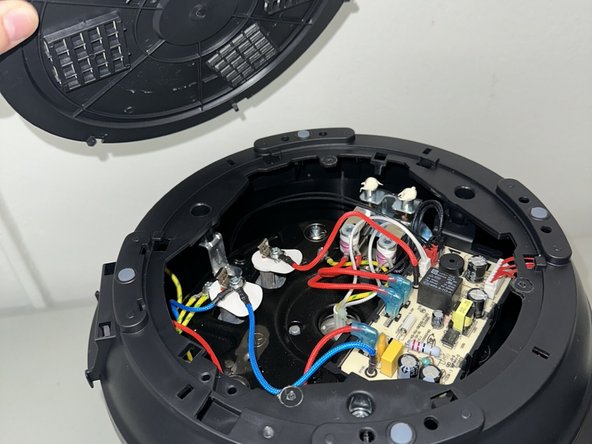
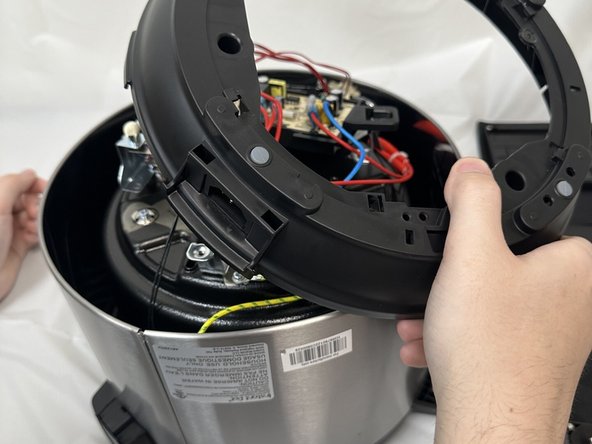
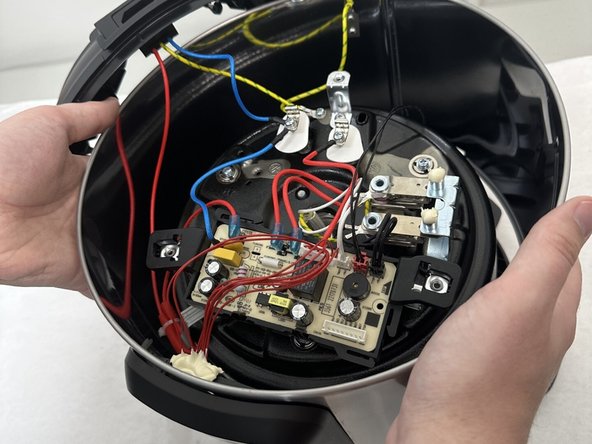
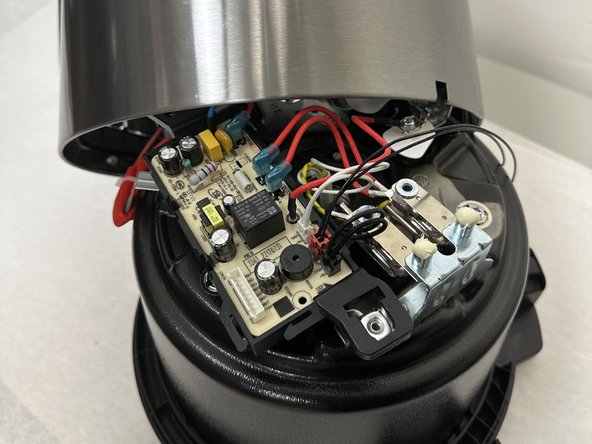
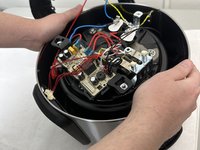
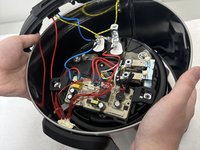
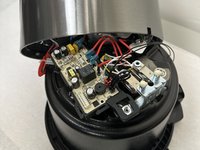
    • In order to reach the circuit board you'll need to remove the secondary frame surrounding it.

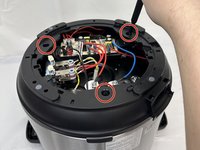
    • Remove the three Phillips screws securing the frame.

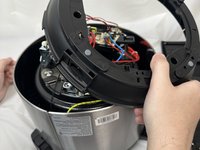
    • Lift the frame, twist and set next to the body. Take care not to damage any of the attached wiring.

  4. Instant Pot 60 EPC Button Panel Replacement: passo 4, imagem 1 %32 Instant Pot 60 EPC Button Panel Replacement: passo 4, imagem 2 %32
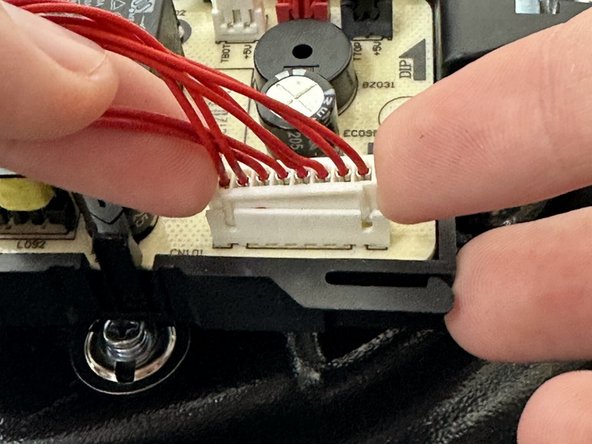
    • Disconnect the 8x1 pin control connector from the main board.

    • The plug should easily come up when pulled with slight pressure.

    • It may be helpful to also rock the plug side to side while pulling up.

  5. Instant Pot 60 EPC Button Panel Replacement: passo 5, imagem 1 %32
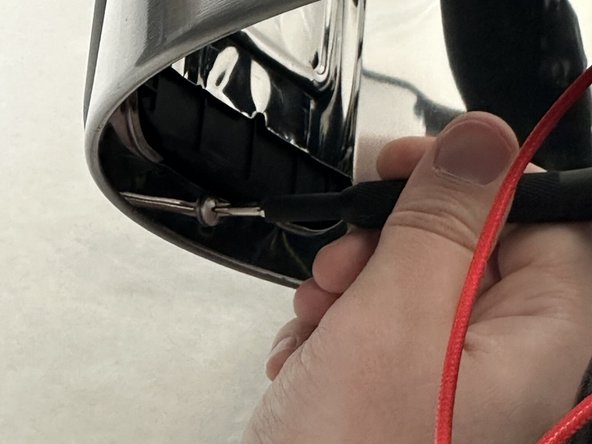
    • Remove the single screw attaching the front panel to the main body with a Phillips screwdriver.

    • This screw may be difficult to get to; we were able to remove it by threading a screwdriver underneath the main board.

  6. Instant Pot 60 EPC Button Panel Replacement: passo 6, imagem 1 %32 Instant Pot 60 EPC Button Panel Replacement: passo 6, imagem 2 %32 Instant Pot 60 EPC Button Panel Replacement: passo 6, imagem 3 %32
    • Remove the main body from the Instant Pot.

    • It should easily pull up with a little force and be free from the control board.

  7. Instant Pot 60 EPC Button Panel Replacement: passo 7, imagem 1 %32 Instant Pot 60 EPC Button Panel Replacement: passo 7, imagem 2 %32
    • Remove the Phillips screw.

  8. Instant Pot 60 EPC Button Panel Replacement: passo 8, imagem 1 %32 Instant Pot 60 EPC Button Panel Replacement: passo 8, imagem 2 %32
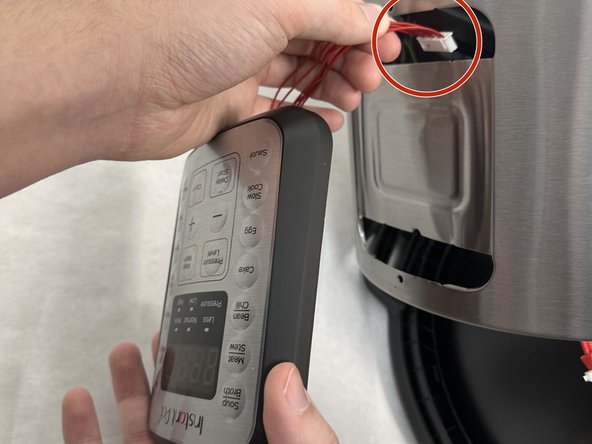
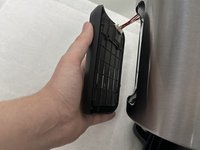
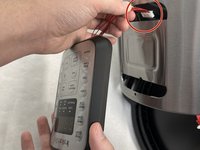
    • Pull the front panel away from the body and carefully pull out the wires that connect the front panel to the circuit board.

    • The front panel is now free to be replaced.

Conclusão

To reassemble your device, follow the above steps in reverse order.
Take your e-waste to an R2 or e-Stewards certified recycler.
Repair didn’t go as planned? Try some basic troubleshooting or ask our Answers community for help.

2 outras pessoas executaram este guia.

0Comentários do guia

Comentar

Visualizações:

Últimas 24 horas: 0

Últimos 7 dias: 2

Últimos 30 dias: 23

Ao todo: 148