
Inner Frame
Introdução
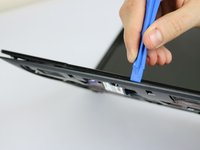
Ir para o passo 1In order to access the core components of the Acer Aspire One 725-0845, you will need to remove the inner frame, detailed here.
O que você precisa


-
-
Ensure the device is powered off by holding down the power button on the top left-hand side.
-
On a flat, level surface, flip the device over so that the back-plate is accessible.
-
-
-
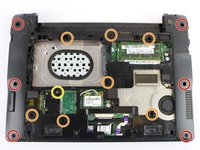
Using the JIS J1 Screwdriver Bit and Driver, remove the center screw (7.0 mm) from the back-plate.
-
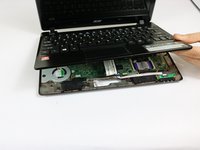
Using your hands, slide the back-plate away from the center of the device and remove.
-
-
-
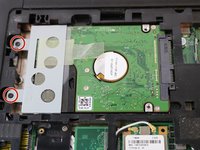
Using the JIS J1 Screwdriver Bit and Driver, remove the two screws (9.0 mm) from the outward side of the hard drive.
-
-
-
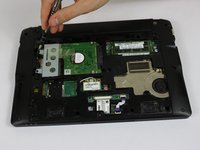
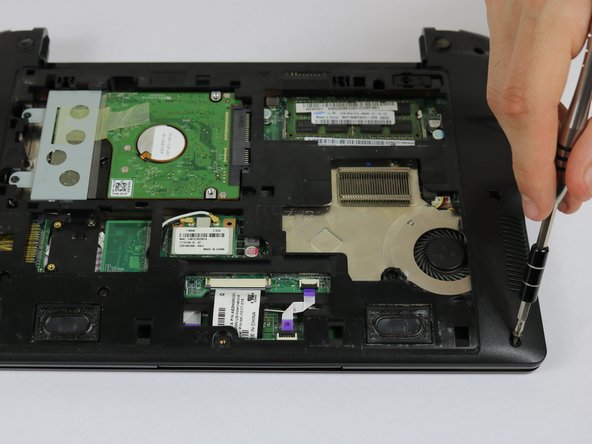
Using the JIS J1 Screwdriver Bit and Driver, remove the six outside screws (7.0 mm).
-
Using the JIS J1 Screwdriver Bit and Driver, remove the seven inside screws (8.0 mm).
-
Using the JIS J1 Screwdriver Bit and Driver, remove the one inside screw (3.0 mm).
-
-
-
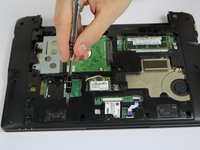
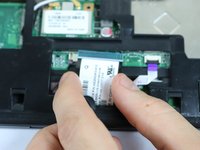
Using your hands, slide the brown release tabs for the keyboard connection away from the center of the device.
-
Gently remove the keyboard connection by pulling away from the center of the device.
-
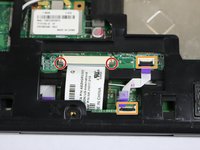
Lift the black locks for the touchpad connections into the upward position.
-
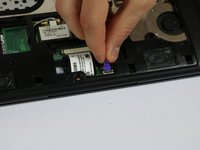
Gently remove the touchpad connections by pulling the purple tabs away from the locks.
-


To reassemble your device, follow these instructions in reverse order.
To reassemble your device, follow these instructions in reverse order.
Cancelar: não concluí este guia.
Uma outra pessoa concluiu este guia.
Equipe

USF Tampa, Team 8-3, Eyestone Spring 2017 Membro de USF Tampa, Team 8-3, Eyestone Spring 2017
USFT-EYESTONE-S17S8G3
4 Membros
Autoria de 16 guias