
How to disconnect the Battery in the Huawei Watch GT 3

Introdução
Ir para o passo 1This is a prerequisite guide! This guide is part of another procedure and is not meant to be used alone.
Use this guide to disconnect the battery in your Huawei Watch GT 3 (46mm).
O que você precisa


-
-
Before starting repairs, take your watch off the charger and power it down.
-
Remove the watch band.
-
-
-
Remove the four 3.7 mm-long Torx T2 screws securing the back cover.
-
-
-
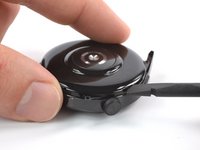
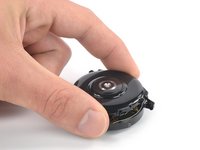
Insert the edge of a spudger into the the loudspeaker opening at the bottom edge of your watch.
-
Use a spudger to pry up the rear panel of your Huawei watch GT 3.
-
-
-
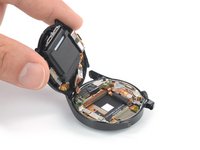
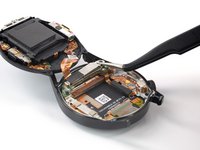
Carefully swing the rear panel assembly open to an upward position.
-
-
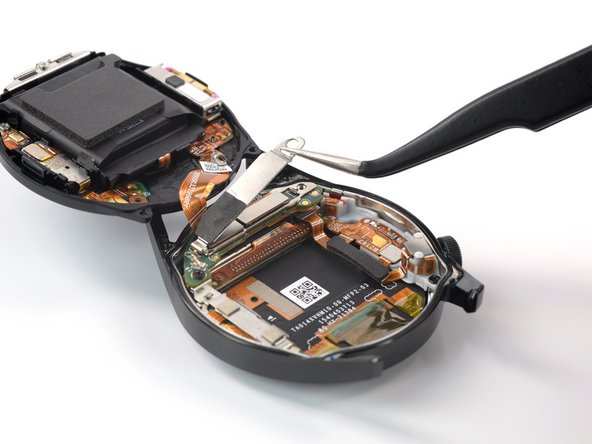
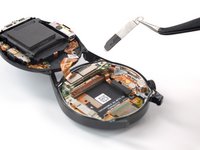
Ferramenta utilizada neste passo:Tweezers$4.99
-
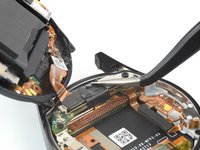
Use a pair of tweezers to peel the black tape off the battery connector bracket.
-
-
-
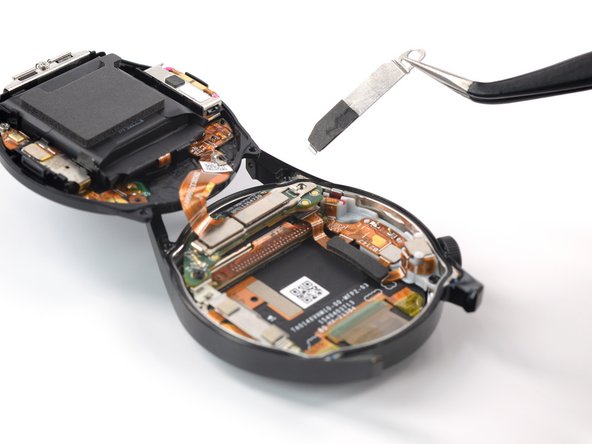
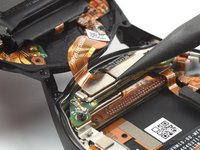
Remove the singe 2.2 mm-long Phillips screw securing the battery connector bracket.
-
-
-
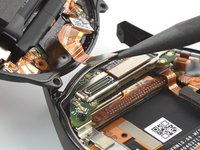
Use a pair of tweezers to remove the battery connector bracket.
-
-
-
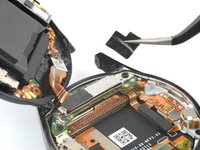
Use a spudger to disconnect the rear panel assembly cable by prying the connector straight up from its socket.
-
Remove the rear panel assembly.
-


If possible, turn on your device and test your repair before installing new adhesive and resealing.
Compare your new replacement part to the original part—you may need to transfer remaining components or remove adhesive backings from the new part before installing.
To reassemble your device, follow these instructions in reverse order.
Take your e-waste to an R2 or e-Stewards certified recycler.
Repair didn’t go as planned? Try some basic troubleshooting, or ask our Answers community for help.

