
How to Replace a Broken Lanyard Clasp

Introdução
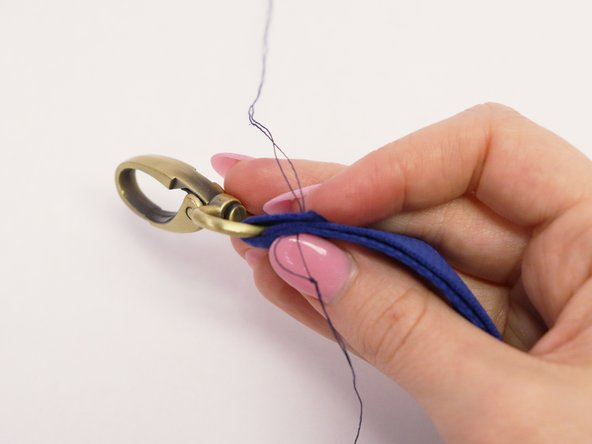
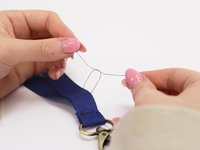
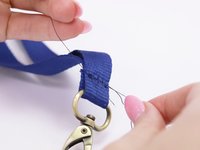
Vá para o passo 1Did your favorite lanyard clasp break? Lanyard clasps are prone to breaking, particularly those used daily to secure keys and personal items. They often snap in half or simply stop functioning properly. Use this guide to replace your broken lanyard clasp through hand sewing.
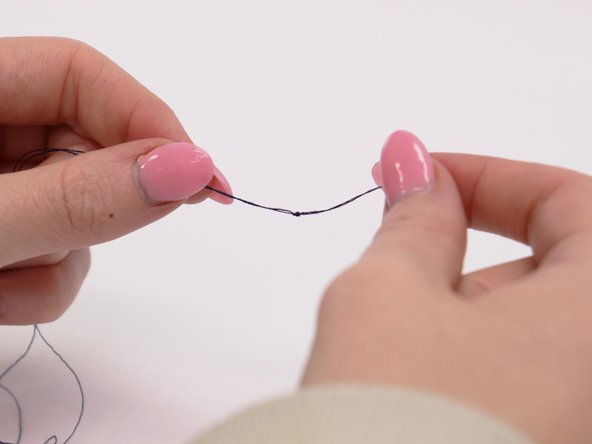
With a broken clasp, most people throw out the entire lanyard which is a waste! With this simple guide, anyone can save their favorite lanyard by replacing the clasp. This guide demonstrates how to complete a basic hand-sewing stitch to reattach a new lanyard clasp.
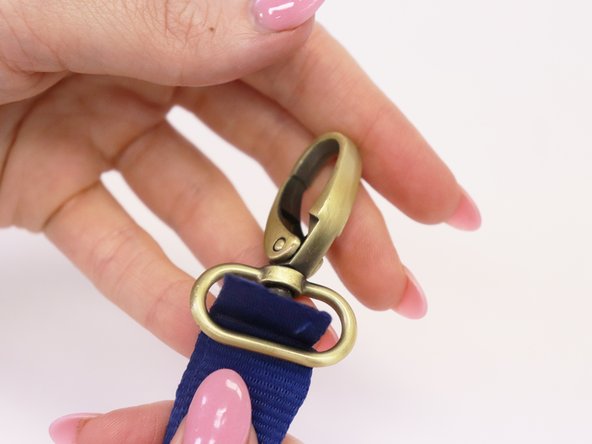
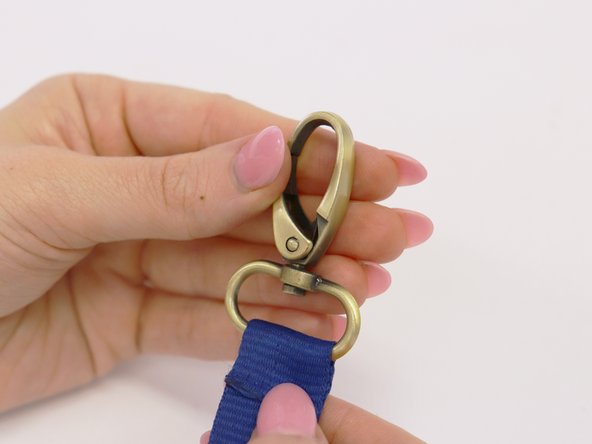
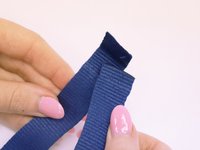
Before beginning, make sure to remove anything clipped onto the lanyard to make it easier to navigate the steps. Also, take stock of the original clasp to ensure you repurchase the correct one for the replacement.
O que você precisa
Peças
Ferramentas

Exibir mais…


Cancelar: não concluí este guia.
2 outras pessoas executaram este guia.

Equipe

UC Davis, Team 2-6, Andersen Winter 2024 Membro de UC Davis, Team 2-6, Andersen Winter 2024
UCD-ANDERSEN-W24S2G6
Membros da 3
1 Guia de autoria