Ir para o conteúdo principal
Hover-1 XLS Back Seat Light Replacement

Hover-1 XLS Back Seat Light Replacement

Christian Roberts

Christian Roberts e 3 outros colaboradores

Última atualização em March 8, 2019

3 - 6 minutos
Fácil
Guia do aluno destaque

Introdução

Ir para o passo 1

A broken light on a Hover-1 XLS bike is a safety hazard, especially if you use the bike when dark. Do not ride the bike with a broken tail light.

O que você precisa

A iFixit ganha comissão quando você compra por estes links.
  1. Hover-1 XLS Back Seat Light Replacement, Back Seat Light: passo 1, imagem 1 %32 Hover-1 XLS Back Seat Light Replacement, Back Seat Light: passo 1, imagem 2 %32
    • Remove the seat by removing the six 16mm screws with a Phillips #2 screwdriver.

    • Remember that the seat is still connected by the wiring once you unscrew it. Pulling too hard can damage the connector.

  2. Hover-1 XLS Back Seat Light Replacement: passo 2, imagem 1 %32 Hover-1 XLS Back Seat Light Replacement: passo 2, imagem 2 %32 Hover-1 XLS Back Seat Light Replacement: passo 2, imagem 3 %32
    • Disconnect the wires by pushing the levers on either side of the connector and on top.

    • Remove the seat from the bike.

  3. Hover-1 XLS Back Seat Light Replacement: passo 3, imagem 1 %32
    • Use a Phillips #2 screwdriver to remove the four 10mm screws on the bottom of the back seat.

  4. Hover-1 XLS Back Seat Light Replacement: passo 4, imagem 1 %32 Hover-1 XLS Back Seat Light Replacement: passo 4, imagem 2 %32
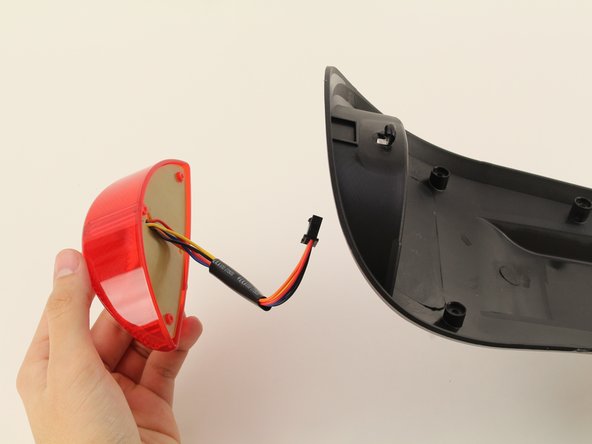
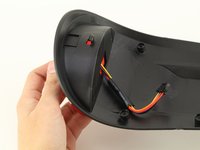
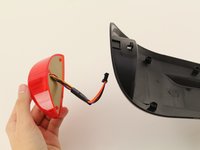
    • Pull the light from behind the bottom of the seat frame. Pull the wiring all the way through.

Conclusão

To reassemble your device, follow these instructions in reverse order.

Uma outra pessoa concluiu este guia.

Equipe

Cal Poly, Team S1-G2, White Winter 2019 Membro de Cal Poly, Team S1-G2, White Winter 2019

CPSU-WHITE-W19S1G2

3 Membros

Autoria de 7 guias

0Comentários do guia

Comentar

Visualizações:

Últimas 24 horas: 0

Últimos 7 dias: 2

Últimos 30 dias: 20

Ao todo: 414