Ir para o conteúdo principal
HP Slate 7 4601 Speaker Replacement

HP Slate 7 4601 Speaker Replacement

Zachary

Zachary e 2 outros colaboradores

Última atualização em October 3, 2018

15 - 25 minutos
Moderado
Guia do aluno destaque

Introdução

Ir para o passo 1

Aside from having the best games to enjoy during your free time, you need to have premium audio to fully enjoy the coolest apps. In this guide, you will be able to bring the rich sounds back to life by replacing the Beats Audio speaker unit. In this guide, you will be removing the following:

  1. Back Cover
  2. Battery
  3. Charging Port
  4. Speaker Unit

Prepare your required tools, a new speaker unit for your tablet, and set aside about 15 to 25 minutes to delve into the inner workings of your HP Slate.

O que você precisa

Ferramentas

  • Phillips #00 Screwdriver
    Phillips #00 Screwdriver
  • Spudger
    Spudger
  • T4 Torx Screwdriver
    T4 Torx Screwdriver

Exibir mais…

  1. HP Slate 7 4601 Speaker Replacement, Battery: passo 1, imagem 1 %32 HP Slate 7 4601 Speaker Replacement, Battery: passo 1, imagem 2 %32
    • Begin your replacement by using a T3 or T4 Torx screwdriver.

    • Remove the two 1.4mm x 3mm Torx Head screws at the top of the device.

  2. HP Slate 7 4601 Speaker Replacement: passo 2, imagem 1 %32 HP Slate 7 4601 Speaker Replacement: passo 2, imagem 2 %32
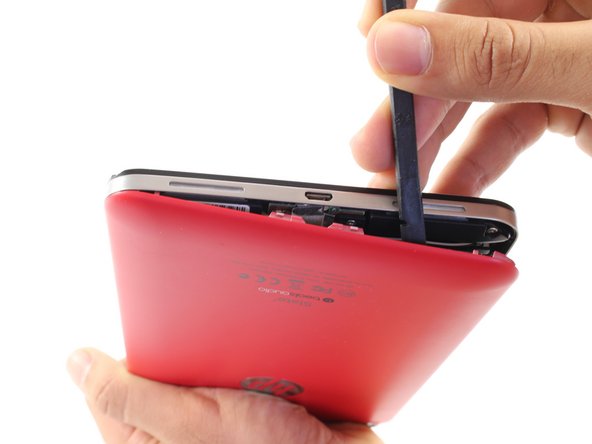
    • With the pointed end of the spudger, remove the thin metal band.

    • It is easiest to remove the metal band through the headphone opening.

  3. HP Slate 7 4601 Speaker Replacement: passo 3, imagem 1 %32 HP Slate 7 4601 Speaker Replacement: passo 3, imagem 2 %32
    • Using the flat end of the spudger, pry back the rear plastic cover.

    • As you work your way around the edge, several "pop" noises will be made. These noises are caused by the plastic clips coming undone.

  4. HP Slate 7 4601 Speaker Replacement: passo 4, imagem 1 %32
    • Remove the rear cover.

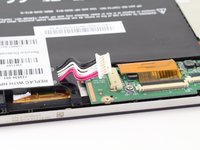
  5. HP Slate 7 4601 Speaker Replacement: passo 5, imagem 1 %32
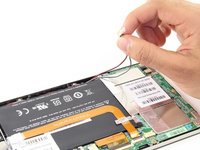
    • Locate and remove the yellow tape covering the red and white speaker wires.

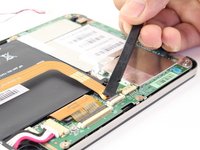
  6. HP Slate 7 4601 Speaker Replacement: passo 6, imagem 1 %32 HP Slate 7 4601 Speaker Replacement: passo 6, imagem 2 %32
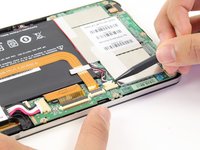
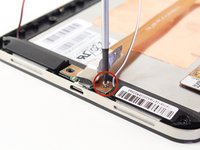
    • Using the pointed end of the spudger, push both sides of the speaker wire connector out of its base.

    • Push the same amount on both sides of the connector to avoid jamming or twisting its metal pins.

    • Do not yank or pull on the speaker wires, since they are fragile. Only push on the white connector.

  7. HP Slate 7 4601 Speaker Replacement: passo 7, imagem 1 %32
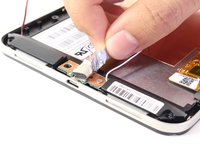
    • Gently pull back the foil covering the gold charging port ribbon.

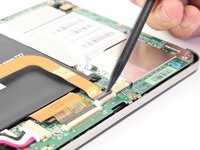
  8. HP Slate 7 4601 Speaker Replacement: passo 8, imagem 1 %32 HP Slate 7 4601 Speaker Replacement: passo 8, imagem 2 %32
    • Using the flat end of the spudger, lift up the black panel covering the charging port connector.

    • Gently slide the charging port ribbon out from its housing.

    • It may be easier to use the pointed end of the spudger than your fingers.

  9. HP Slate 7 4601 Speaker Replacement: passo 9, imagem 1 %32
    • Lift gold charging strip away from the battery.

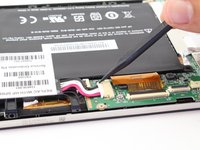
  10. HP Slate 7 4601 Speaker Replacement: passo 10, imagem 1 %32 HP Slate 7 4601 Speaker Replacement: passo 10, imagem 2 %32
    • Push the white battery connector out of its housing using the pointed end of the spudger.

  11. HP Slate 7 4601 Speaker Replacement: passo 11, imagem 1 %32
    • Using the #00 Phillips Head screwdriver, remove the 5 screws holding the battery in place.

    • The four 1.75mm x 3mm silver Phillips Head screws circled in red are interchangeable.

    • The black 1.75mm x 4mm Phillips Head screw must go back to the same spot during reassembly.

  12. HP Slate 7 4601 Speaker Replacement: passo 12, imagem 1 %32
    • Lift battery out of its place and set aside.

  13. HP Slate 7 4601 Speaker Replacement, Charging Port: passo 13, imagem 1 %32 HP Slate 7 4601 Speaker Replacement, Charging Port: passo 13, imagem 2 %32
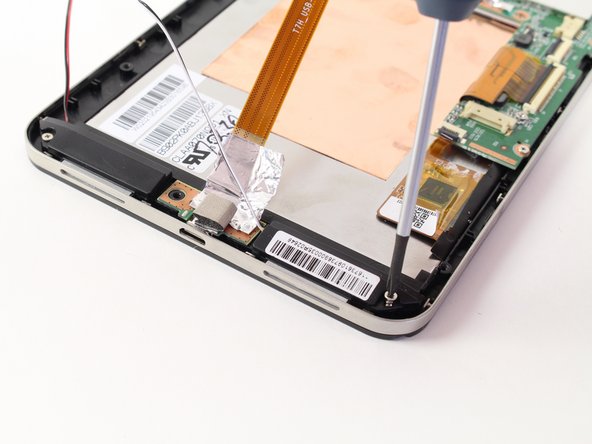
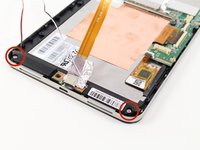
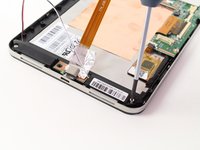
    • To free the speaker assembly, you will need a #00 Phillips Head screwdriver.

    • Remove the two 1.75mm x 3mm Phillips Head screws from the speaker assembly.

  14. HP Slate 7 4601 Speaker Replacement: passo 14, imagem 1 %32 HP Slate 7 4601 Speaker Replacement: passo 14, imagem 2 %32
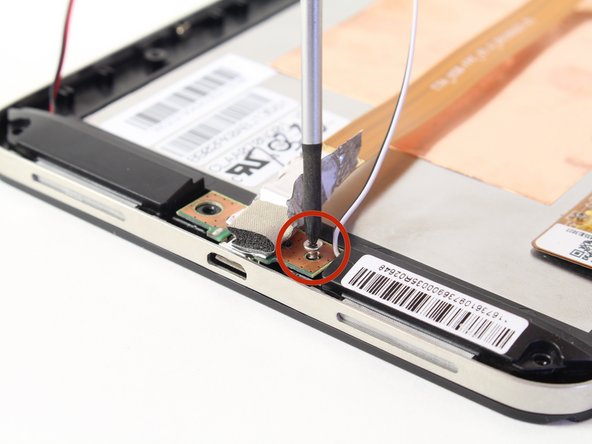
    • Pull back the foil overlapping the charging port to reveal another 1.75mm x 3mm Phillips Head screw.

    • Remove the screw with a #00 Phillips Head screwdriver.

  15. HP Slate 7 4601 Speaker Replacement: passo 15, imagem 1 %32
    • Lift the charging port and set it aside.

  16. HP Slate 7 4601 Speaker Replacement, Speaker: passo 16, imagem 1 %32
    • Lift the two speakers out of the device and set them aside.

Conclusão

To reassemble your device, follow these instructions in reverse order.

Uma outra pessoa concluiu este guia.

Zachary

Membro desde: 04/14/14

1.453 Reputação

Autoria de 2 guias

Equipe

Cal Poly, Team 13-30, Maness Spring 2014 Membro de Cal Poly, Team 13-30, Maness Spring 2014

CPSU-MANESS-S14S13G30

3 Membros

Autoria de 8 guias

0Comentários do guia

Comentar

Visualizações:

Últimas 24 horas: 0

Últimos 7 dias: 0

Últimos 30 dias: 2

Ao todo: 1,586