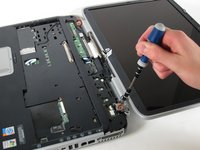
HP Pavilion zd8000 Screen Replacement
O que você precisa
Ferramentas
Exibir mais…
-
-
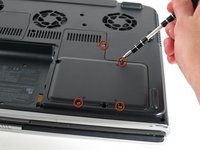
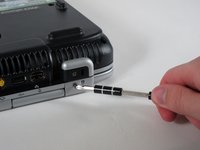
Unscrew the four 8mm Philips screws marked with an icon resembling a stacks of discs.
-
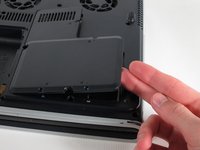
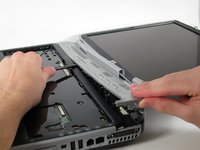
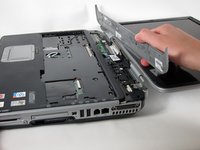
Lift the cover from the right to remove it.
-
-
-
Place the laptop face-down and rotate it 180 degrees so the vents are facing you.
-
Remove the five 8mm Philips screws. Three are on the black base and two are near the hinges.
-
-
-
Rotate it so the display is on your right and the keyboard is on your left.
-
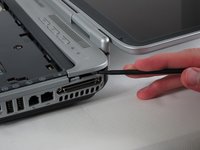
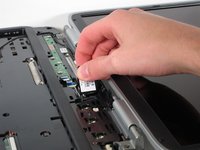
Lift the switch cover carefully from one end while sliding the spudger between the switch cover and the laptop to separate them.
-
The switch cover should easily separate from the laptop as you run the spudger through.
-
-
-
Close the lid and rotate the laptop so that the vents are facing you.
-
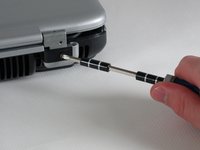
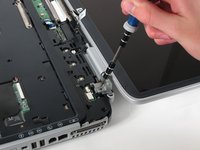
Unscrew the two 8mm Philips screws below the hinges.
-
To reassemble your device, follow these instructions in reverse order.
To reassemble your device, follow these instructions in reverse order.
Cancelar: não concluí este guia.
4 outras pessoas executaram este guia.
Um comentário
As a first timer to this particular task, but with many years experience with PC hardware, the only suggestion I would make is changing the completion time from 15 minutes to 45-60 minutes.
That’s a tad more realistic for someone so unfamiliar with this particular type of job/notebook model that they had to look it up here to see how to do it.
15 minutes sounds like someone who has actually done it dozens of times before, and, hence, would not be seeking help here. A first timer would be wise to take more time and caution, certainly more than 15 minutes. Other than that, this is a great guide to replacing the zd8000 screen.


