
HP Pavilion Sleekbook 15-b000 Motherboard Replacement
40 minutos
Moderado
Introdução
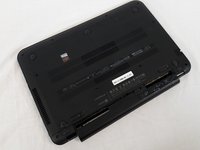
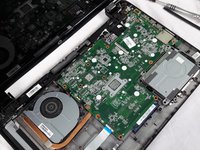
Ir para o passo 1This guide will walk you through the step by step process to remove the mother board from your laptop. You will need to do this if you are having issues with the laptop booting or to remove the WiFi card or RAM.
O que você precisa


-
-
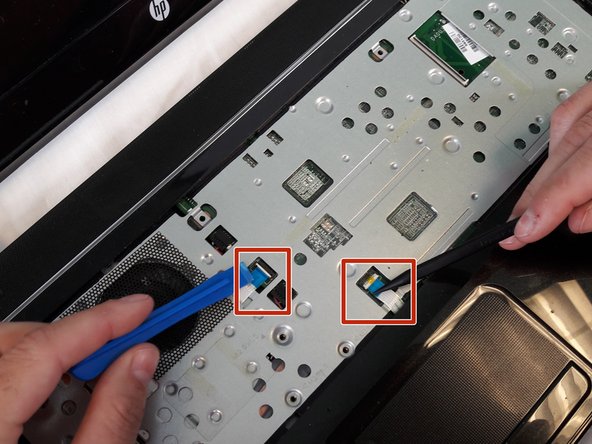
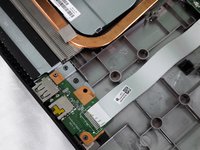
Using the spudger to lift up on the white tabs
-
Pull horizontally on the blue ribbon to disconnect the cables
-


Quase terminado!
To reassemble your device, follow these instructions in reverse order.
Conclusão
To reassemble your device, follow these instructions in reverse order.
Gear Up For Future Repairs
Shop all


Equipe

USF Tampa, Team S11-G2, Cheng Spring 2018 Membro de USF Tampa, Team S11-G2, Cheng Spring 2018
USFT-CHENG-S18S11G2
4 Membros
Autoria de 18 guias