Ir para o conteúdo principal
Dell Inspiron 13-7353 Heat Sink Replacement

Dell Inspiron 13-7353 Heat Sink Replacement

Stephany Marin Restrepo

Stephany Marin Restrepo e 8 outros colaboradores

Última atualização em June 21, 2022

10 minutos
Moderado
Guia colaborativo

Introdução

Ir para o passo 1

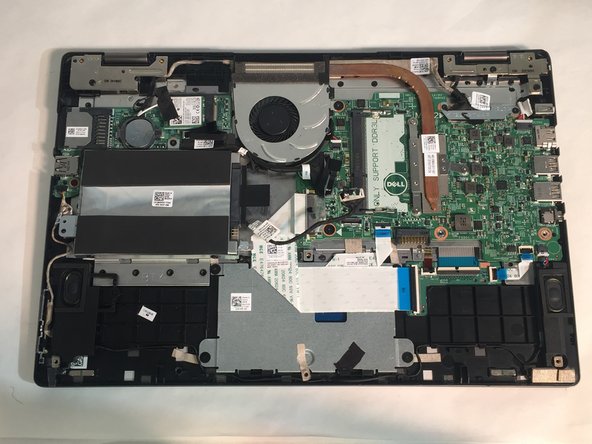
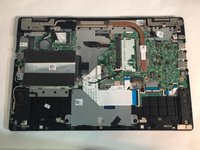
If your Dell Inspiron Laptop (Model 13-7353) is overheating and your computer's fan is functioning properly, replacing the heat sink may help.

The heat sink is a component, typically made of metal, that increases heat flow away from a hot device. In a laptop computer, space is limited, so the heat sink often sits on top of a component that generates a lot of heat, such as the processor. The heat sink works by absorbing excess heat and dissipating it throughout the device. The heat sink is often next to the fan.

Before following this guide, back up your computer's data on the cloud or an external hard drive.

Before starting your repair, make sure to power down your device and disconnect it from any external power source.

O que você precisa

Ferramentas

Exibir mais…

  1. Dell Inspiron 13-7353 Heat Sink Replacement, Flip the Computer: passo 1, imagem 1 %32
    • WARNING: Please read the safety information shipped with your computer and follow recommended steps before working inside your computer. When finished working inside your computer, follow the instructions included in the safety information.

    • Close the computer display and turn the computer over so that the base of the computer is facing up.

  2. Dell Inspiron 13-7353 Heat Sink Replacement, Secure the Base: passo 2, imagem 1 %32
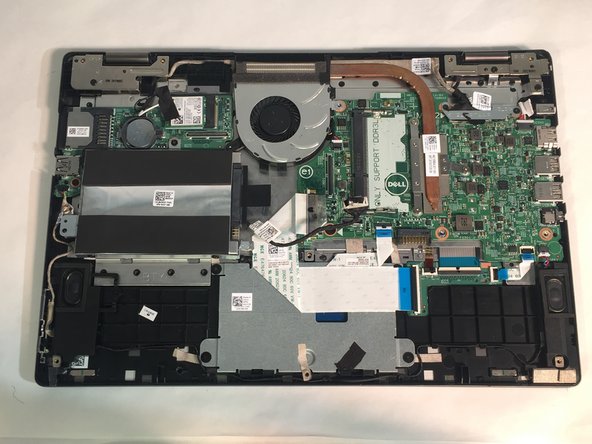
    • Remove the ten screws that secure the base cover to the base of the computer.

  3. Dell Inspiron 13-7353 Heat Sink Replacement, Pry the Base cover: passo 3, imagem 1 %32
    • Using a plastic scribe (plastic opening tool), pry the base cover off of the base of the computer.

  4. Dell Inspiron 13-7353 Heat Sink Replacement, RAM: passo 4, imagem 1 %32 Dell Inspiron 13-7353 Heat Sink Replacement, RAM: passo 4, imagem 2 %32
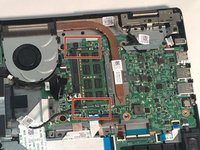
    • Before opening your device, ensure that all data is backed up on a hard drive to prevent data loss.

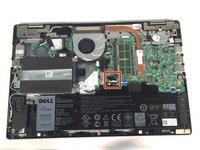
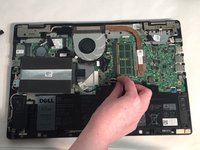
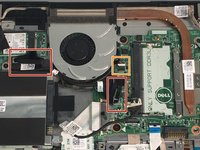
    • Loosen and then unplug the hard drive cable.

  5. Dell Inspiron 13-7353 Heat Sink Replacement: passo 5, imagem 1 %32 Dell Inspiron 13-7353 Heat Sink Replacement: passo 5, imagem 2 %32
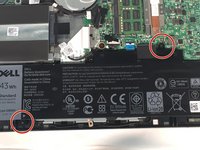
    • Remove the two M2 3mm screws attaching the battery using the Phillips #1 screwdriver.

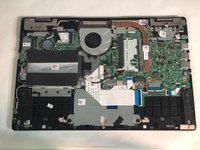
    • Remove the battery.

  6. Dell Inspiron 13-7353 Heat Sink Replacement: passo 6, imagem 1 %32 Dell Inspiron 13-7353 Heat Sink Replacement: passo 6, imagem 2 %32 Dell Inspiron 13-7353 Heat Sink Replacement: passo 6, imagem 3 %32
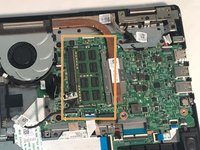
    • Pry open the two clips.

    • Gently lift the RAM stick and pull it out of the motherboard.

  7. Dell Inspiron 13-7353 Heat Sink Replacement, Fan: passo 7, imagem 1 %32 Dell Inspiron 13-7353 Heat Sink Replacement, Fan: passo 7, imagem 2 %32 Dell Inspiron 13-7353 Heat Sink Replacement, Fan: passo 7, imagem 3 %32
    • Unplug the daughterboard cable in two places, then remove the daughterboard.

    • Unplug the fan cable.

  8. Dell Inspiron 13-7353 Heat Sink Replacement: passo 8, imagem 1 %32 Dell Inspiron 13-7353 Heat Sink Replacement: passo 8, imagem 2 %32
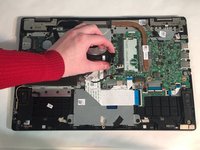
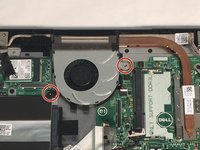
    • Remove two 3mm screws from the cooling fan using the Phillips #1 screwdriver.

    • Remove the cooling fan from the laptop.

  9. Dell Inspiron 13-7353 Heat Sink Replacement, Heat Sink: passo 9, imagem 1 %32 Dell Inspiron 13-7353 Heat Sink Replacement, Heat Sink: passo 9, imagem 2 %32 Dell Inspiron 13-7353 Heat Sink Replacement, Heat Sink: passo 9, imagem 3 %32
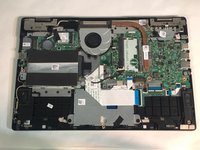
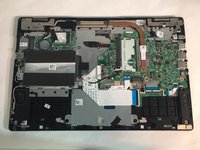
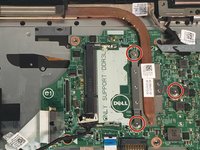
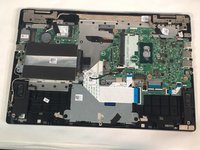
    • Remove three 2mm screws from the heat sink using a Phillips #0 screwdriver.

    • Remove the heat sink.

Conclusão

To reassemble your device, follow these instructions in reverse order.

Uma outra pessoa concluiu este guia.

0 comentários

Comentar

Exibir estatísticas:

Últimas 24 horas: 3

Últimos 7 dias: 7

Últimos 30 dias: 20

Ao todo: 309