Ir para o conteúdo principal
CyberSeriesPC C-Series RAM Replacement

CyberSeriesPC C-Series RAM Replacement

Jamie Lira

Jamie Lira e 3 outros colaboradores

Última atualização em April 13, 2024

30 minutos
Moderado

Introdução

Ir para o passo 1

If you want to upgrade the RAM in your prebuilt CyberSeriesPC (Model C-Series) so your computer can be faster, use this step-by-step guide to replace your RAM.

A RAM's purpose is to store the short-term data that a PC requires to operate correctly, so having an updated RAM will help optimize your computer.

Here's an article on why having better RAM is important.

Be careful with the electronic parts and RAM because they are delicate and could break.

Before beginning, make sure to power off your computer entirely and disconnect from any external power source. This is critical because if you do not do this, you can harm your computer and even yourself.

O que você precisa

Ferramentas

Exibir mais…

A iFixit ganha comissão quando você compra por estes links.
  1. CyberSeriesPC C-Series RAM Replacement, RAM: passo 1, imagem 1 %32 CyberSeriesPC C-Series RAM Replacement, RAM: passo 1, imagem 2 %32 CyberSeriesPC C-Series RAM Replacement, RAM: passo 1, imagem 3 %32
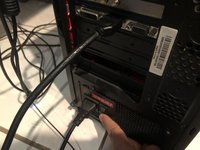
    • Before doing anything, you must be sure that the computer itself is off so no damage or loss of data can be made to the computer.

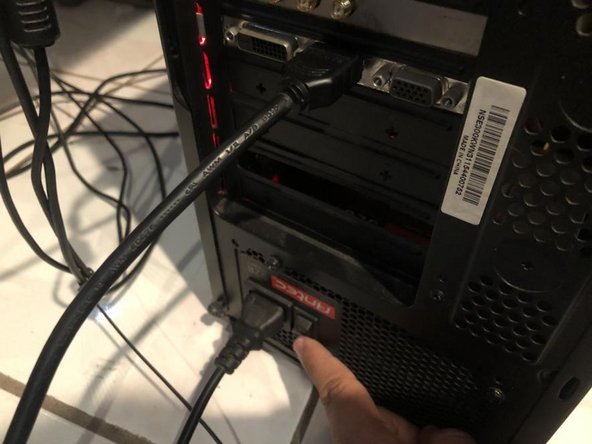
    • Turn the computer around and turn the power switch from "I" (on) to "O" (off).

    • Remove the power cable from its outlet and disconnect any peripherals (microphone, webcam, etc.).

  2. CyberSeriesPC C-Series RAM Replacement: passo 2, imagem 1 %32 CyberSeriesPC C-Series RAM Replacement: passo 2, imagem 2 %32 CyberSeriesPC C-Series RAM Replacement: passo 2, imagem 3 %32
    • Place the computer on a table.

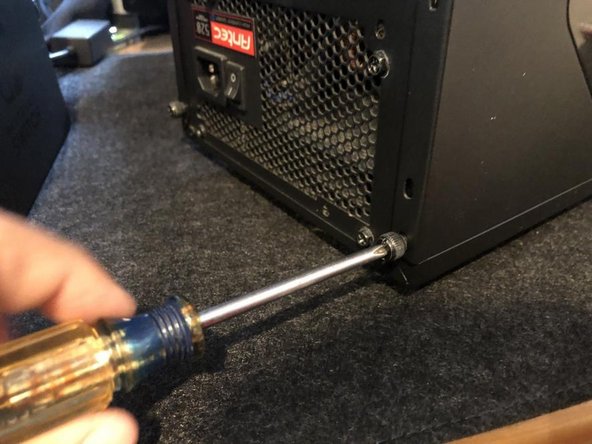
    • Remove the screws holding the side panel with a screwdriver.

    • Slide the side panel from right to left to open the computer and see its components.

    • Place the side panel somewhere else to keep the area clear, and set the computer down on its side, where the open side is up for you to work.

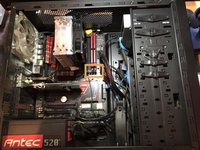
    • From here on out, you should have your flashlight to shine a light on your computer so you can see the components.

  3. CyberSeriesPC C-Series RAM Replacement: passo 3, imagem 1 %32 CyberSeriesPC C-Series RAM Replacement: passo 3, imagem 2 %32 CyberSeriesPC C-Series RAM Replacement: passo 3, imagem 3 %32
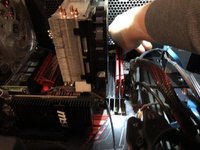
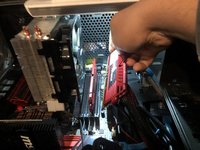
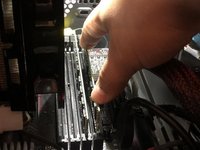
    • Open the latches in front of the RAM using two fingers.

    • Place two fingers and your thumb down in the middle of the RAM stick and remove it carefully and slowly.

    • Repeat this step for both RAM sticks.

  4. CyberSeriesPC C-Series RAM Replacement: passo 4, imagem 1 %32 CyberSeriesPC C-Series RAM Replacement: passo 4, imagem 2 %32 CyberSeriesPC C-Series RAM Replacement: passo 4, imagem 3 %32
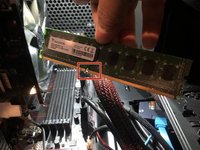
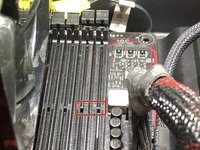
    • Line up the middle gap in the new RAM stick with the notch in the computer.

    • Push the stick down to insert the RAM into its place.

    • When properly inserted, you will hear a click and the latch will automatically close to hold the RAM stick in place.

    • Repeat this step for the second stick.

    • When inserting the RAM, do not push down too hard. Considering the sticks are fragile, too much force can break the RAM stick.

  5. CyberSeriesPC C-Series RAM Replacement: passo 5, imagem 1 %32 CyberSeriesPC C-Series RAM Replacement: passo 5, imagem 2 %32 CyberSeriesPC C-Series RAM Replacement: passo 5, imagem 3 %32
    • Slide the side panel back onto the computer from the left until it clicks.

    • Tighten the screws back onto the side panel with the screwdriver.

    • Before reinserting the power cable and turning the power switch on, insert any other removed wires.

    • Place the power cable back in its outlet.

    • Turn the power switch on.

  6. CyberSeriesPC C-Series RAM Replacement: passo 6, imagem 1 %32 CyberSeriesPC C-Series RAM Replacement: passo 6, imagem 2 %32 CyberSeriesPC C-Series RAM Replacement: passo 6, imagem 3 %32
    • To confirm the RAM sticks are properly working, turn the computer on and let it boot up.

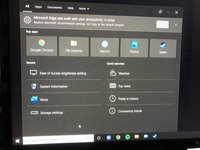
    • Click on the search button in the lower-left corner of your monitor screen.

    • Search for "System Information," then click on it.

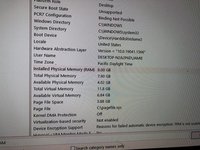
    • In the "Find what:" search bar, type "RAM," and press enter.

    • You will see that your new RAM is installed correctly and working, making it a successful switching of parts!

Conclusão

To reassemble your device, follow these instructions in reverse order.

6 outras pessoas executaram este guia.

Jamie Lira

Membro desde: 03/25/22

277 Reputação

Autoria de 1 guia

Equipe

0Comentários do guia

Comentar

Visualizações:

Últimas 24 horas: 1

Últimos 7 dias: 6

Últimos 30 dias: 45

Ao todo: 3,897