
Cricut Maker 3 Top Cover Replacement

Introdução
Ir para o passo 1Follow this guide to replace the top cover in your Cricut Maker 3.
If the top cover is cracked or loose, it may need to be replaced.
O que você precisa
Peças

Ferramentas


Exibir mais…

-
-
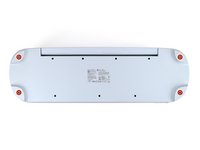
Flip the Cricut over so the bottom is facing up.
-
Use your finger to pry up and remove all four rubber feet from the bottom of the Cricut.
-
-
Ferramenta utilizada neste passo:FixMat$36.95
-
Use a Phillips screwdriver to remove the four 41 mm‑long screws securing the top cover to the base. There's one screw under each foot.
-
-
-
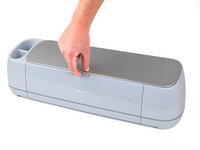
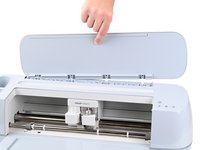
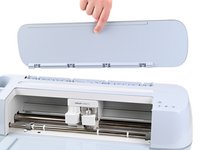
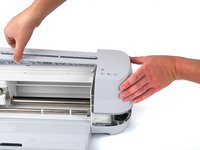
Flip the Cricut over so the silver lid is facing up.
-
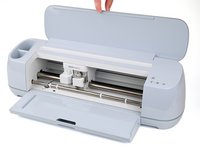
Open the Cricut by lifting the top silver lid. The front tray will also open.
-
-
-
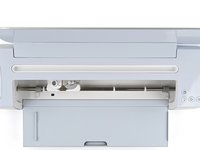
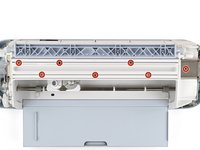
Remove the seven 9.8 mm‑long Phillips screws securing the top cover to the metal track.
-
-
-
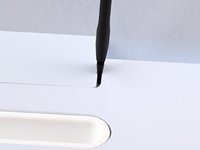
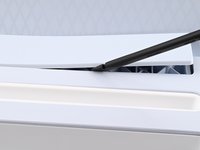
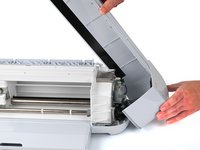
Insert the flat end of a spudger between the right side of the lid hinge cover and the top cover.
-
Use the spudger to pry up the cover.
-
-
-
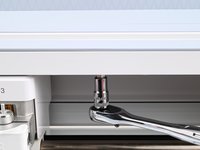
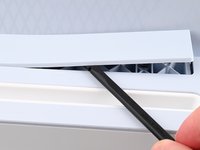
Use a Torx T8 screwdriver to remove the four 10.2 mm‑long screws securing the lid to the hinge.
-
-
-
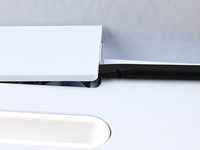
Use the flat end of spudger to pry the lid out of the hinge while lifting the lid.
-
-
-
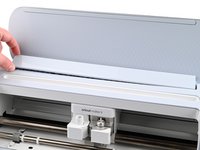
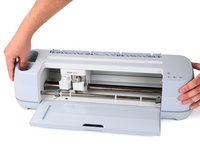
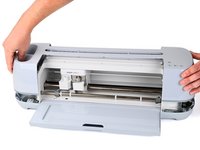
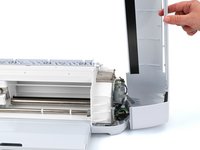
Lift the top cover up from the Cricut just until it comes free of the base.
-
-
-
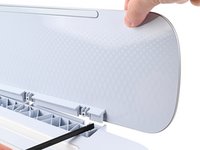
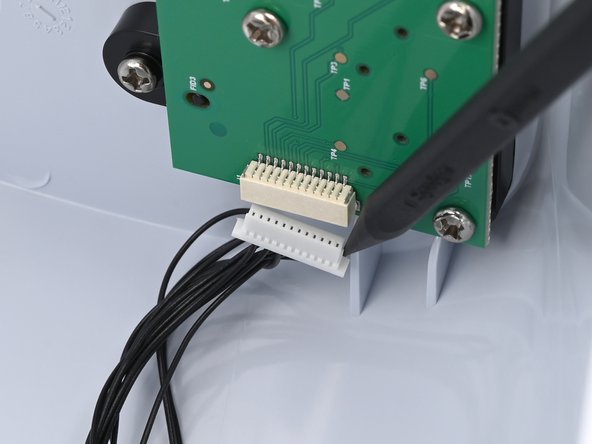
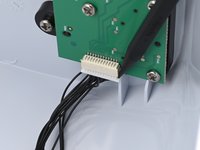
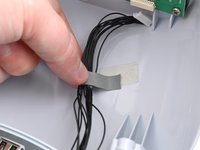
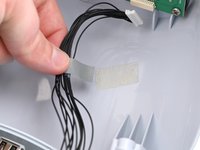
Use a spudger to disconnect the sliding connector from the button board by pushing on one side, then the other, until it's free.
-


To reassemble your device, follow these instructions in reverse order.
Repair didn’t go as planned? Try some basic troubleshooting, or ask our Answers community for help.
To reassemble your device, follow these instructions in reverse order.
Repair didn’t go as planned? Try some basic troubleshooting, or ask our Answers community for help.
Cancelar: não concluí este guia.
Uma outra pessoa concluiu este guia.
Gear Up For Future Repairs
Shop all


