Ir para o conteúdo principal
Cracked Grout Replacement

Cracked Grout Replacement

Deanna Demydyak

Deanna Demydyak e 2 outros colaboradores

Última atualização em January 21, 2025

1 dia
Moderado
Guia do aluno destaque

Introdução

Ir para o passo 1

Over time as a result of aging and other factors such as the original installment of the grout, climate, temperature, etc. your grout may begin to crack. With the right tools and direction, it is possible to repair these minor damages in the grout on your own. This guide will provide you with the instructions and tools to repairing these cracks in the grout. The tools listed in this guide are not common household items and can either be bought or rented. They are recommended to be used with protective eye wear and a mask to protect from dust and debris.

  1. Cracked Grout Replacement, Cracked Grout: passo 1, imagem 1 %32 Cracked Grout Replacement, Cracked Grout: passo 1, imagem 2 %32
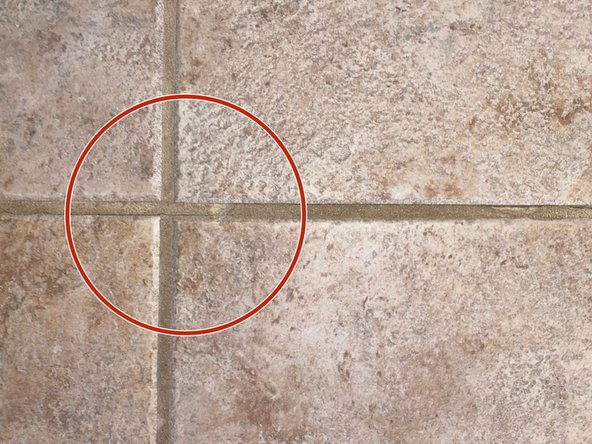
    • Identify the crack you will be repairing.

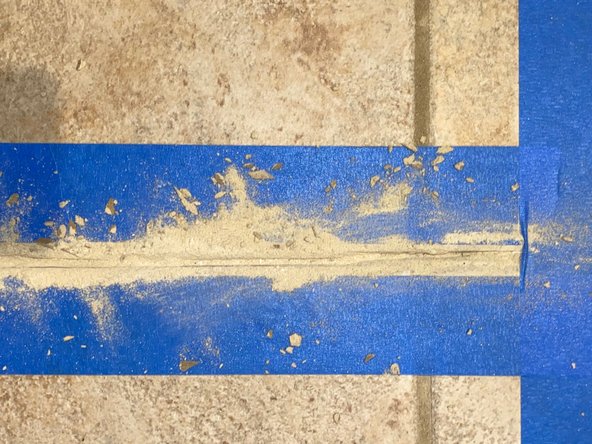
    • Surround it with Painters Tape.

  2. Cracked Grout Replacement: passo 2, imagem 1 %32
    • Wear protective eye wear and a mask to shield yourself from dust and debris.

    • Use caution when handling the concrete grinder. If handled improperly it can lead to an injury.

    • Use the concrete grinder to remove the grout surrounded with tape where the crack is located.

  3. Cracked Grout Replacement: passo 3, imagem 1 %32 Cracked Grout Replacement: passo 3, imagem 2 %32
    • Wear protective eye wear and a mask to shield yourself from dust and debris.

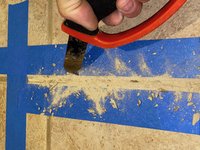
    • Go in with your handheld grout remover and scrape out the remaining grout between the tile until it is completely hollow.

  4. Cracked Grout Replacement: passo 4, imagem 1 %32 Cracked Grout Replacement: passo 4, imagem 2 %32
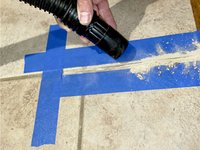
    • Vacuum the dust and grout that was removed to reveal a clean and hollow space.

  5. Cracked Grout Replacement: passo 5, imagem 1 %32
    • Color match your grout by using grout samples to get your desired color of grout.

  6. Cracked Grout Replacement: passo 6, imagem 1 %32 Cracked Grout Replacement: passo 6, imagem 2 %32 Cracked Grout Replacement: passo 6, imagem 3 %32
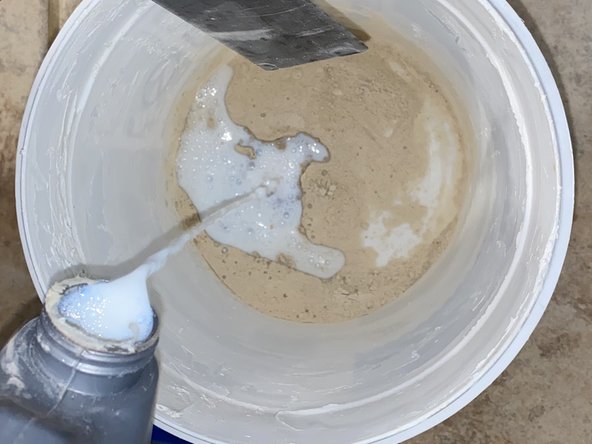
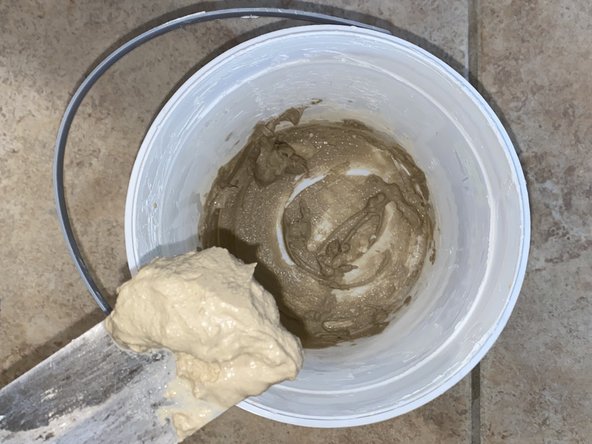
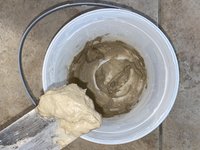
    • Mix a scoop of grout and sealer to create a paste.

  7. Cracked Grout Replacement: passo 7, imagem 1 %32 Cracked Grout Replacement: passo 7, imagem 2 %32 Cracked Grout Replacement: passo 7, imagem 3 %32
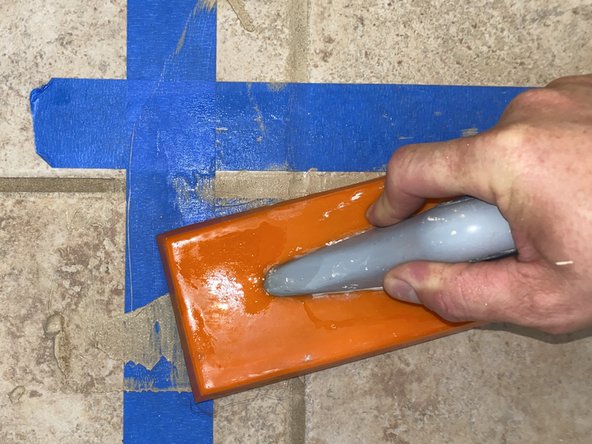
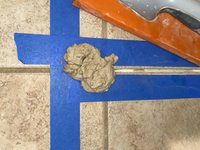
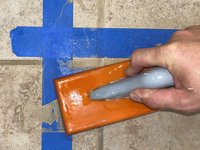
    • Take the rubber grout float and press the grout paste securely into the crack.

  8. Cracked Grout Replacement: passo 8, imagem 1 %32 Cracked Grout Replacement: passo 8, imagem 2 %32
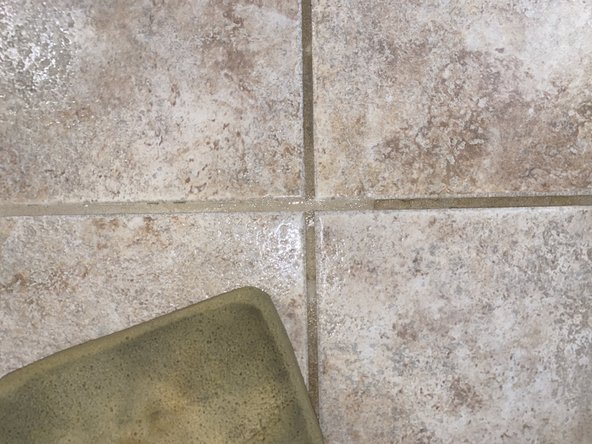
    • Take the grouting sponge and smooth out the grout evenly.

    • Let the grout sit and harden for twenty-four hours.

  9. Cracked Grout Replacement: passo 9, imagem 1 %32
    • Your new grout is dry and ready for use.

Conclusão

To repair any other cracks in grout, repeat these steps.

7 outras pessoas executaram este guia.

1Comentário do guia

Comentar

Visualizações:

Últimas 24 horas: 4

Últimos 7 dias: 43

Últimos 30 dias: 286

Ao todo: 5,613