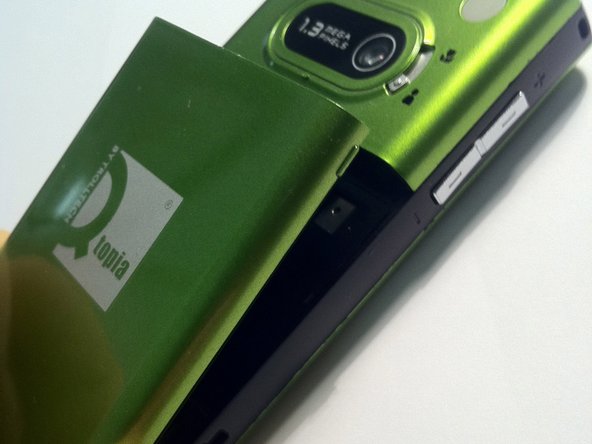
Ir para o conteúdo principal

O que você precisa

Este teardown (desmontagem analítica) não é um guia de reparo. Para reparar seu/sua Trolltech Greenphone, use o nosso manual de serviço.

  1. Trolltech Greenphone Teardown, Trolltech Greenphone Teardown: passo 1, imagem 1 %32 Trolltech Greenphone Teardown, Trolltech Greenphone Teardown: passo 1, imagem 2 %32
    • here is the Qtopia green phone.

  2. Trolltech Greenphone Teardown: passo 2, imagem 1 %32 Trolltech Greenphone Teardown: passo 2, imagem 2 %32
    • first, remove the mini-SD card from the side of the phone.

  3. Trolltech Greenphone Teardown: passo 3, imagem 1 %32 Trolltech Greenphone Teardown: passo 3, imagem 2 %32 Trolltech Greenphone Teardown: passo 3, imagem 3 %32
    • then, remove the battery from the phone

    • Unlocking the switch for the battery cover is a little difficult.

  4. Trolltech Greenphone Teardown: passo 4, imagem 1 %32 Trolltech Greenphone Teardown: passo 4, imagem 2 %32 Trolltech Greenphone Teardown: passo 4, imagem 3 %32
    • when the battery is removed, remove the pencil from the device

  5. Trolltech Greenphone Teardown: passo 5, imagem 1 %32 Trolltech Greenphone Teardown: passo 5, imagem 2 %32 Trolltech Greenphone Teardown: passo 5, imagem 3 %32
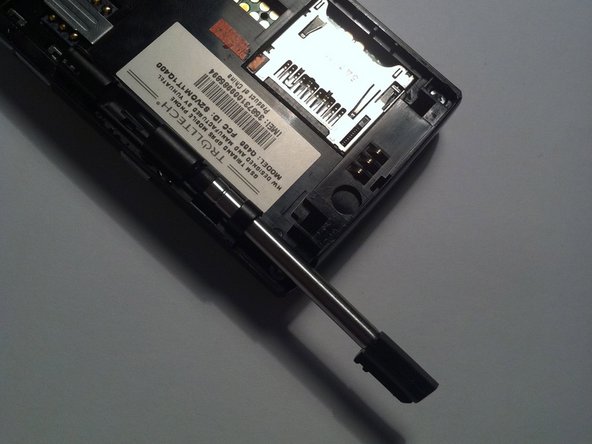
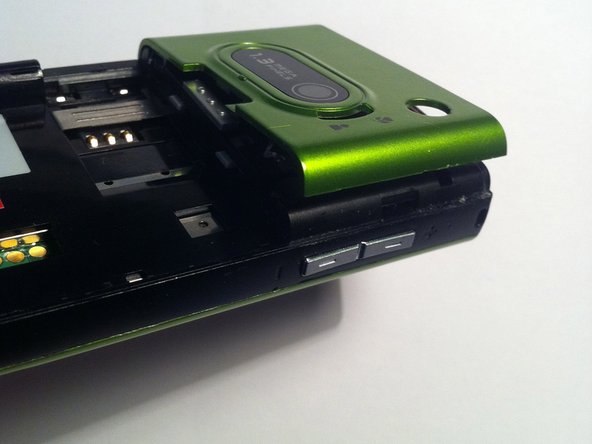
    • this picture shows the two black plastic clips wich you want du unlock if you would like to reach deeper into the interiors of this phone.

    • the 2e pikture show how to place the slotted pan head screwdriver

    • to unlock them you have to turn the screwdriver around its own axe.

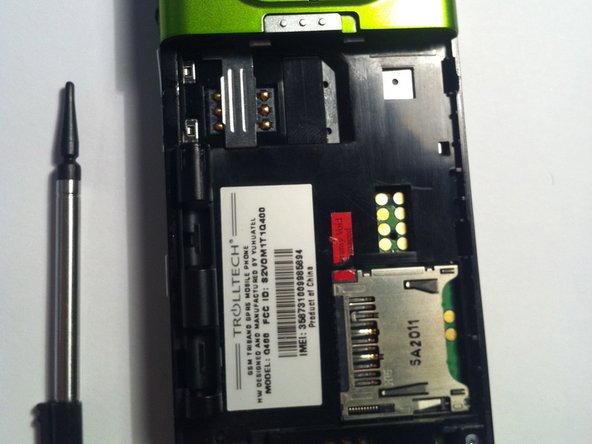
    • when you unlocked both, go with an ipod opening tool around the 3 other sides to unlock several other plastic clips, wich shold be easy to do

  6. Trolltech Greenphone Teardown: passo 6, imagem 1 %32
    • now your phone should look like this.

    • there is one seperate little silver plastic switch for the camera lense.

    • don't lose that

  7. Trolltech Greenphone Teardown: passo 7, imagem 1 %32 Trolltech Greenphone Teardown: passo 7, imagem 2 %32 Trolltech Greenphone Teardown: passo 7, imagem 3 %32
    • now remove the only 4 screws in this froggy device.

    • the both on the upper part

    • and at the both at the bottom part

    • and see them lie next to the device

  8. Trolltech Greenphone Teardown: passo 8, imagem 1 %32 Trolltech Greenphone Teardown: passo 8, imagem 2 %32 Trolltech Greenphone Teardown: passo 8, imagem 3 %32
    • now insert an ipod opening tool between the (green) front and the black stripe in the center of the phone

    • be careful, the front is fragile

    • as you are gone around its sides, you can simply disassemble the front panel without disconnecting anything.

  9. Trolltech Greenphone Teardown: passo 9, imagem 1 %32 Trolltech Greenphone Teardown: passo 9, imagem 2 %32
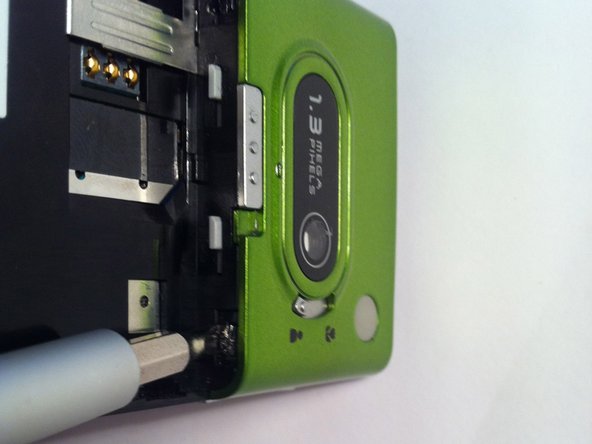
    • now you are able to put the mainboard (the one and only), display and buttons (it appears that this is one huge part) and the black back/mid frame from each other

    • its easy to remove the speaker/antenna and some plastic parts from the back panel

    • the camera is glued on the board, but connected with an usual camera connector.

    • all EMI shields are brazed onto the bord.

  10. Trolltech Greenphone Teardown: passo 10, imagem 1 %32
    • this was the whole thing. thank you for reading this far.

    • fancy phone this is!

lon

Membro desde: 03/19/11

2.867 Reputação

Autoria de 2 guias

0 comentários

Adicione um comentário

Exibir estatísticas:

Últimas 24 horas: 0

Últimos 7 dias: 1

Últimos 30 dias: 3

Duração total: 3,736