
iPad Mini Wi-Fi Logic Board Assembly Replacement
Nenhuma estimativa
Difícil
Pré-requisito somente
Este guia destina-se apenas a ser usado como pré-requisito para outros guias. É incompleto por si só.
Introdução
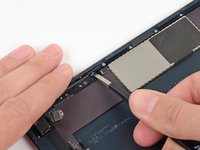
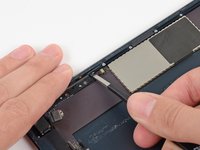
Ir para o passo 1Use this guide to replace the logic board.
O que você precisa


-
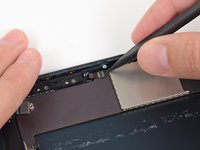
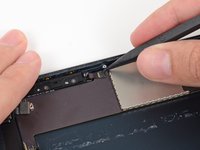
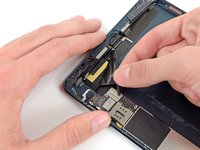
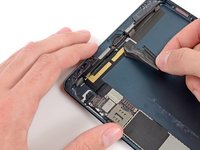
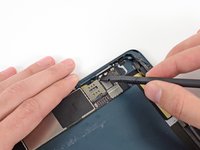
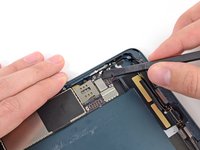
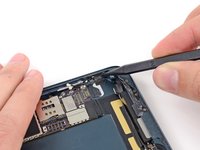
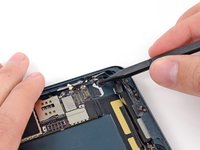
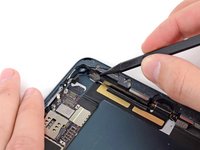
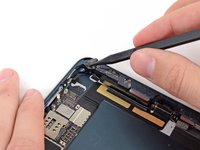
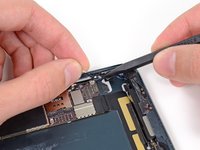
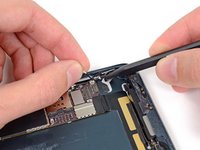
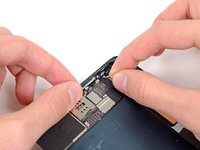
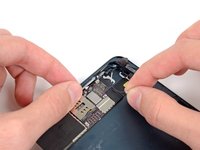
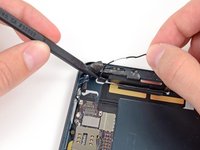
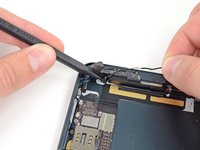
Ferramenta utilizada neste passo:Tweezers$4.99
-
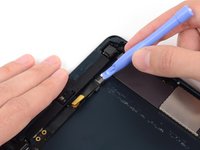
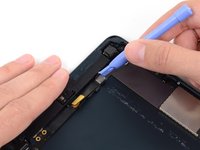
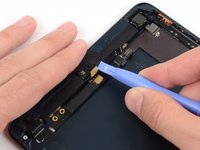
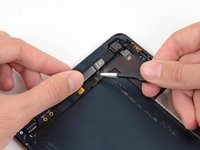
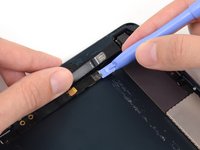
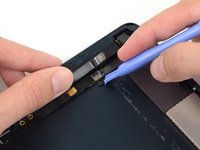
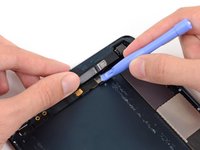
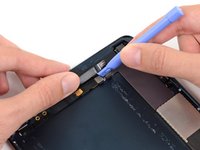
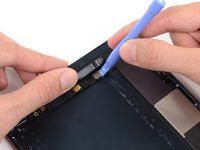
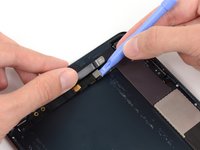
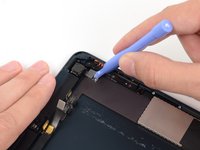
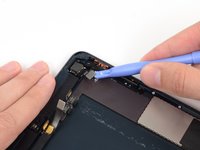
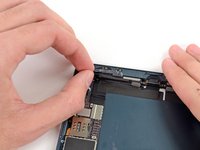
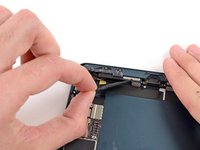
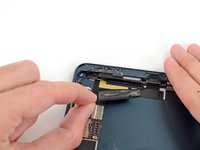
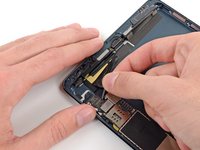
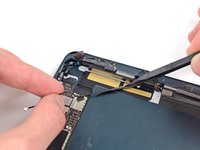
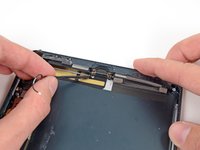
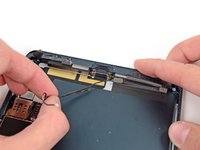
Use tweezers to peel up and remove the small piece of tape covering the front-facing camera cable connector.
-


Quase terminado!
To reassemble your device, follow these instructions in reverse order.
Conclusão
To reassemble your device, follow these instructions in reverse order.
