Essa tradução foi gerada por um programa e ainda não foi revisada por uma pessoa. Falas essa língua? Dá uma olhada.
Introdução
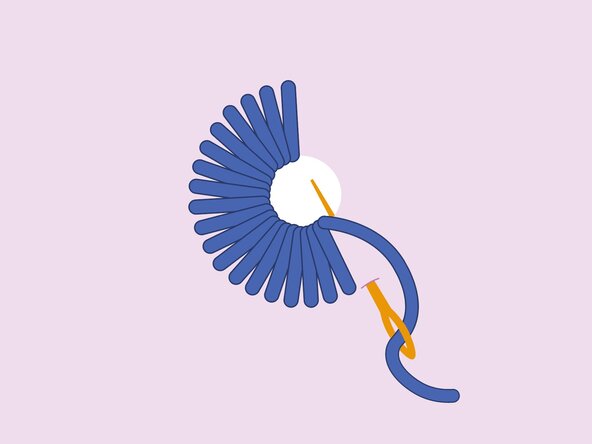
Este guia demonstra como fazer um ponto de alinhavo à mão para fechar um rasgo no tecido de uma calça Patagonia® Quandary. O ponto de alinhavo é uma técnica versátil que une as bordas rasgadas com pontos em laçada, sendo ideal para selar pequenos rasgos e evitar que o tecido continue a desfiar.
Reparos feitos à mão são uma maneira divertida e eficaz de prolongar a vida útil do seu equipamento em casa. Reparos do tipo “faça você mesmo” não anulam a garantia da Patagonia — na verdade, são até encorajados!
Os itens da Patagonia também podem ser levados a uma loja de varejo local para avaliação de reparo ou enviados para a Patagonia através do seu serviço de reparo via correio.
Vamos consertar!
Tutoriais Relacionados
Artigos Relacionados
O que você precisa
-
-
-
Quando feitos próximos um do outro, os pontos caseados também podem reforçar uma abertura para criar uma casa de botão ou um ilhós decorativo.
 Pergunte ao FixBot
-
-
-
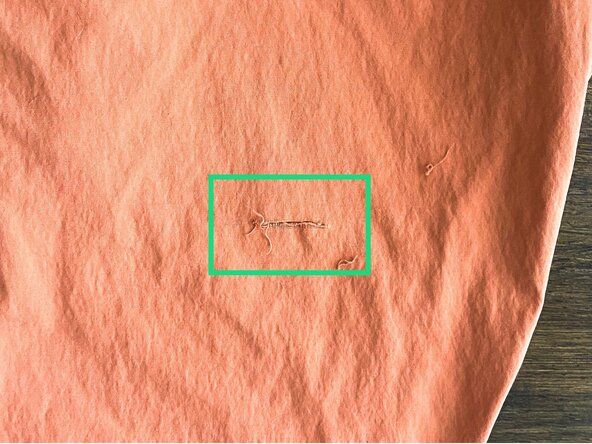
Localize a área danificada e corte todos os fios soltos ou pendurados.
-
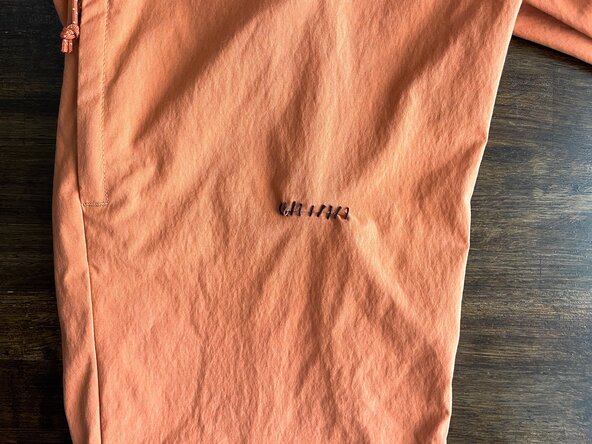
Neste tutorial, o ponto de alinhavo será usado para fechar um rasgo curto e reto com o mínimo de desfiamento e perda de tecido.
-
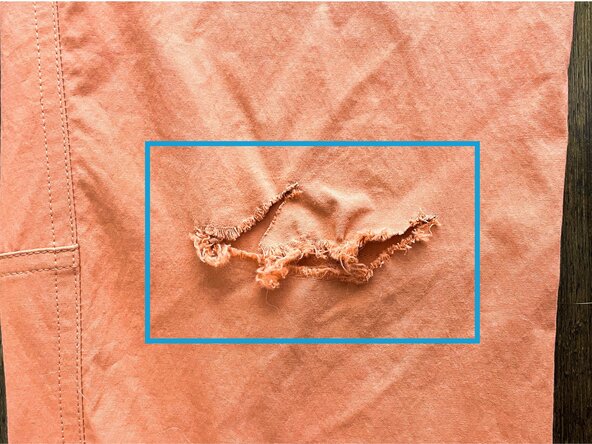
Se o dano for mais extenso, uma variação desta técnica pode ser usada para fixar um remendo sobre a área danificada. Consulte Ponto de alinhavo em um remendo ou Ponto caseado em um remendo.
-
-
-
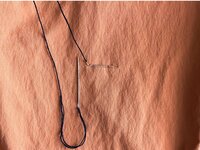
Corte um pedaço de linha com aproximadamente 61 cm (24 polegadas) de comprimento.
-
Passe a linha na agulha e ajuste-a de modo que haja comprimentos iguais de linha em cada lado da agulha.
-
Dê um nó simples com ambas as pontas para criar uma linha dupla.
-
Veja Needles and Thread para mais detalhes.
-
-
-
-
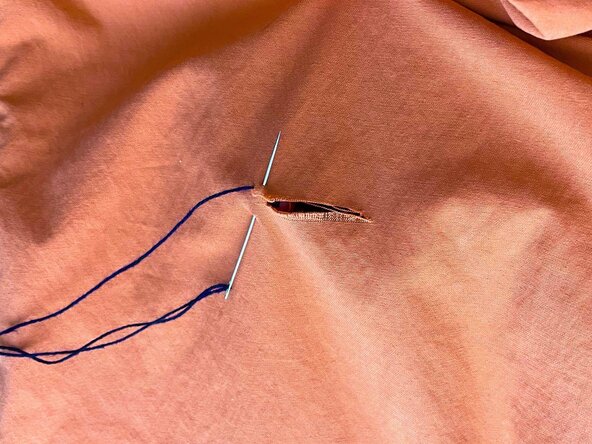
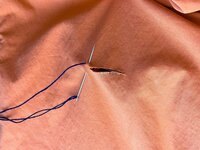
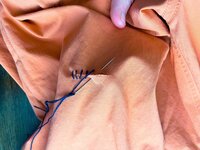
Insira a agulha pelo lado avesso do tecido, a cerca de 3 mm (1/8 de polegada) na diagonal da extremidade do rasgo. Puxe para que o nó fique rente ao lado avesso.
-
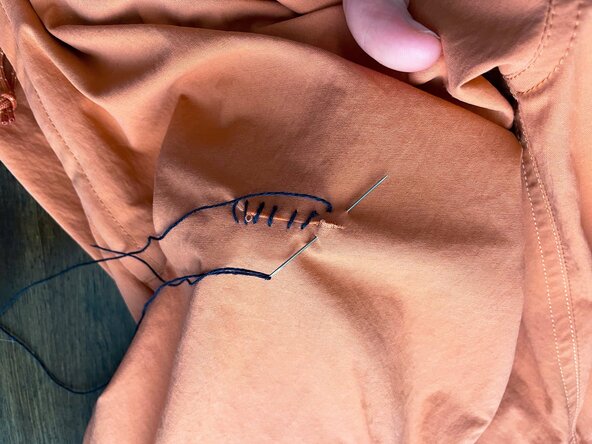
Perfure o tecido a 6 mm (1/4 de polegada) de distância do primeiro ponto, no lado oposto ao rasgo, e traga a agulha de volta para cima logo ao lado do primeiro ponto, a cerca de 3 mm (1/8 de polegada) de distância. Puxe a linha.
-
-
-
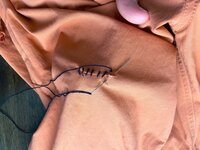
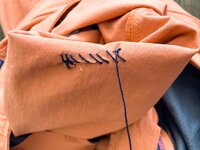
Repita o processo do passo anterior para continuar costurando em um padrão espiral, passando a agulha de um lado a outro do rasgo.
-
Mantenha a tensão e o espaçamento consistentes para uma aparência caprichada.
-
-
-
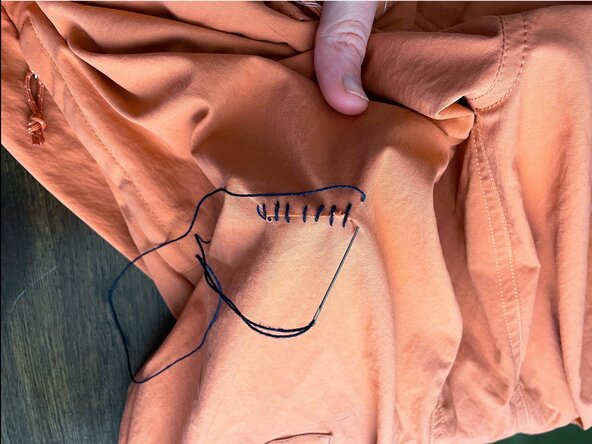
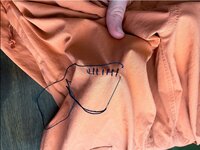
Continue o ponto de chuleado até chegar ao lado oposto do rasgo.
-
Dê um ponto final além da extremidade do rasgo para prender a costura, exatamente como foi ancorado no início do rasgo.
-
Passe a agulha para o lado avesso do tecido.
-
Faça um nó firme no lado avesso do tecido usando uma das técnicas do Dar um nó na linha no tecido (2 maneiras) e corte o excesso de linha.
-
-
-
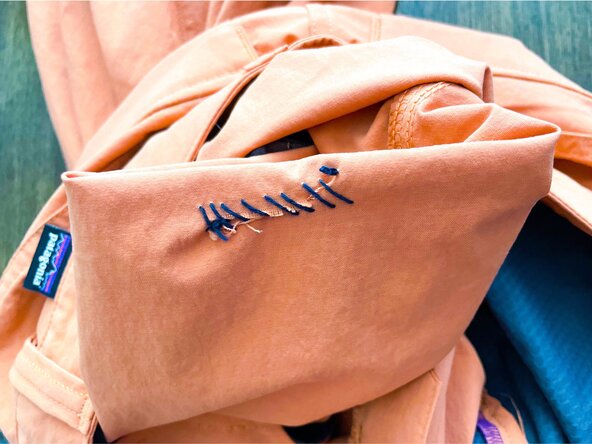
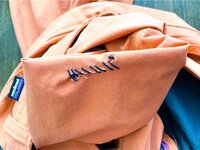
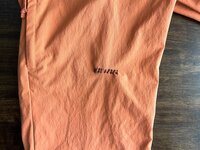
Verifique se o rasgo está bem vedado e se a costura apresenta espaçamento uniforme e tensão adequada.
-
Corte quaisquer fios soltos.
-
-









Cancelar: não concluí este guia.
3 outras pessoas executaram este guia.


