
Toshiba Satellite C55-A5286 Optical Drive Replacement
Introdução
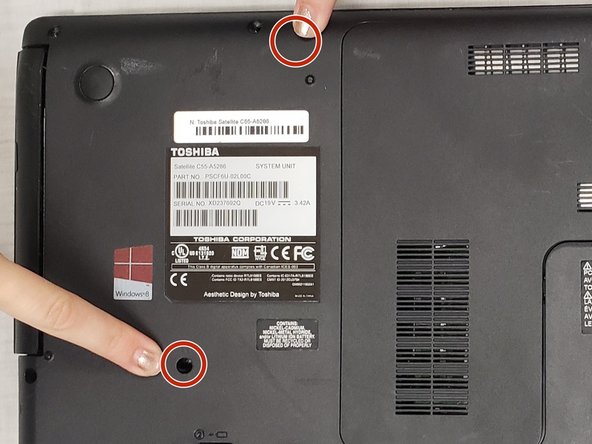
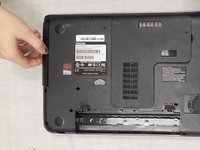
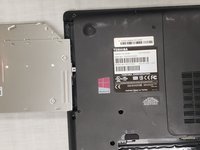
Ir para o passo 1This guide will show you how to remove or replace the optical disc drive of the Toshiba Satellite C55-A5286 laptop. A Phillips screwdriver of head size PH0 is required for this guide.
O que você precisa


To reassemble your device, follow these instructions in reverse order.
To reassemble your device, follow these instructions in reverse order.
Cancelar: não concluí este guia.
2 outras pessoas executaram este guia.
Equipe

IUPUI, Team S1-G5, Hovde Fall 2018 Membro de IUPUI, Team S1-G5, Hovde Fall 2018
IUPUI-HOVDE-F18S1G5
2 Membros
Autoria de 9 guias
Um comentário
Not a medium effort at all - very easy.
…although, I did have to use an iFixt It needle-nose tweezer to pull the middle 5mm screw out after it was unscrewed - it would not fall out nor did it cling to the screwdriver.